


Sinric Pro Smart Button verwenden
Du möchtest deine DIY-Projekte mit einem Fingertipp auf dem Smartphone steuern? Die Smart Button Funktion von Sinric Pro ist dafür die perfekte Lösung. Lege in der App Taster an, die auf deinem Mikrocontroller eine beliebige Aktion auslösen – vom Einschalten von LEDs bis zur Steuerung von Motoren oder Sensoren. Diese Anleitung führt dich durch die Einrichtung der Smart Button Funktion auf deinem ESP32, ESP8266 oder Raspberry Pi Pico W. Du lernst, wie du alle Arten von Tastendrücken verarbeitest:
- Einfaches Drücken
- Doppeltes Drücken
- Langes Drücken
Voraussetzungen :
- ESP32, ESP8266 oder Raspberry Pi Pico W x 1.
Schritt 1 : Mit Sinric Pro verbinden
Schritt 1.1 : Einen eigenen Gerätetyp für den Smart Button anlegen.
Sinric Pro hat keinen eingebauten Gerätetyp für Taster, deshalb legen wir dafür einen eigenen Gerätetyp an.
Hinweis: Mit der unten beschriebenen Importfunktion für Gerätevorlagen kannst du dir das Anlegen der kompletten Vorlage sparen.
-
Melde dich bei deinem Sinric Pro Konto an und gehe zu Device Templates
-
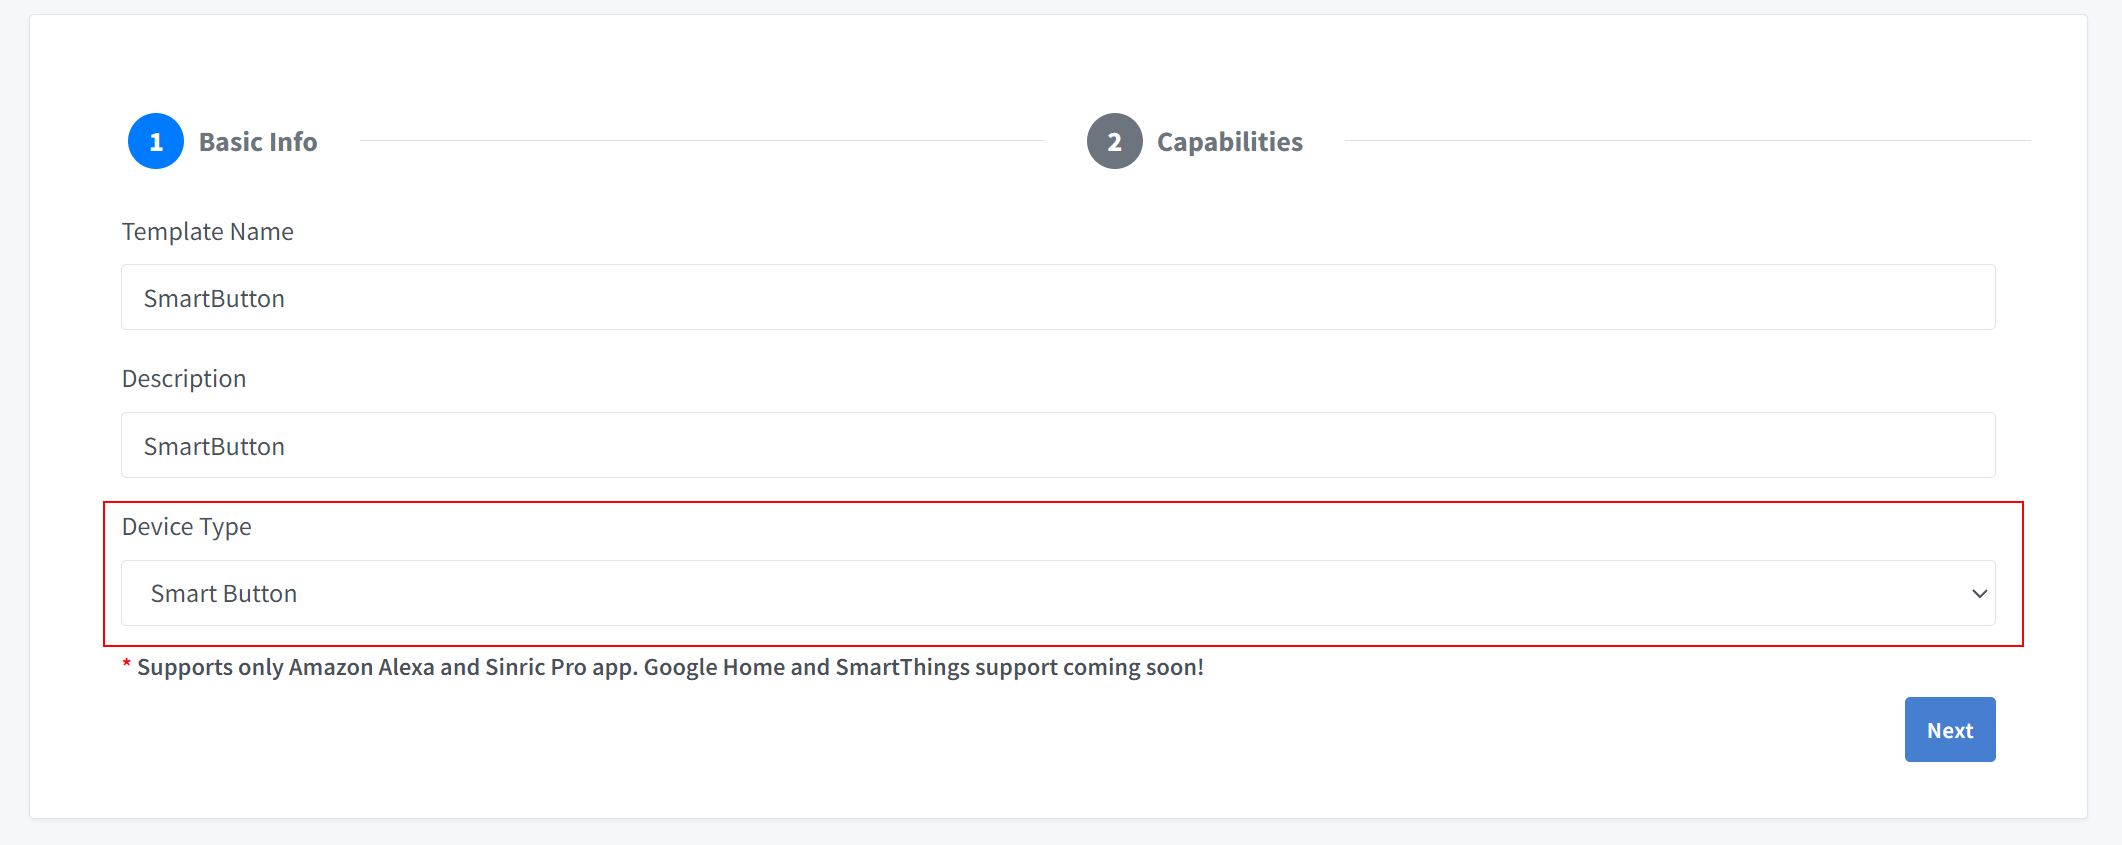
Klicke auf Add Device Template. Gib als Name und Beschreibung SmartButton ein und wähle Smart Button als Gerätetyp
- Klicke auf Capabilities und ziehe eine Smart Button Capability hinein.
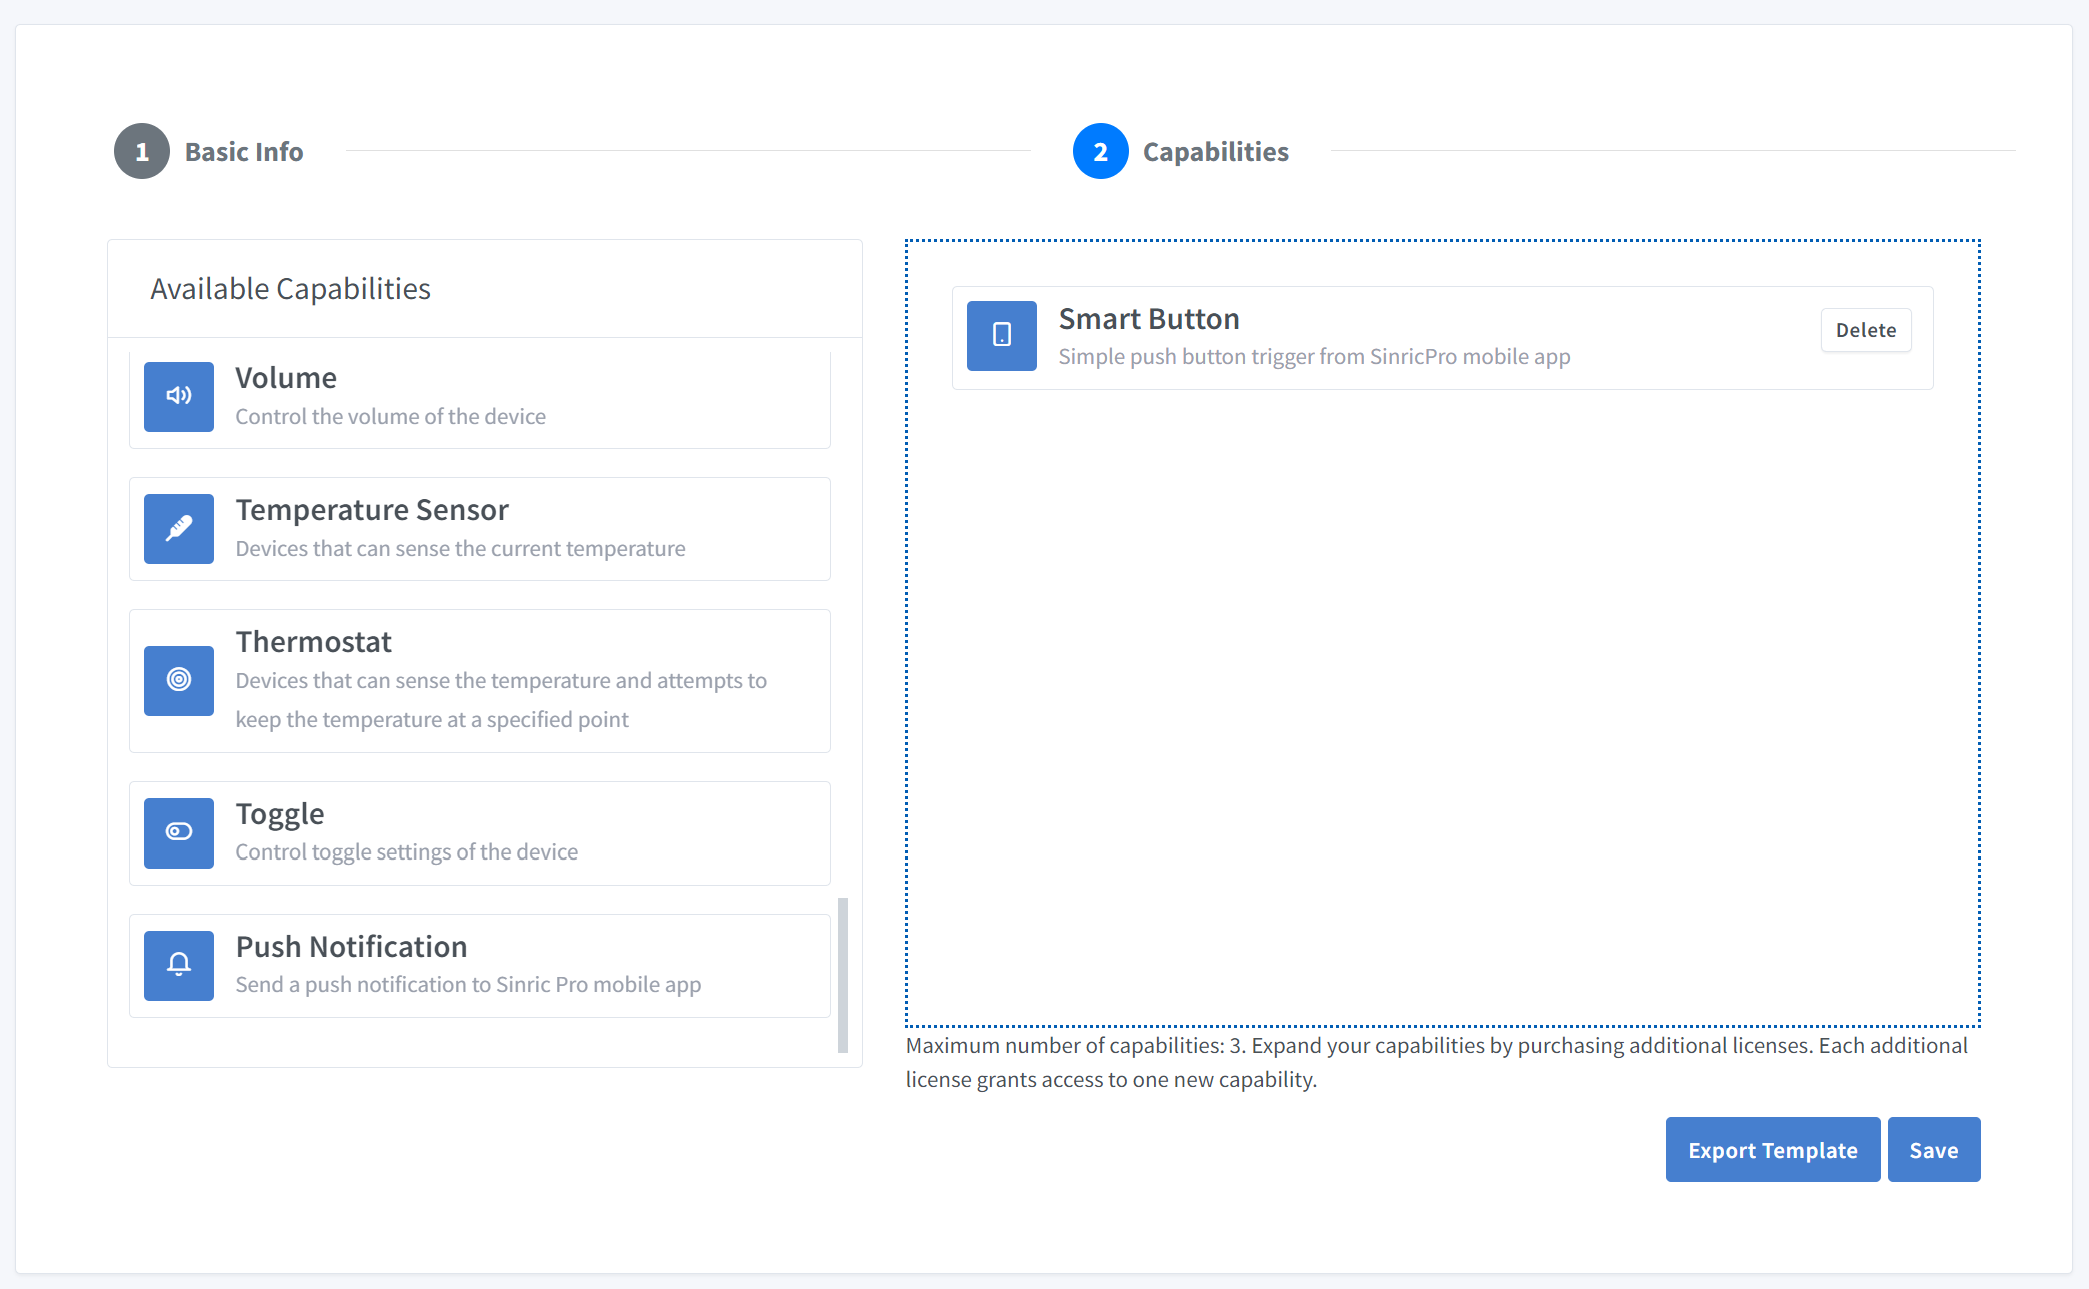
Klicke zum Speichern auf Save.

Jetzt siehst du die Vorlage, die wir gerade angelegt haben.
Eine vorhandene Vorlage importieren?
Wenn du keine Lust hast, alle Modes- und Range-Werte selbst einzurichten, kannst du die Importfunktion verwenden.
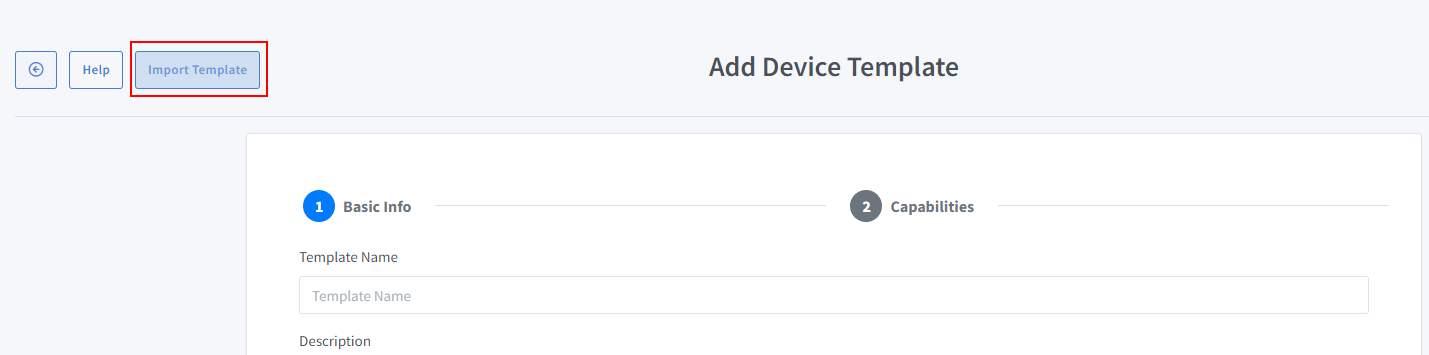
Füge diese Vorlage ein:
{
  "name": "SmartButton",
  "description": "SmartButton",
  "deviceTypeId": "672a3b2c96ec80395518f2fe",
  "capabilities": [
    {
      "id": "672a3fbd96ec8039551901eb"
    }
  ]
}
-
Melde dich bei deinem Sinric Pro Konto an, öffne links das Menü Devices und klicke auf die Schaltfläche Add Device (oben links).
-
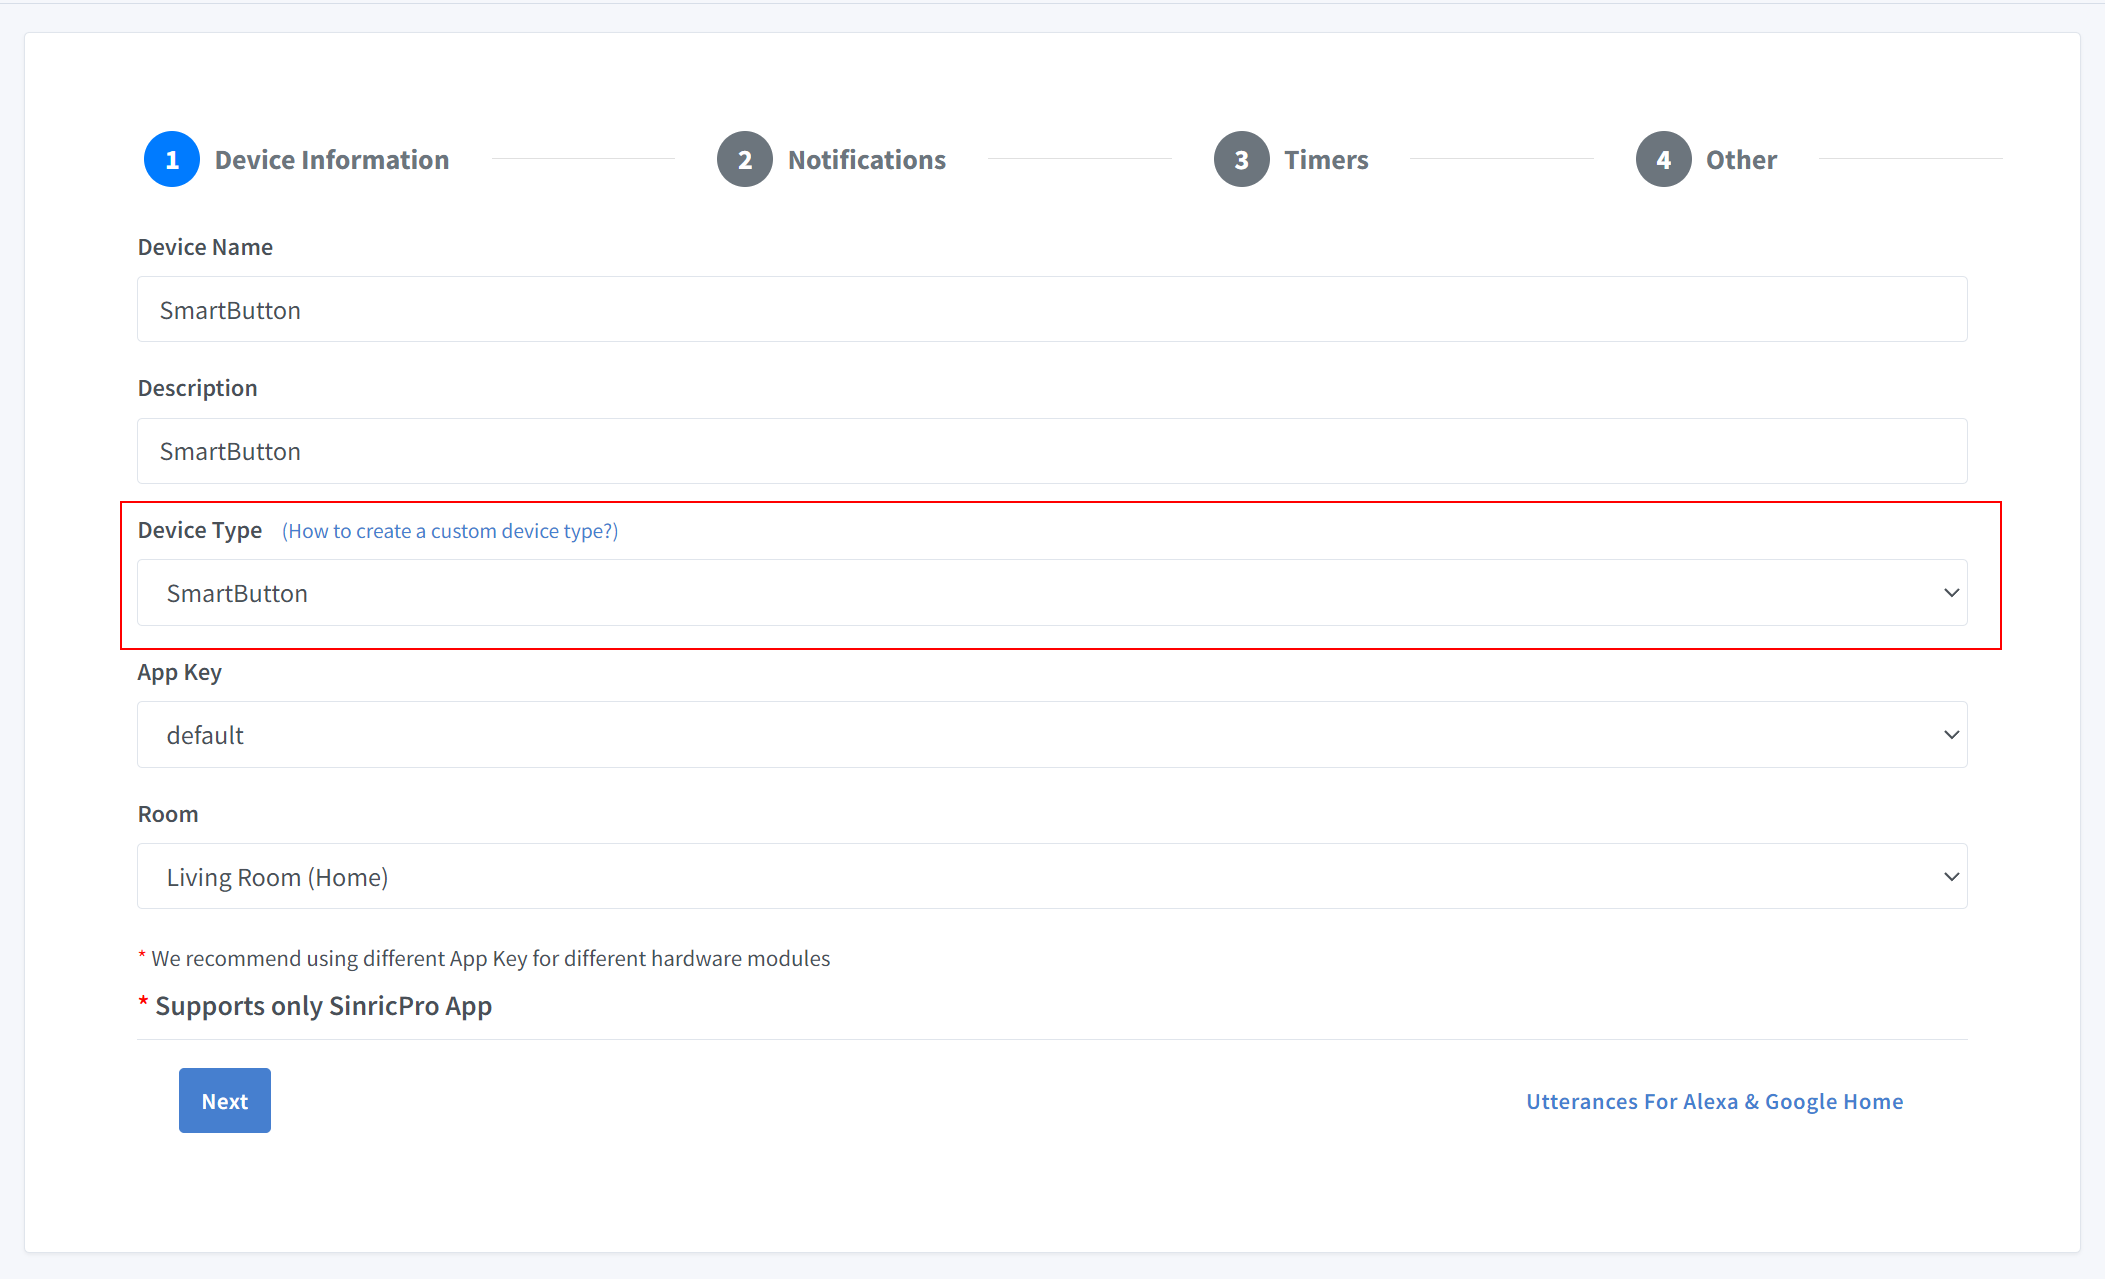
Gib als Gerätenamen SmartButton und als Beschreibung SmartButton ein und wähle den Gerätetyp SmartButton.
-
Klicke auf den Tab Others und dann auf Save
-
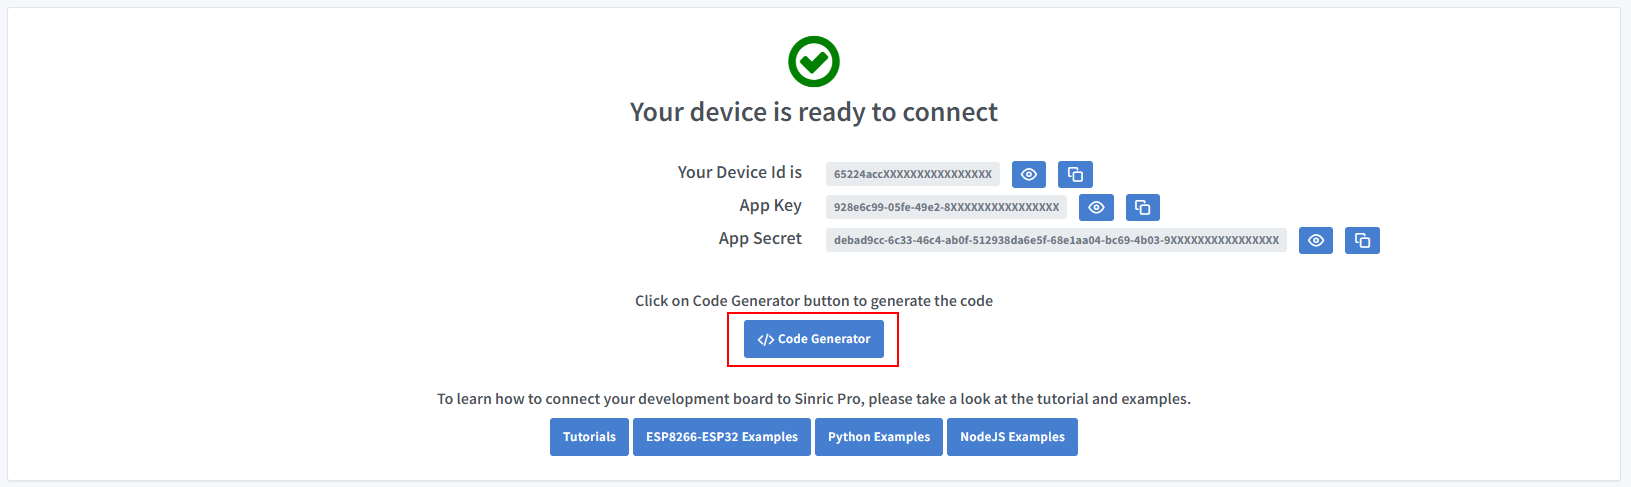
Die nächste Seite zeigt die Zugangsdaten, die das eben angelegte Gerät für die Verbindung braucht.
-
Kopiere Device Id, App Key und App Secret Halte diese Werte geheim. TEILE SIE NICHT IN ÖFFENTLICHEN FOREN !
-
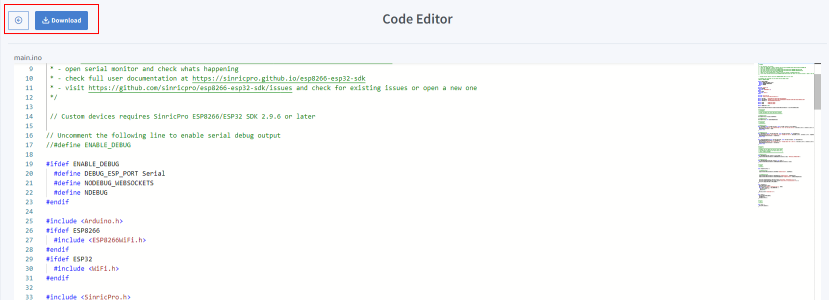
Klicke auf Code Generator, um den Code zu erzeugen. Klicke auf Download, um den Code herunterzuladen.
Schritt 2 : Mit Sinric Pro verbinden
Schritt 2.1 Sinric Pro Bibliothek installieren

2.2 Vollständiger Code
SmartButton.h
#ifndef _SMARTBUTTON_H_
#define _SMARTBUTTON_H_

#include <SinricProDevice.h>
#include <Capabilities/SmartButtonStateController.h>

class SmartButton
: public SinricProDevice
, public SmartButtonStateController<SmartButton> {
  friend class SmartButtonStateController<SmartButton>;
public:
  SmartButton(const String &deviceId) : SinricProDevice(deviceId, "SmartButton") {};
};

#endif
SmartButton.ino
// Uncomment the following line to enable serial debug output
//#define ENABLE_DEBUG

#ifdef ENABLE_DEBUG
  #define DEBUG_ESP_PORT Serial
  #define NODEBUG_WEBSOCKETS
  #define NDEBUG
#endif

#include <Arduino.h>
#ifdef ESP8266
  #include <ESP8266WiFi.h>
#endif
#ifdef ESP32
  #include <WiFi.h>
#endif

#include <SinricPro.h>
#include "SmartButton.h"

#define APP_KEY    "APP_KEY"
#define APP_SECRET "APP_SECRET"
#define DEVICE_ID  "DEVICE_ID"

#define SSID       "YOUR_WIFI_SSID"
#define PASS       "YOUR_WIFI_PASS"

#define BAUD_RATE  115200

SmartButton &smartButton = SinricPro[DEVICE_ID];


/*************
 * Callbacks *
 *************/

// SmartButtonStateController
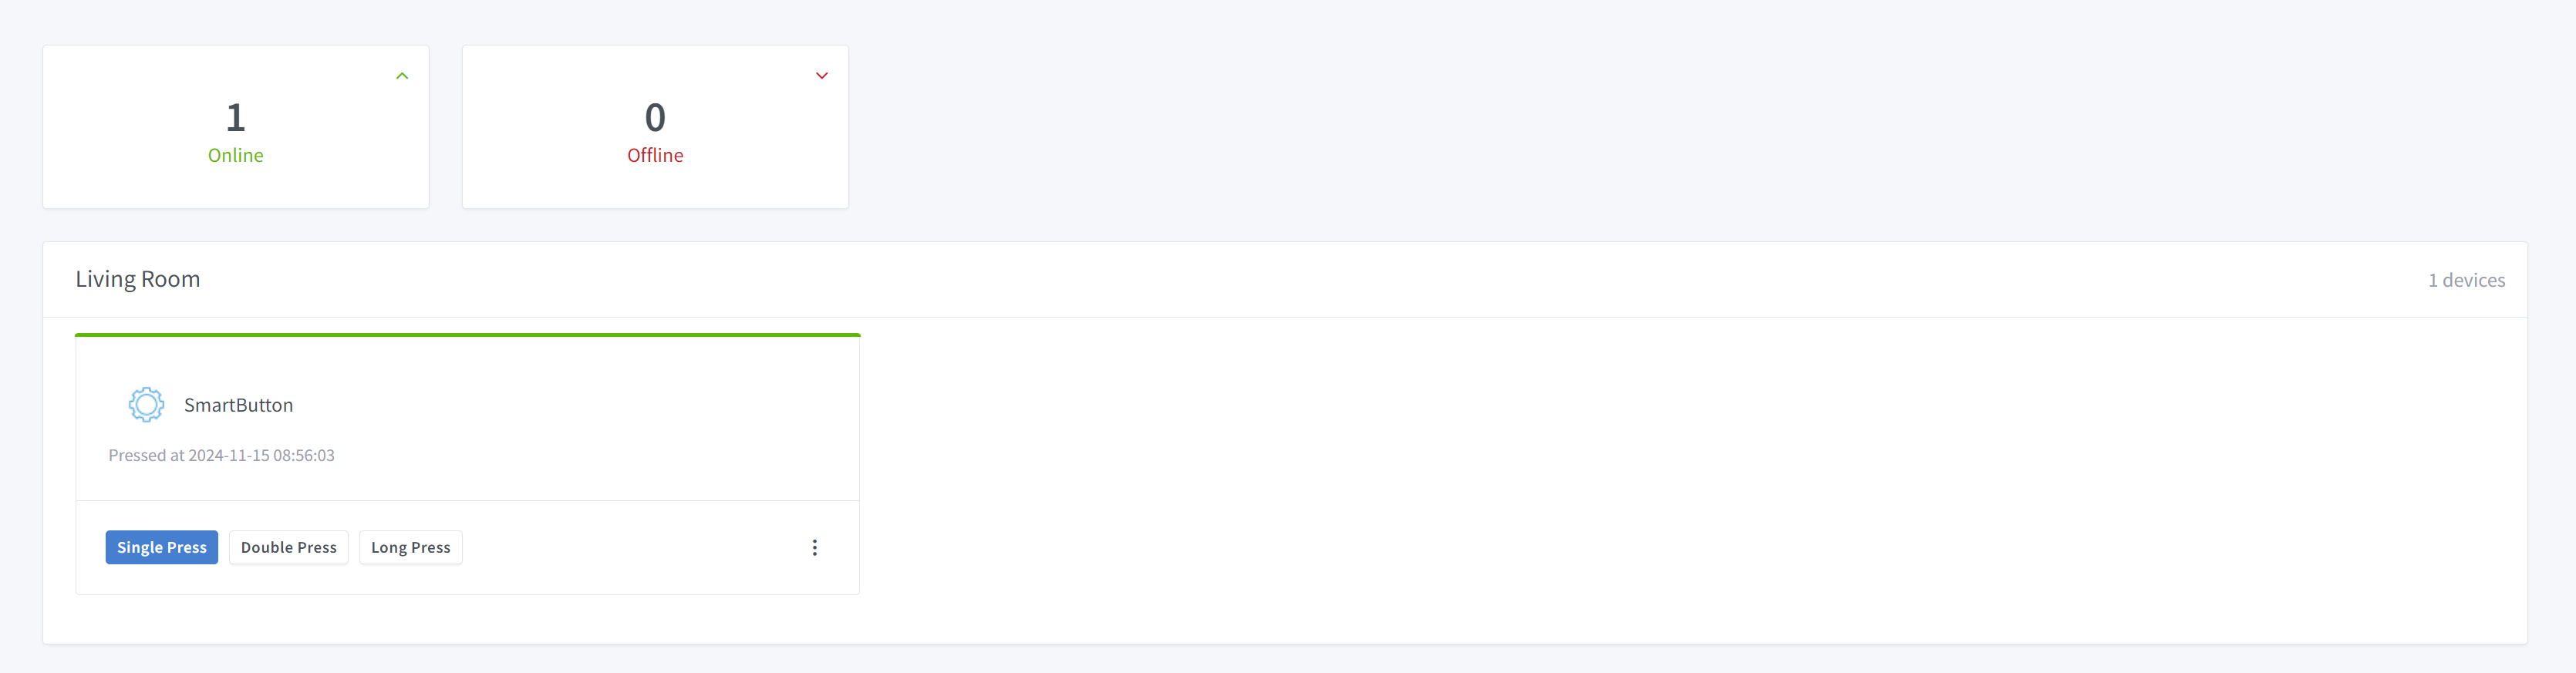
bool onSinglePress(const String &deviceId) {
  // Triggers when you press the "SmartButton" on the app

  return true; // request handled properly
}

bool onDoublePress(const String &deviceId) {
  // Triggers when you double press the "SmartButton" on the app

  return true; // request handled properly
}

bool onLongPress(const String &deviceId) {
  // Triggers when you long press the "SmartButton" on the app

  return true; // request handled properly
}


/*********
 * Setup *
 *********/

void setupSinricPro() {

// SmartButtonStateController
 smartButton.onSinglePress(onSinglePress);
 smartButton.onDoublePress(onDoublePress);
 smartButton.onLongPress(onLongPress);

  SinricPro.onConnected([]{ Serial.printf("[SinricPro]: Connected\r\n"); });
  SinricPro.onDisconnected([]{ Serial.printf("[SinricPro]: Disconnected\r\n"); });
  SinricPro.begin(APP_KEY, APP_SECRET);
};

void setupWiFi() {
  #if defined(ESP8266)
    WiFi.setSleepMode(WIFI_NONE_SLEEP);
    WiFi.setAutoReconnect(true);
  #elif defined(ESP32)
    WiFi.setSleep(false);
    WiFi.setAutoReconnect(true);
  #endif

  WiFi.begin(SSID, PASS);
  Serial.printf("[WiFi]: Connecting to %s", SSID);
  while (WiFi.status() != WL_CONNECTED) {
    Serial.printf(".");
    delay(250);
  }
  Serial.printf("connected\r\n");
}

void setup() {
  Serial.begin(BAUD_RATE);
  setupWiFi();
  setupSinricPro();
}

/********
 * Loop *
 ********/

void loop() {
  SinricPro.handle();
}
Diesen Code auf GitHub Gist ansehen
Fehlerbehebung
-
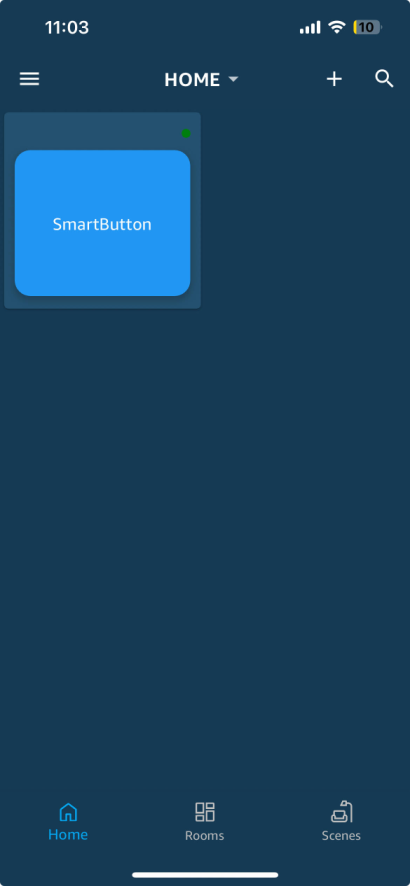
Smart Buttons werden nur in der SinricPro App unterstützt. Alexa, Google Home und SmartThings werden nicht unterstützt.
-
Weitere Details findest du auf unserer Seite Troubleshooting.
Verwandte Tutorials
- ESP32 oder ESP8266 mit Alexa und Google Home steuern
- Switch-Tutorial Teil 2: Relais mit einem Taster umschalten
- Gerätevorlagen: eigenen Gerätetyp erstellen
Dieses Dokument ist Open Source. Tippfehler entdeckt? Bitte erstelle ein Issue