


Handling Sinric Pro Smart Button
Want to control your DIY projects with just a tap on your phone? Sinric Pro’s Smart Button feature is the perfect solution. Create a push buttons in the app that can trigger any action on your microcontroller – from switching on LEDs to controlling motors or sensors. This guide will walk you through setting up Smart Button functionality on your ESP32, ESP8266, or Raspberry Pi Pico W. You’ll learn how to handle all types of button interactions:
- Single press
- Double press
- Long press
Prerequisites :
- ESP32, ESP8266 or Raspberry Pi Pico W x 1.
Step 1 : Connect to Sinric Pro
Step 1.1 : Create a custom device type for Smart Button.
Sinric Pro does not have a built-in device type for Push Button so we are going to create a custom device type for it.
Note: You can use the device template import feature mentioned below to skip creating the full template.
-
Login to your Sinric Pro account and goto Device Templates
-
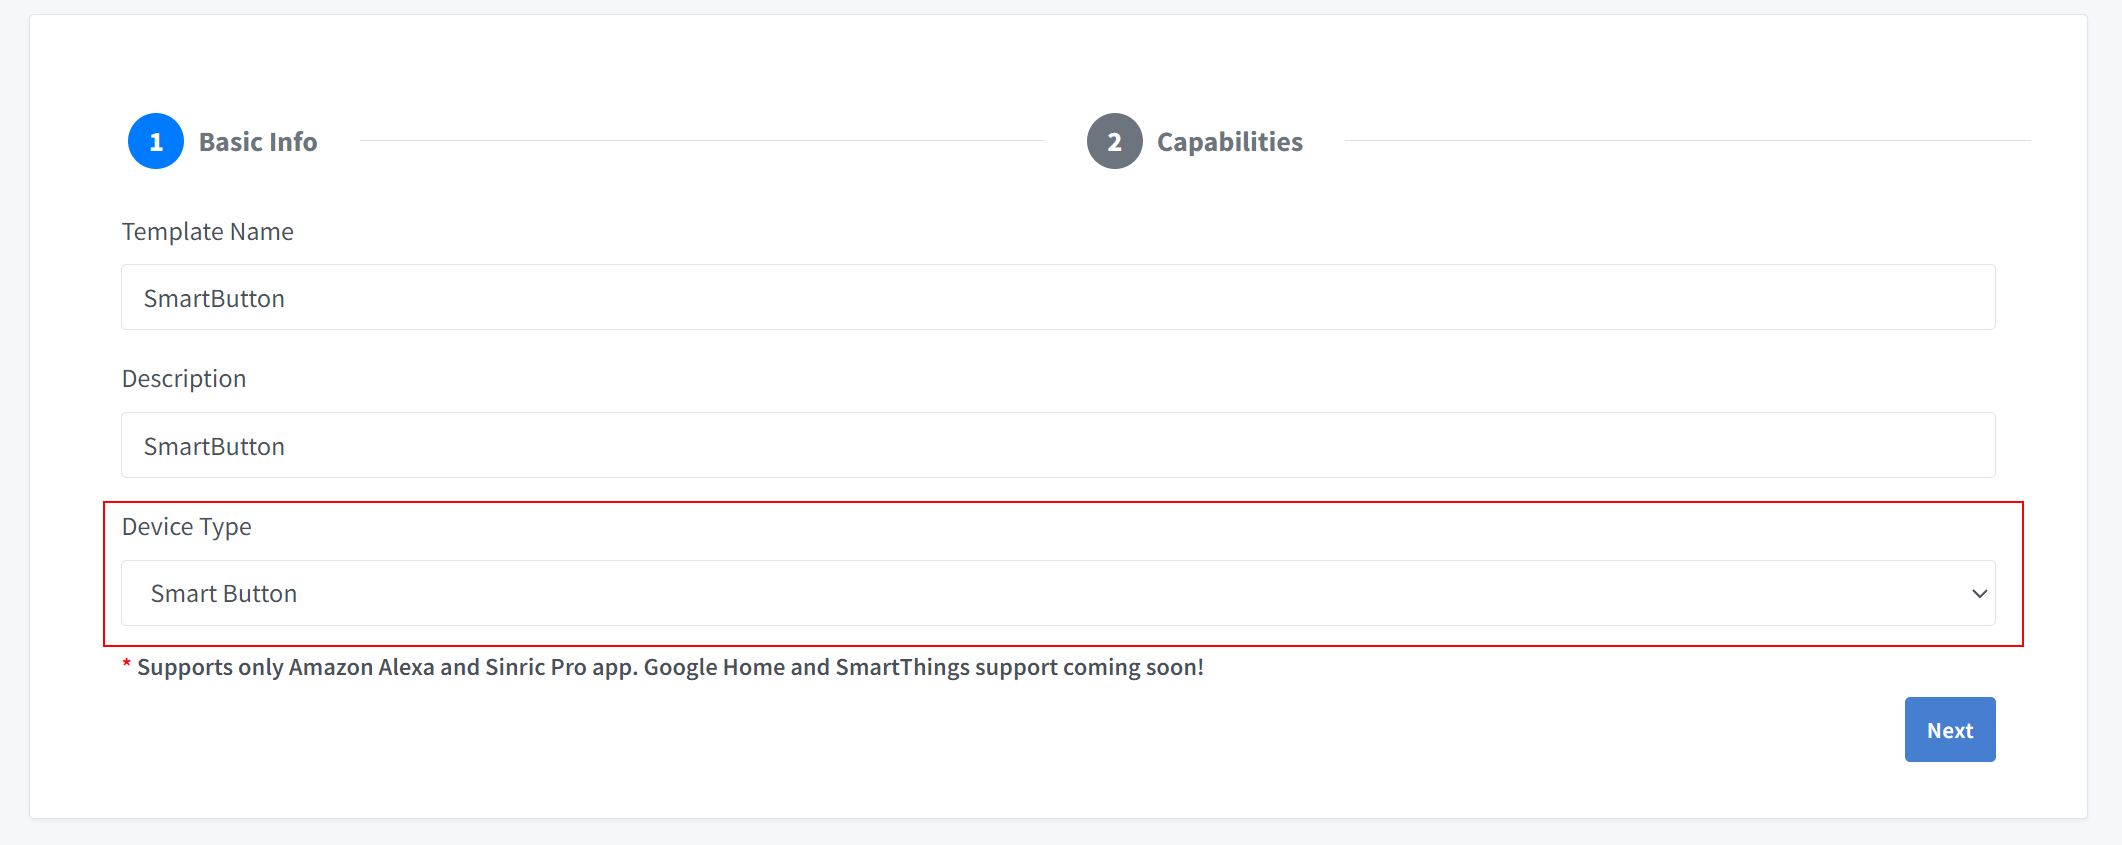
Click Add Device Template. Enter name and description as SmartButton and select Smart Button as device type
- Click Capabilities and drag a Smart Button capability.
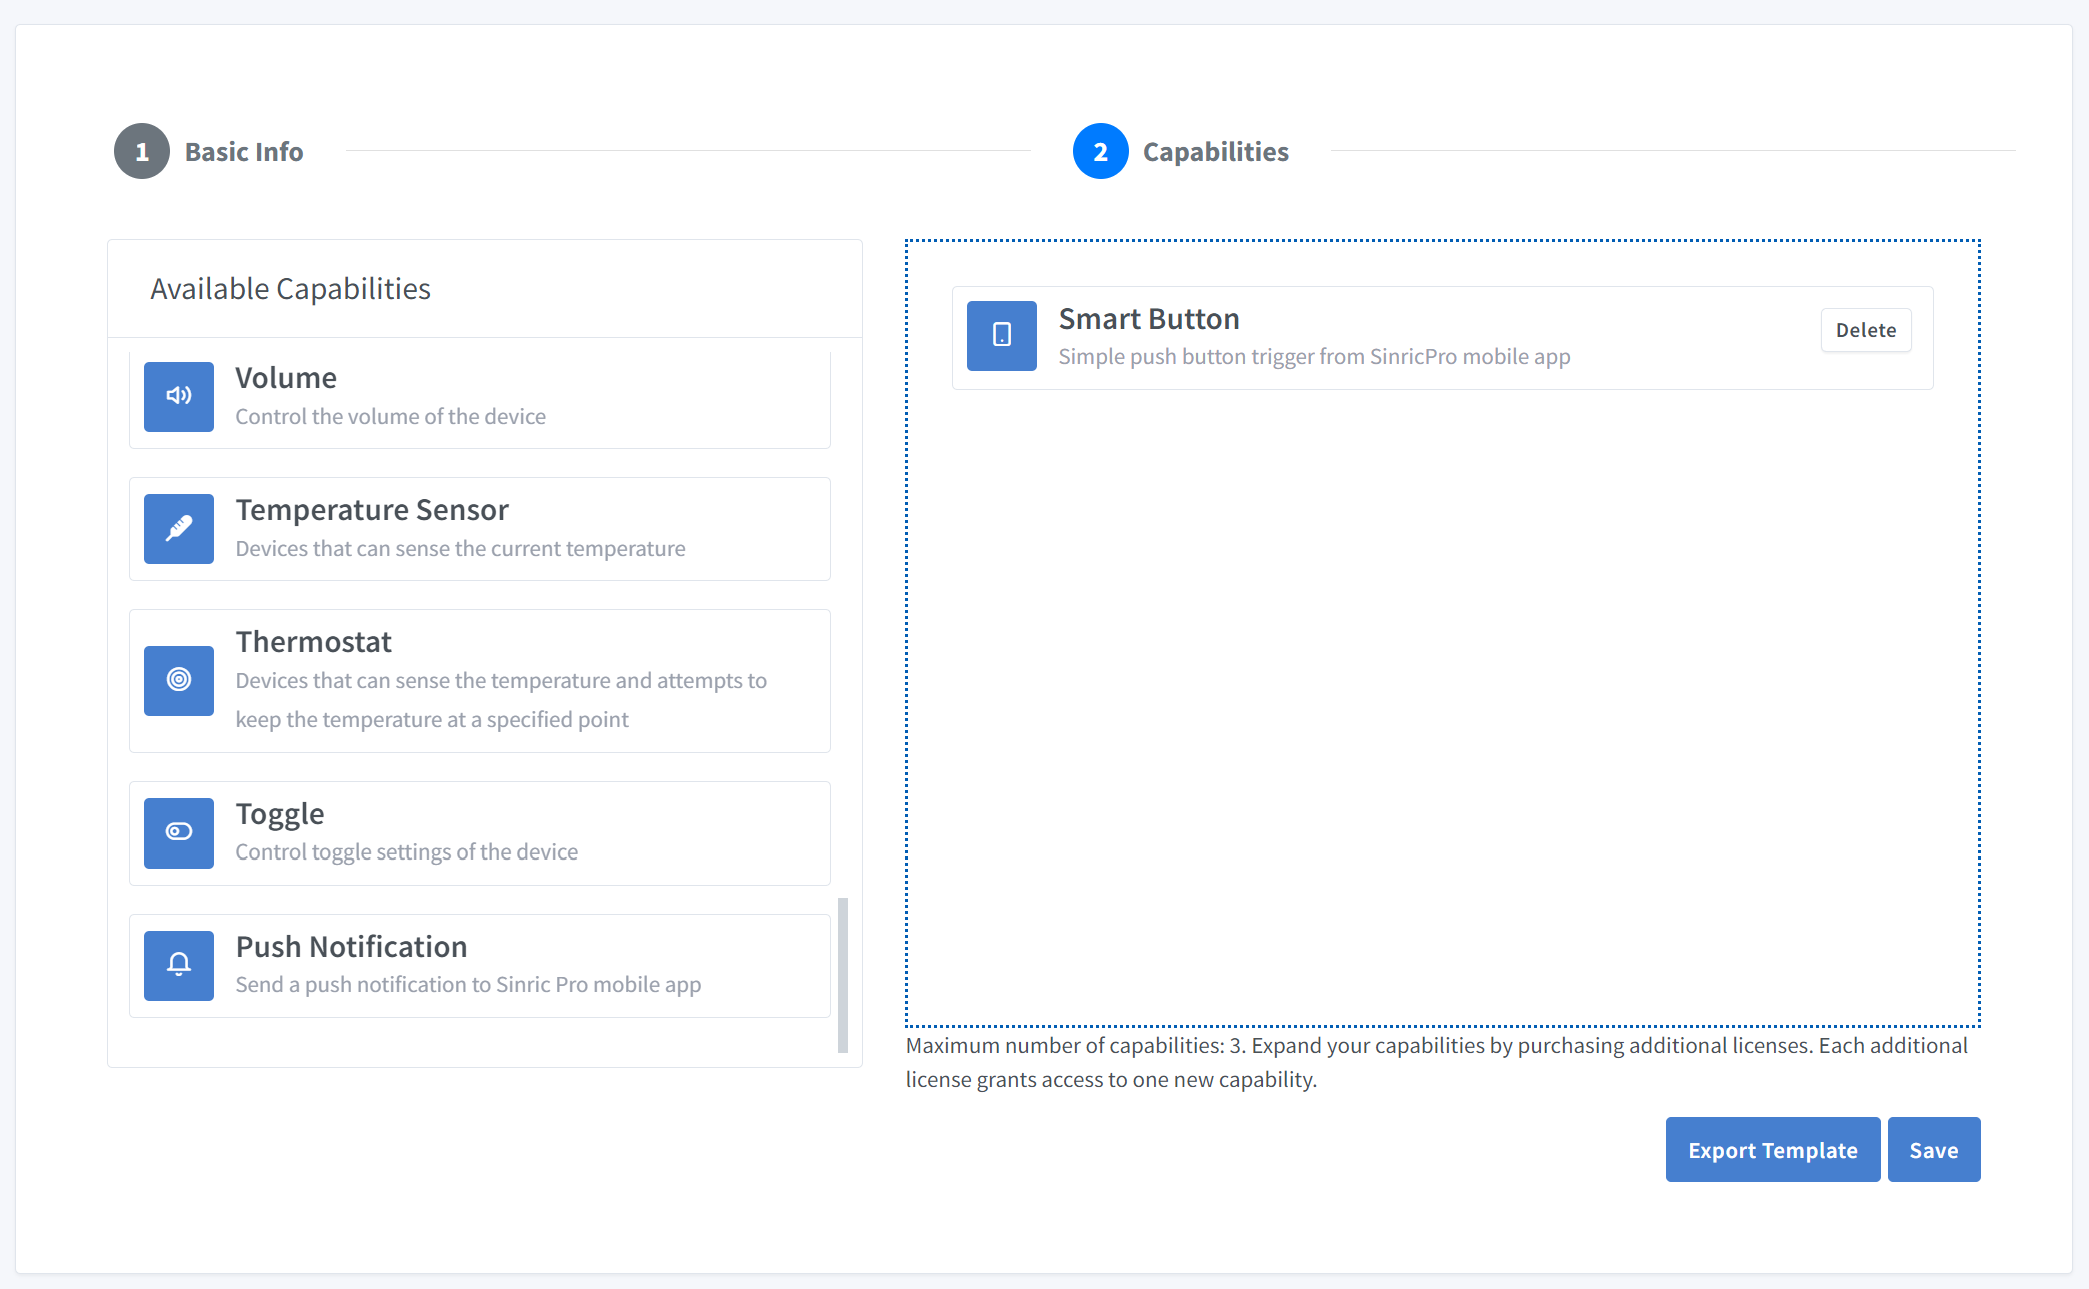
Click on Save to save.

Now you can see the template we just created.
Import an existing template?
If you are feeling lazy setup all the Modes and Range values, you can use the import feature.
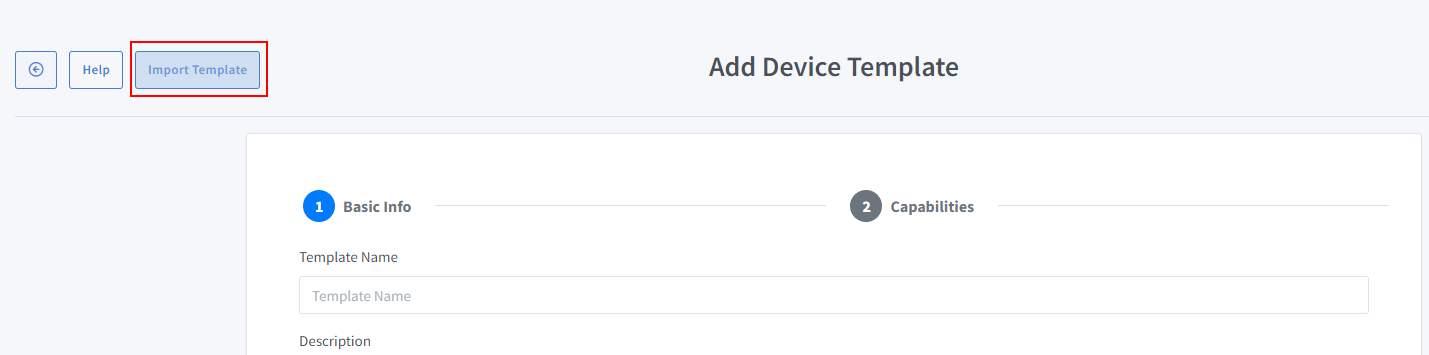
Paste this Template:
{
  "name": "SmartButton",
  "description": "SmartButton",
  "deviceTypeId": "672a3b2c96ec80395518f2fe",
  "capabilities": [
    {
      "id": "672a3fbd96ec8039551901eb"
    }
  ]
}
-
Login to your Sinric Pro account, go to Devices menu on your left and click Add Device button (On top left).
-
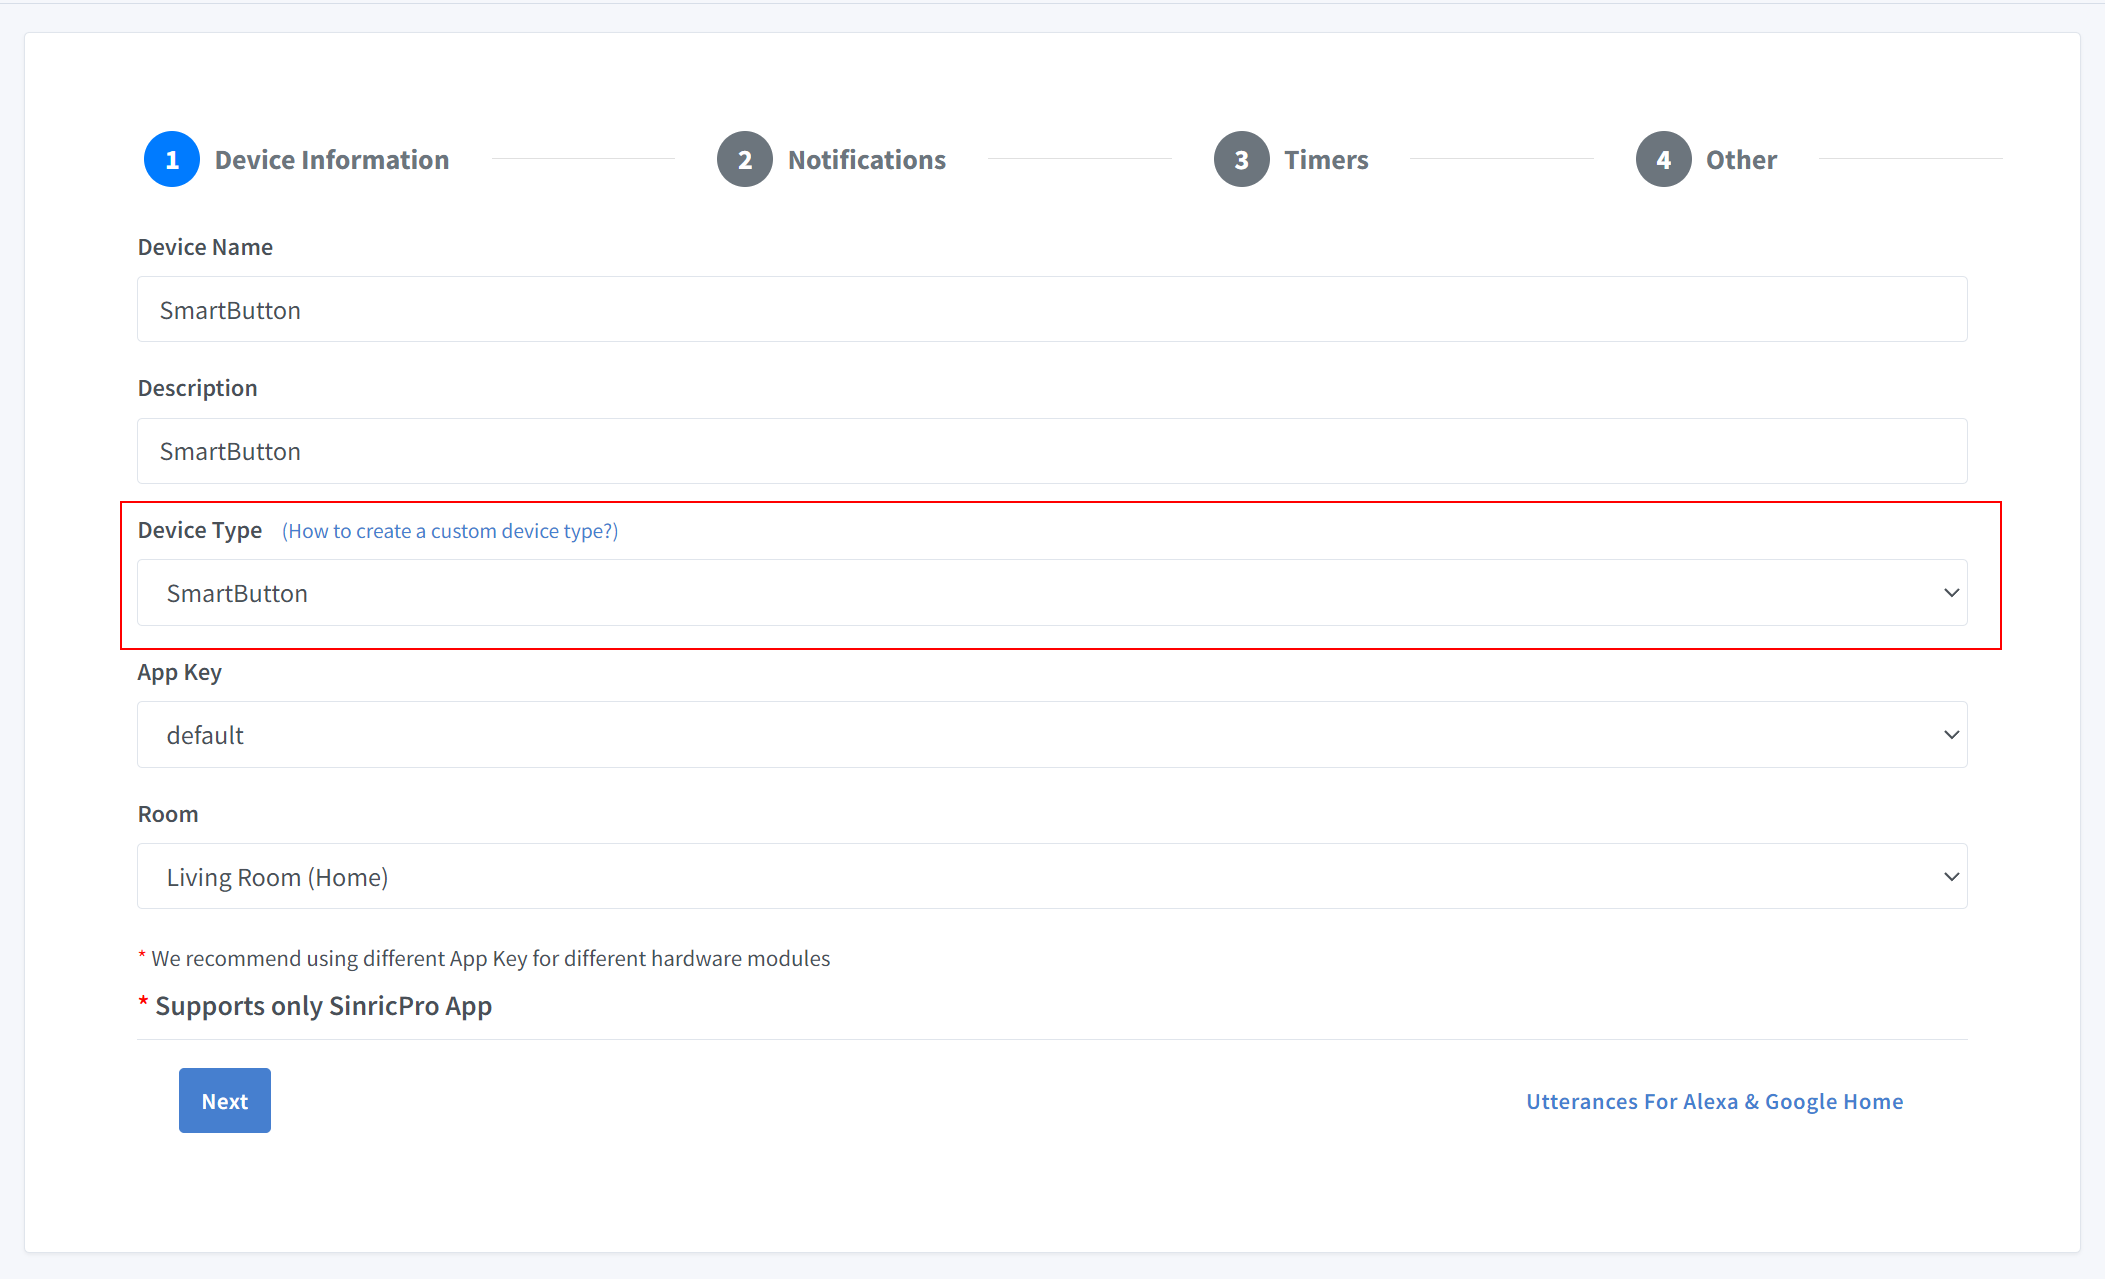
Enter the device name SmartButton, description SmartButton and select the device type as SmartButton.
-
Click Others tab and Click Save
-
Next screen will show the credentials required to connect the device you just created.
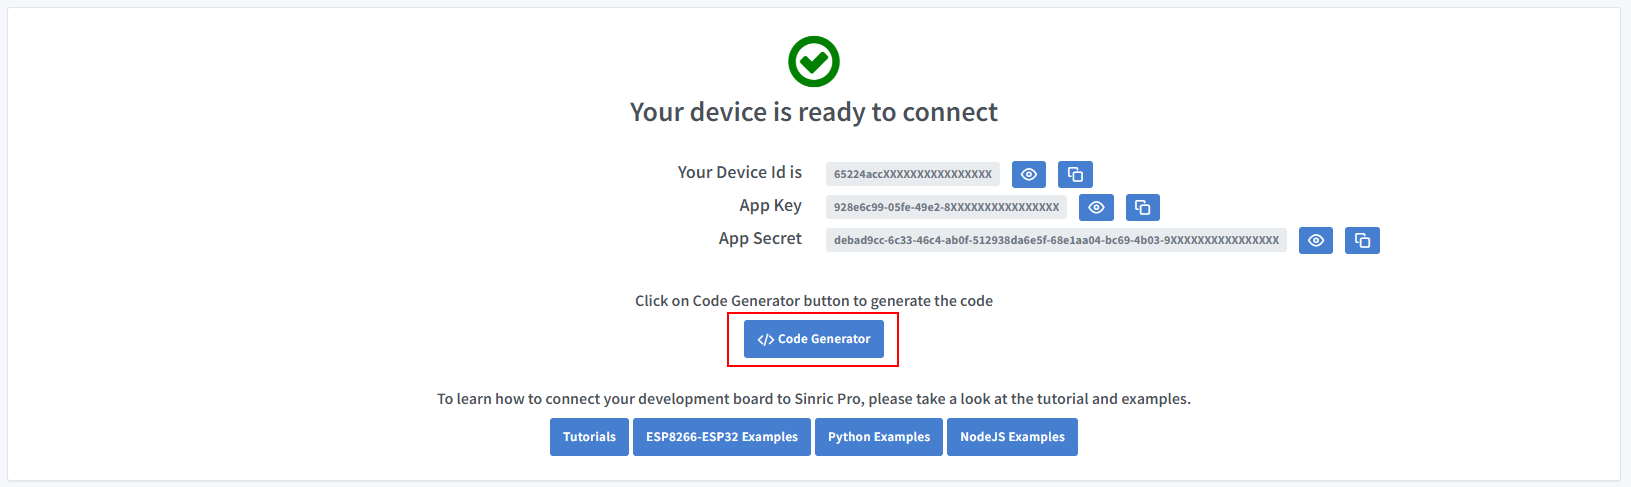
-
Copy the Device Id, App Key and App Secret Keep these values secure. DO NOT SHARE THEM ON PUBLIC FORUMS !
-
Click on Code Generator to Generate the code. Click on Download to download the code.
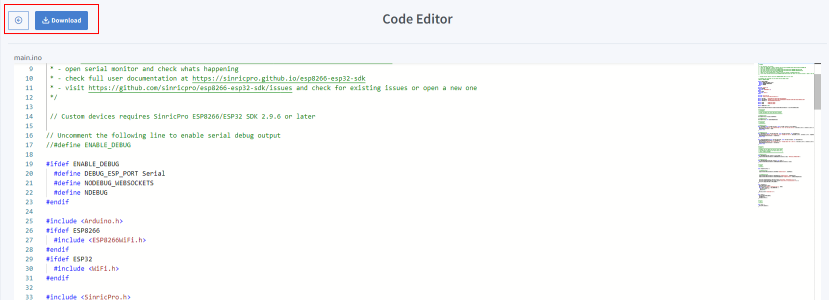
Step 2 : Connect to Sinric Pro
Step 2.1 Install Sinric Pro Library

2.2 Complete Code
SmartButton.h
#ifndef _SMARTBUTTON_H_
#define _SMARTBUTTON_H_

#include <SinricProDevice.h>
#include <Capabilities/SmartButtonStateController.h>

class SmartButton
: public SinricProDevice
, public SmartButtonStateController<SmartButton> {
  friend class SmartButtonStateController<SmartButton>;
public:
  SmartButton(const String &deviceId) : SinricProDevice(deviceId, "SmartButton") {};
};

#endif
SmartButton.ino
// Uncomment the following line to enable serial debug output
//#define ENABLE_DEBUG

#ifdef ENABLE_DEBUG
  #define DEBUG_ESP_PORT Serial
  #define NODEBUG_WEBSOCKETS
  #define NDEBUG
#endif

#include <Arduino.h>
#ifdef ESP8266
  #include <ESP8266WiFi.h>
#endif
#ifdef ESP32
  #include <WiFi.h>
#endif

#include <SinricPro.h>
#include "SmartButton.h"

#define APP_KEY    "APP_KEY"
#define APP_SECRET "APP_SECRET"
#define DEVICE_ID  "DEVICE_ID"

#define SSID       "YOUR_WIFI_SSID"
#define PASS       "YOUR_WIFI_PASS"

#define BAUD_RATE  115200

SmartButton &smartButton = SinricPro[DEVICE_ID];


/*************
 * Callbacks *
 *************/

// SmartButtonStateController
bool onSinglePress(const String &deviceId) {
  // Triggers when you press the "SmartButton" on the app

  return true; // request handled properly
}

bool onDoublePress(const String &deviceId) {
  // Triggers when you double press the "SmartButton" on the app

  return true; // request handled properly
}

bool onLongPress(const String &deviceId) {
  // Triggers when you long press the "SmartButton" on the app

  return true; // request handled properly
}


/*********
 * Setup *
 *********/

void setupSinricPro() {

// SmartButtonStateController
 smartButton.onSinglePress(onSinglePress);
 smartButton.onDoublePress(onDoublePress);
 smartButton.onLongPress(onLongPress);

  SinricPro.onConnected([]{ Serial.printf("[SinricPro]: Connected\r\n"); });
  SinricPro.onDisconnected([]{ Serial.printf("[SinricPro]: Disconnected\r\n"); });
  SinricPro.begin(APP_KEY, APP_SECRET);
};

void setupWiFi() {
  #if defined(ESP8266)
    WiFi.setSleepMode(WIFI_NONE_SLEEP);
    WiFi.setAutoReconnect(true);
  #elif defined(ESP32)
    WiFi.setSleep(false);
    WiFi.setAutoReconnect(true);
  #endif

  WiFi.begin(SSID, PASS);
  Serial.printf("[WiFi]: Connecting to %s", SSID);
  while (WiFi.status() != WL_CONNECTED) {
    Serial.printf(".");
    delay(250);
  }
  Serial.printf("connected\r\n");
}

void setup() {
  Serial.begin(BAUD_RATE);
  setupWiFi();
  setupSinricPro();
}

/********
 * Loop *
 ********/

void loop() {
  SinricPro.handle();
}
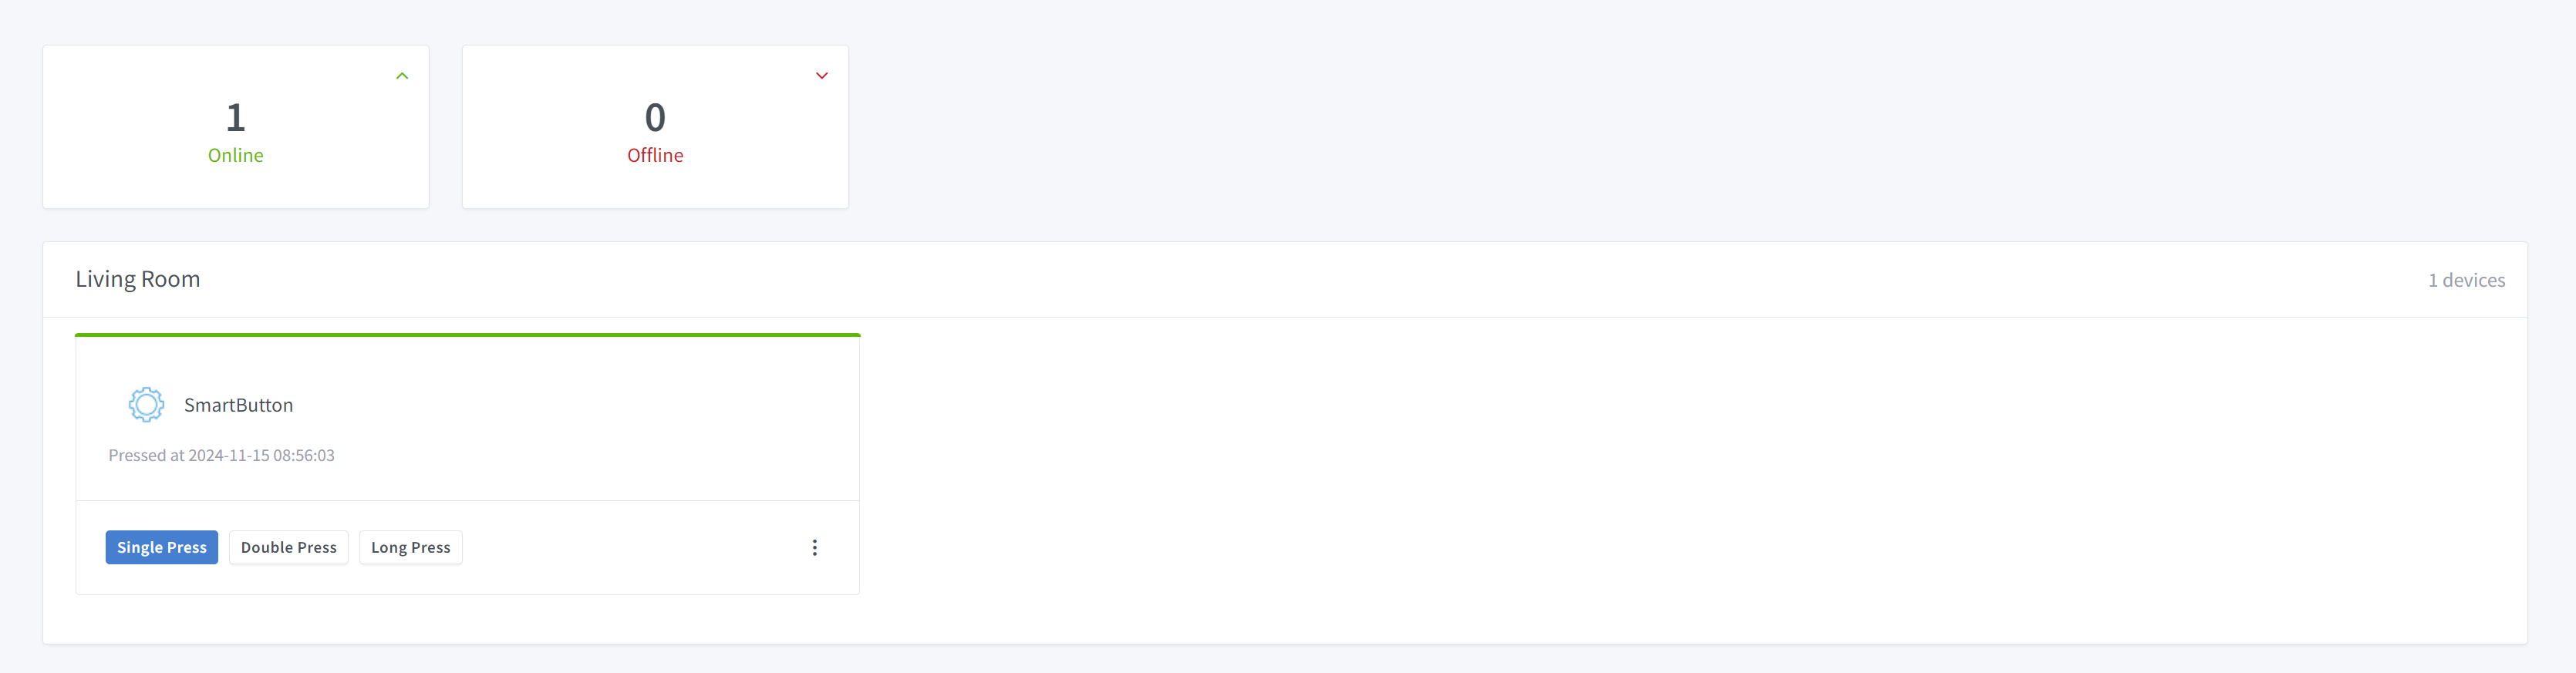
Troubleshooting
-
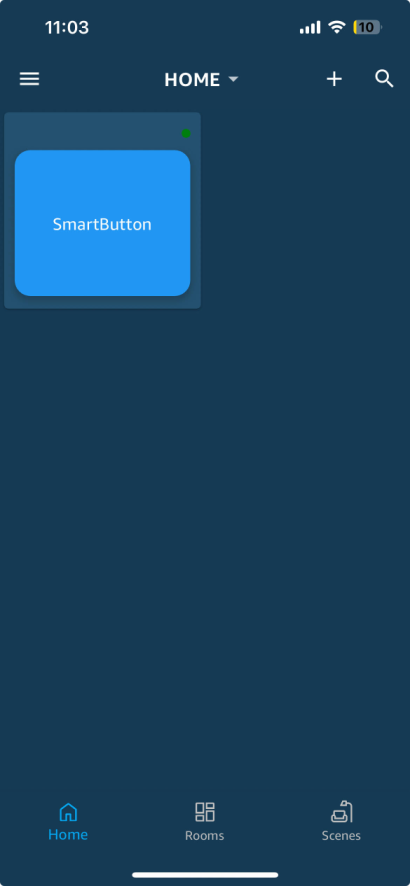
Smart Buttons are only supported in SinricPro app. Alexa, Google Home or SmartThings are not Supported.
-
Please refer to our Troubleshooting page for more details.
Related tutorials
- How to control an ESP32 or ESP8266 with Alexa and Google Home
- Switch tutorial part 2: toggle the relay with a button
- Device templates: build your own device type
This document is open source. See a typo? Please create an issue