


Manuseando Botão Inteligente Sinric Pro
Quer controlar seus projetos DIY com apenas um toque no seu telefone? O recurso Smart Button do Sinric Pro é a solução perfeita. Crie botões push no aplicativo que podem acionar qualquer ação no seu microcontrolador – desde ligar LEDs até controlar motores ou sensores. Este guia o orientará na configuração da funcionalidade Smart Button no seu ESP32, ESP8266 ou Raspberry Pi Pico W. Você aprenderá como lidar com todos os tipos de interações de botão:
- Pressão simples
- Pressão dupla
- Pressão longa
Pré-requisitos:
- ESP32, ESP8266 ou Raspberry Pi Pico W x 1.
Passo 1: Conectar ao Sinric Pro
Passo 1.1: Criar um tipo de dispositivo personalizado para Smart Button.
Sinric Pro não tem um tipo de dispositivo integrado para Push Button, então vamos criar um tipo de dispositivo personalizado para ele.
Nota: Você pode usar o recurso de importação de template de dispositivo mencionado abaixo para pular a criação do template completo.
-
Faça login na sua conta Sinric Pro e vá para Device Templates
-
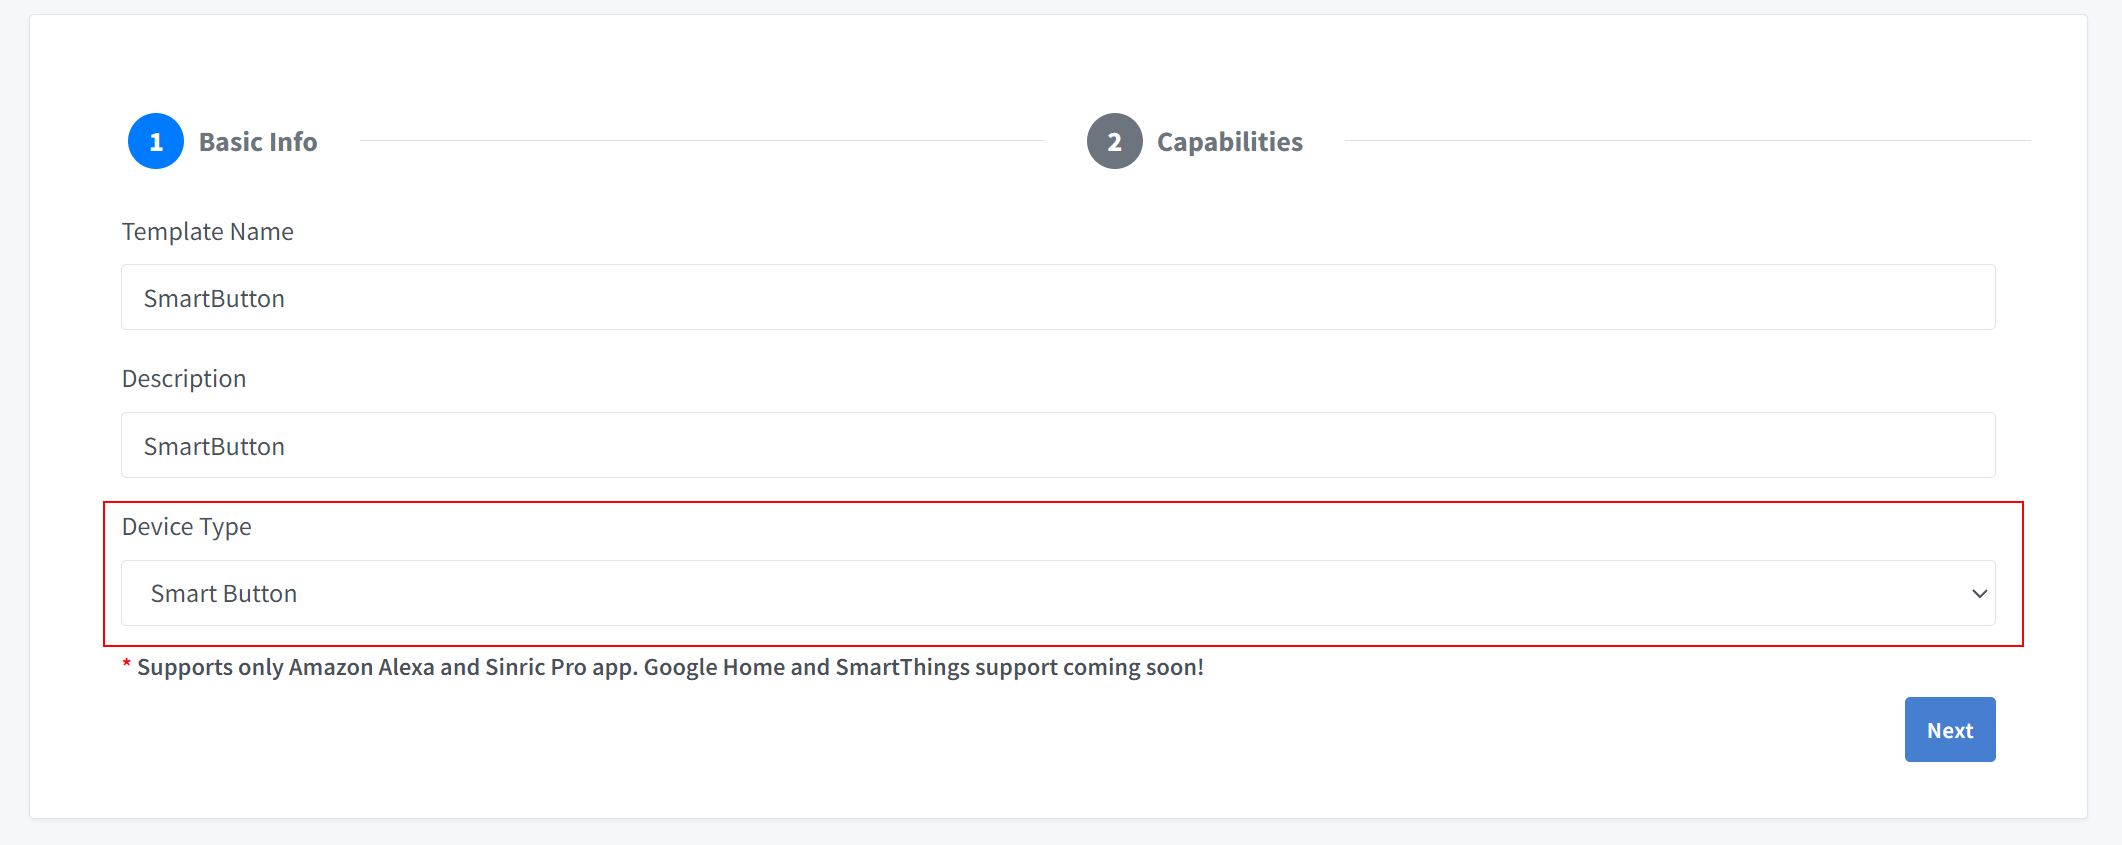
Clique em Add Device Template. Digite nome e descrição como SmartButton e selecione Smart Button como tipo de dispositivo
- Clique em Capabilities e arraste uma capacidade Smart Button.
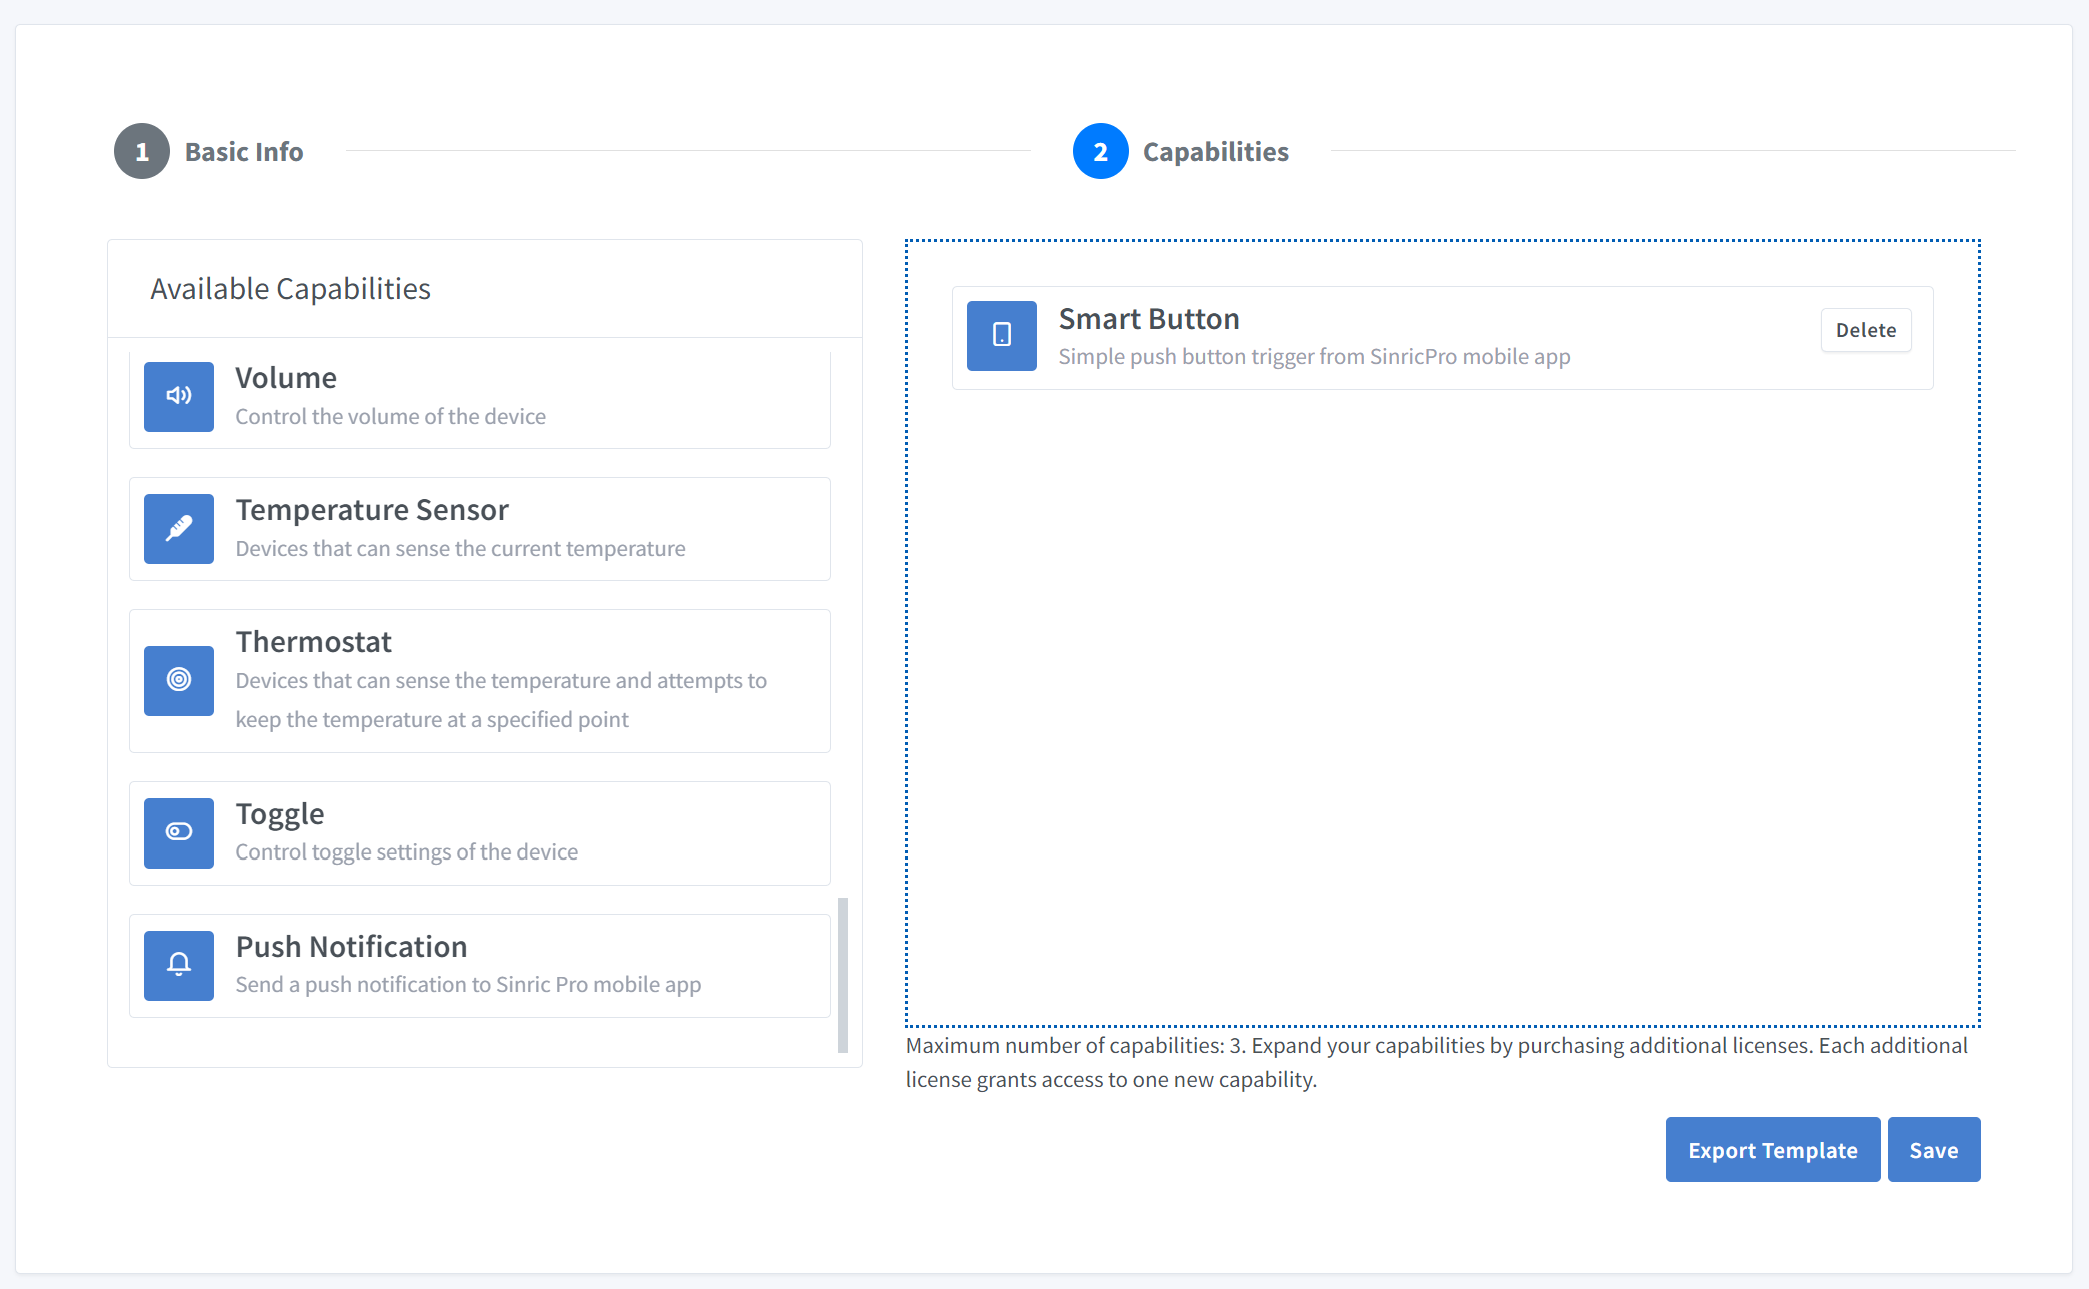
Clique em Save para salvar.

Agora você pode ver o template que acabamos de criar.
Importar um template existente?
Se você está com preguiça de configurar todos os valores dos Modos e Range, você pode usar o recurso de importação.
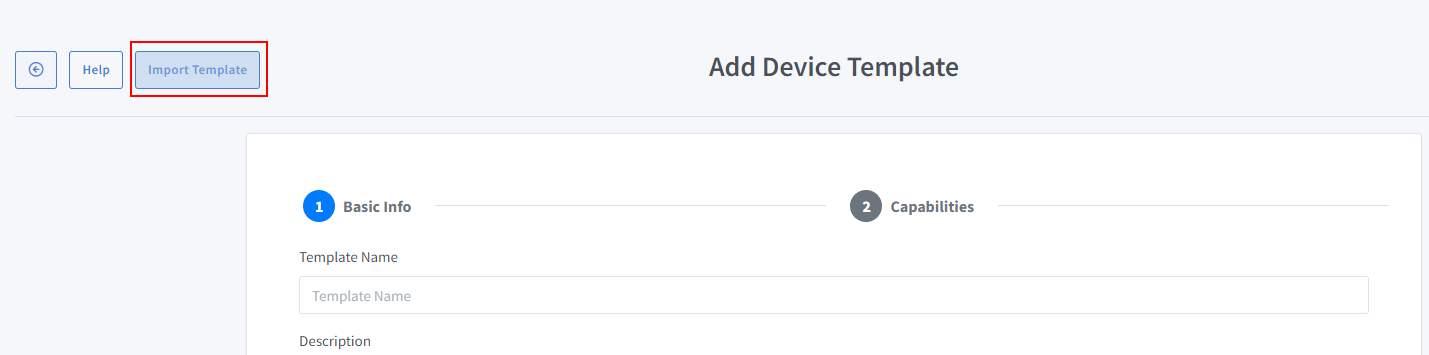
Cole este Template:
{
  "name": "SmartButton",
  "description": "SmartButton",
  "deviceTypeId": "672a3b2c96ec80395518f2fe",
  "capabilities": [
    {
      "id": "672a3fbd96ec8039551901eb"
    }
  ]
}
-
Faça login na sua conta Sinric Pro, vá ao menu Dispositivos à esquerda e clique no botão Adicionar Dispositivo (no canto superior esquerdo).
-
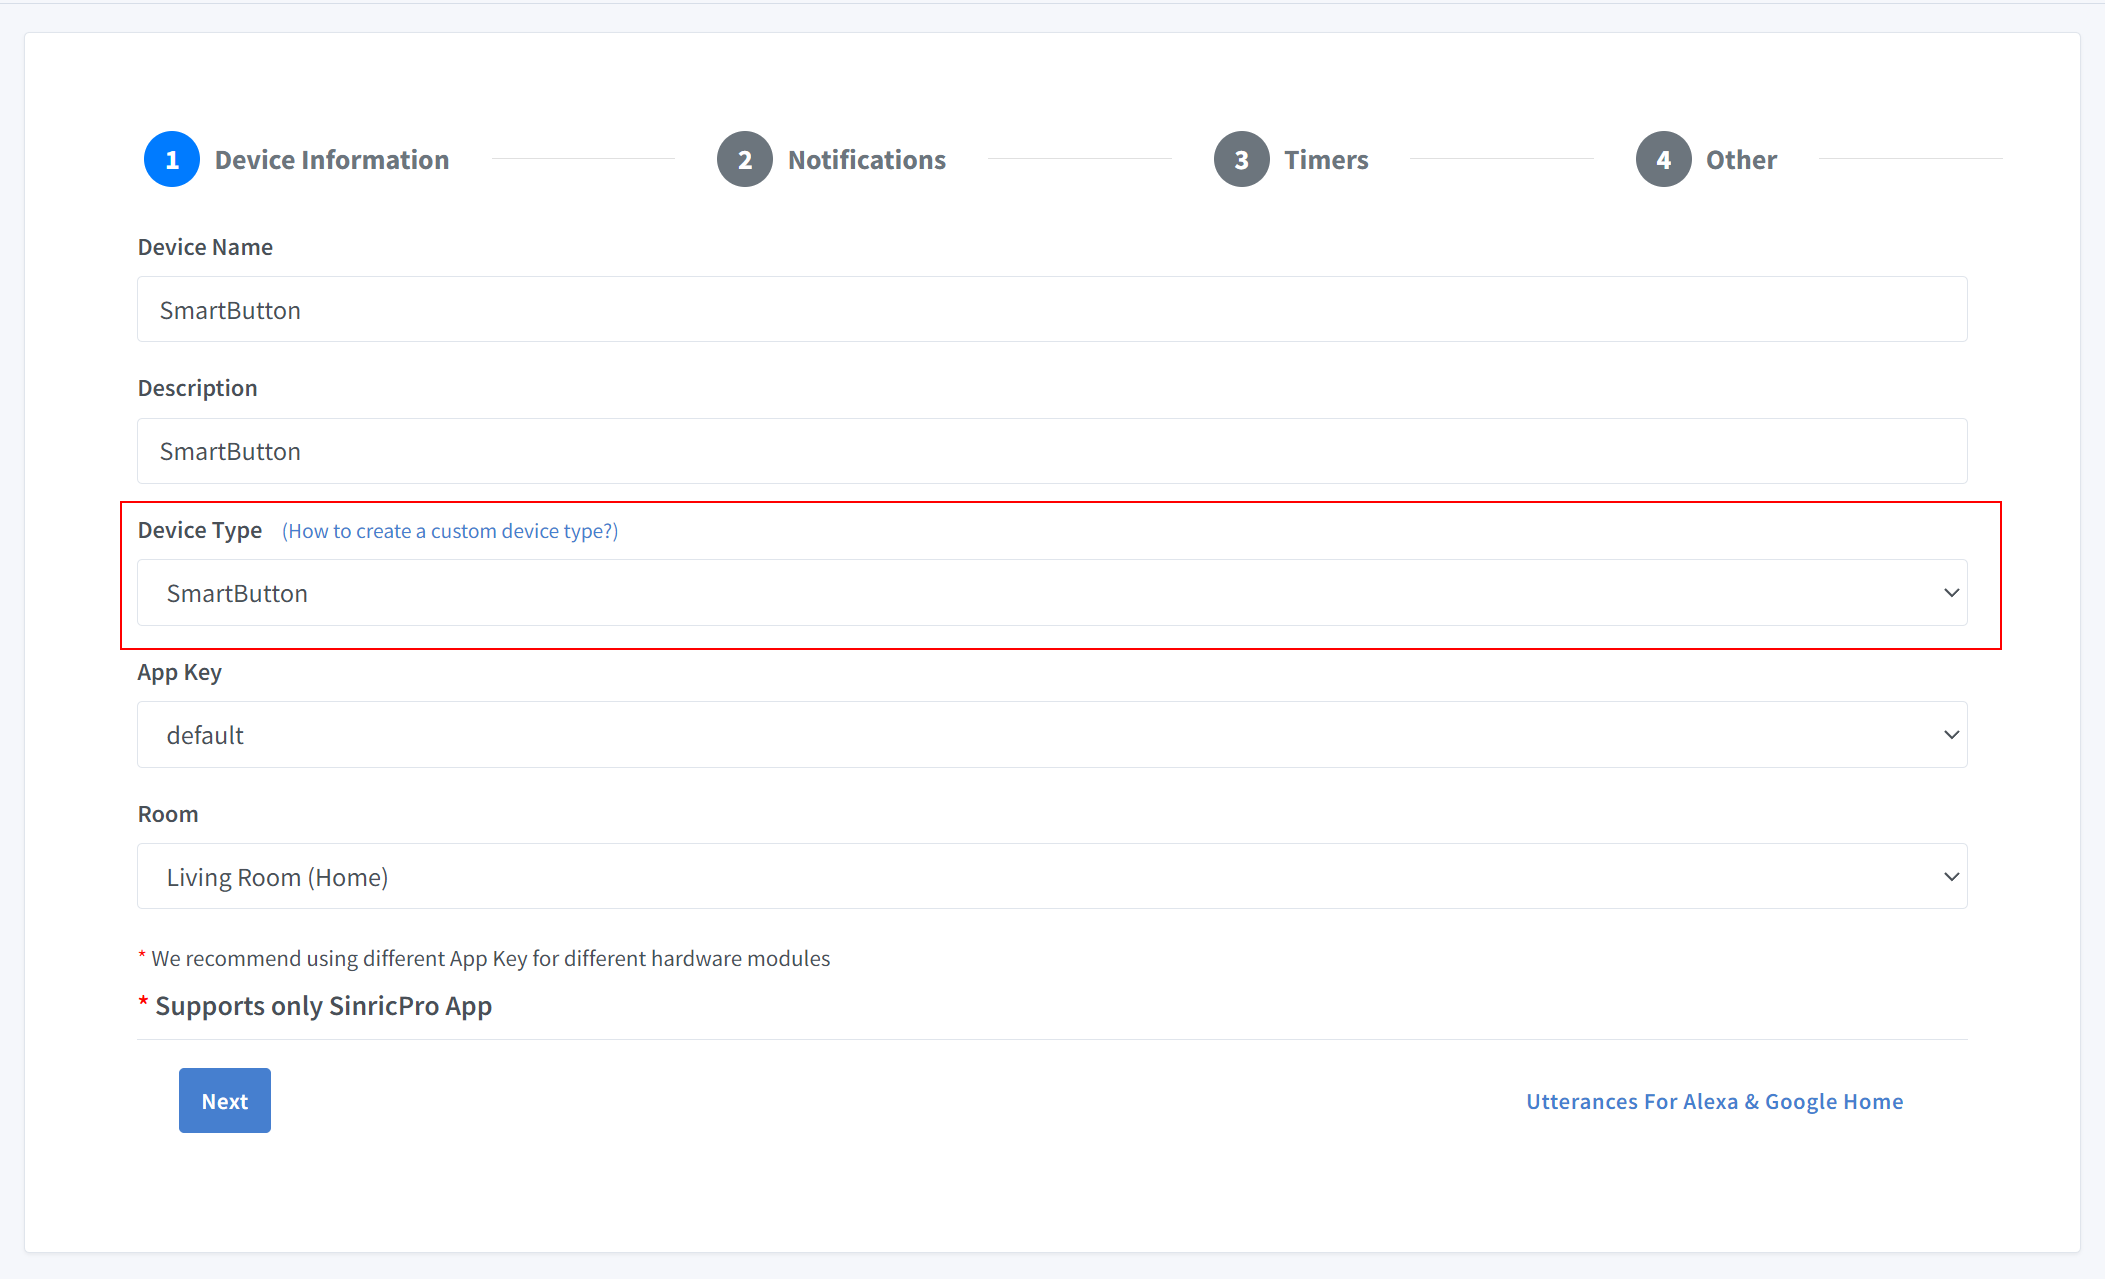
Digite o nome do dispositivo SmartButton, descrição SmartButton e selecione o tipo de dispositivo como SmartButton.
-
Clique na aba Outros e Clique em Salvar
-
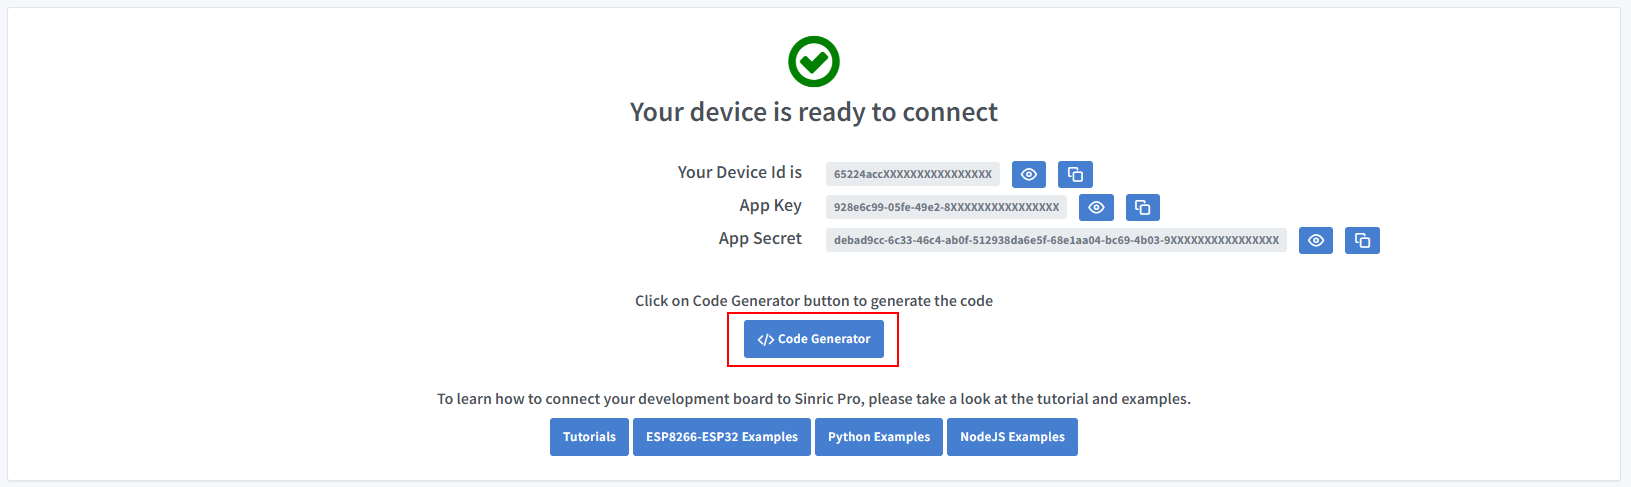
A próxima tela mostrará as credenciais necessárias para conectar o dispositivo que você acabou de criar.
-
Copie o ID do Dispositivo, Chave do App e Segredo do App Mantenha esses valores seguros. NÃO OS COMPARTILHE EM FÓRUNS PÚBLICOS!
-
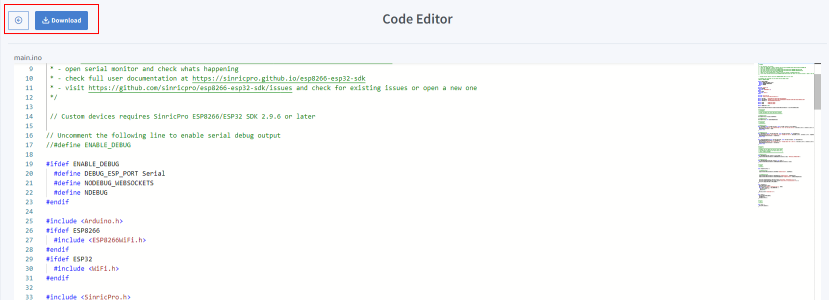
Clique em Code Generator para Gerar o código. Clique em Download para baixar o código.
Passo 2: Conectar ao Sinric Pro
Passo 2.1 Instalar a Biblioteca Sinric Pro

2.2 Código Completo
SmartButton.h
#ifndef _SMARTBUTTON_H_
#define _SMARTBUTTON_H_

#include <SinricProDevice.h>
#include <Capabilities/SmartButtonStateController.h>

class SmartButton
: public SinricProDevice
, public SmartButtonStateController<SmartButton> {
  friend class SmartButtonStateController<SmartButton>;
public:
  SmartButton(const String &deviceId) : SinricProDevice(deviceId, "SmartButton") {};
};

#endif
SmartButton.ino
// Uncomment the following line to enable serial debug output
//#define ENABLE_DEBUG

#ifdef ENABLE_DEBUG
  #define DEBUG_ESP_PORT Serial
  #define NODEBUG_WEBSOCKETS
  #define NDEBUG
#endif

#include <Arduino.h>
#ifdef ESP8266
  #include <ESP8266WiFi.h>
#endif
#ifdef ESP32
  #include <WiFi.h>
#endif

#include <SinricPro.h>
#include "SmartButton.h"

#define APP_KEY    "APP_KEY"
#define APP_SECRET "APP_SECRET"
#define DEVICE_ID  "DEVICE_ID"

#define SSID       "YOUR_WIFI_SSID"
#define PASS       "YOUR_WIFI_PASS"

#define BAUD_RATE  115200

SmartButton &smartButton = SinricPro[DEVICE_ID];


/*************
 * Callbacks *
 *************/

// SmartButtonStateController
bool onSinglePress(const String &deviceId) {
  // Triggers when you press the "SmartButton" on the app

  return true; // request handled properly
}

bool onDoublePress(const String &deviceId) {
  // Triggers when you double press the "SmartButton" on the app

  return true; // request handled properly
}

bool onLongPress(const String &deviceId) {
  // Triggers when you long press the "SmartButton" on the app

  return true; // request handled properly
}


/*********
 * Setup *
 *********/

void setupSinricPro() {

// SmartButtonStateController
 smartButton.onSinglePress(onSinglePress);
 smartButton.onDoublePress(onDoublePress);
 smartButton.onLongPress(onLongPress);

  SinricPro.onConnected([]{ Serial.printf("[SinricPro]: Connected\r\n"); });
  SinricPro.onDisconnected([]{ Serial.printf("[SinricPro]: Disconnected\r\n"); });
  SinricPro.begin(APP_KEY, APP_SECRET);
};

void setupWiFi() {
  #if defined(ESP8266)
    WiFi.setSleepMode(WIFI_NONE_SLEEP);
    WiFi.setAutoReconnect(true);
  #elif defined(ESP32)
    WiFi.setSleep(false);
    WiFi.setAutoReconnect(true);
  #endif

  WiFi.begin(SSID, PASS);
  Serial.printf("[WiFi]: Connecting to %s", SSID);
  while (WiFi.status() != WL_CONNECTED) {
    Serial.printf(".");
    delay(250);
  }
  Serial.printf("connected\r\n");
}

void setup() {
  Serial.begin(BAUD_RATE);
  setupWiFi();
  setupSinricPro();
}

/********
 * Loop *
 ********/

void loop() {
  SinricPro.handle();
}
Solução de Problemas
-
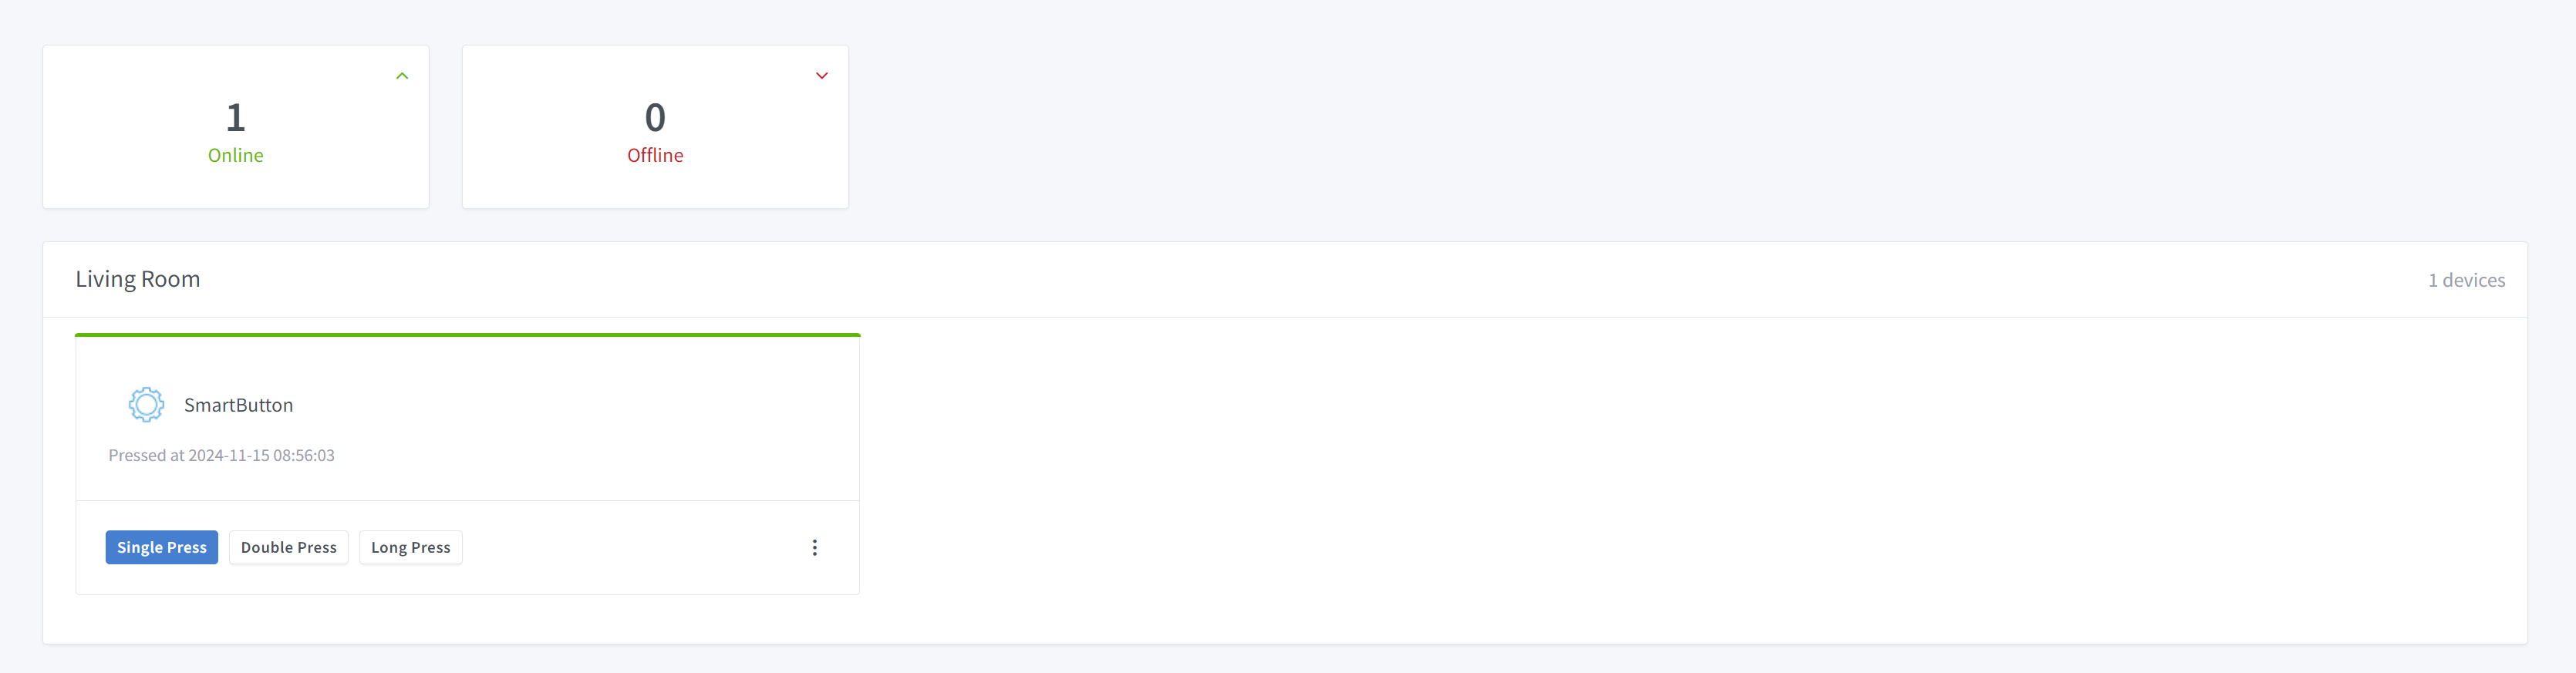
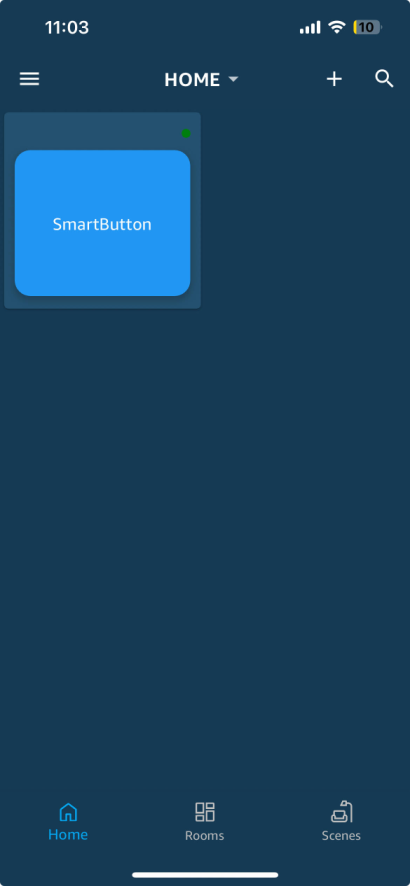
Smart Buttons são suportados apenas no aplicativo SinricPro. Alexa, Google Home ou SmartThings não são suportados.
-
Consulte nossa página de Solução de Problemas para mais detalhes.
Este documento é código aberto. Viu um erro de digitação? Por favor, crie uma issue