Handling Sinric Pro Smart Button
Want to control your DIY projects with just a tap on your phone? Sinric Pro’s Smart Button feature is the perfect solution. Create a push buttons in the app that can trigger any action on your microcontroller – from switching on LEDs to controlling motors or sensors. This guide will walk you through setting up Smart Button functionality on your ESP32, ESP8266, or Raspberry Pi Pico W. You’ll learn how to handle all types of button interactions:
- Single press
- Double press
- Long press
Prerequisites :
- ESP32, ESP8266 or Raspberry Pi Pico W x 1.
Step 1 : Connect to Sinric Pro
Step 1.1 : Create a custom device type for Smart Button.
Sinric Pro does not have a built-in device type for Push Button so we are going to create a custom device type for it.
Note: You can use the device template import feature mentioned below to skip creating the full template.
-
Login to your Sinric Pro account and goto Device Templates
-
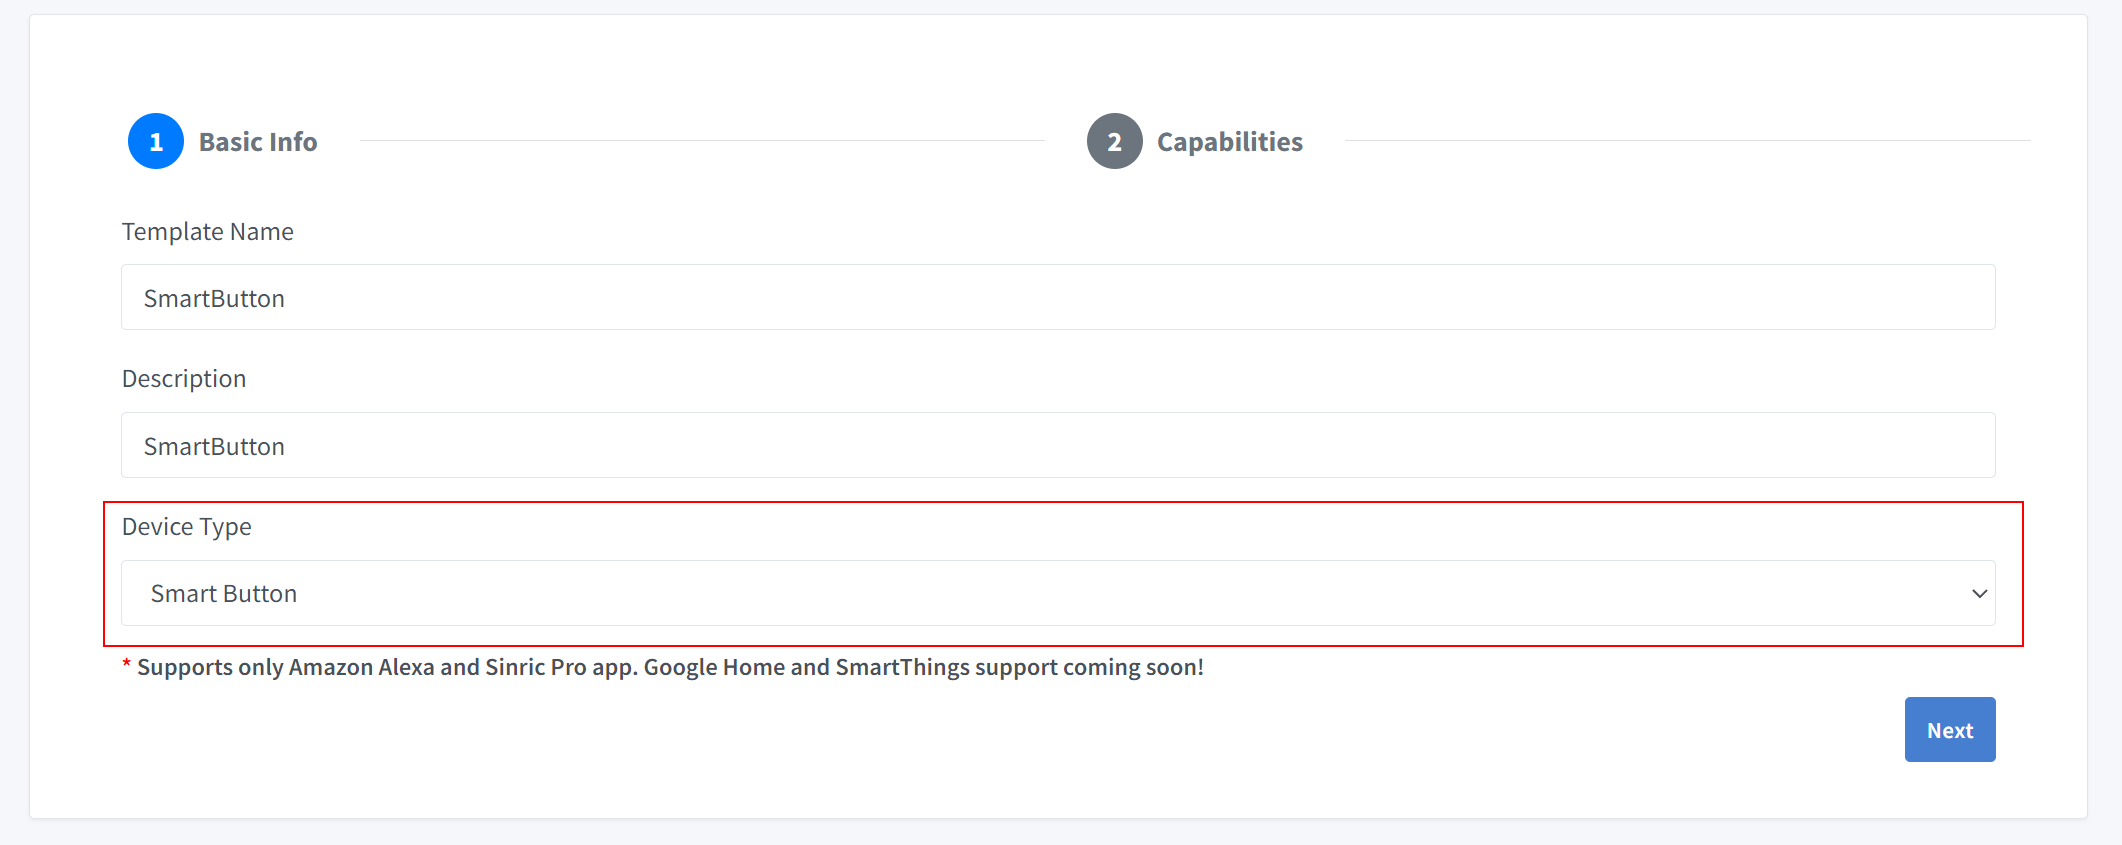
Click Add Device Template. Enter name and description as SmartButton and select Smart Button as device type
- Click Capabilities and drag a Smart Button capability.
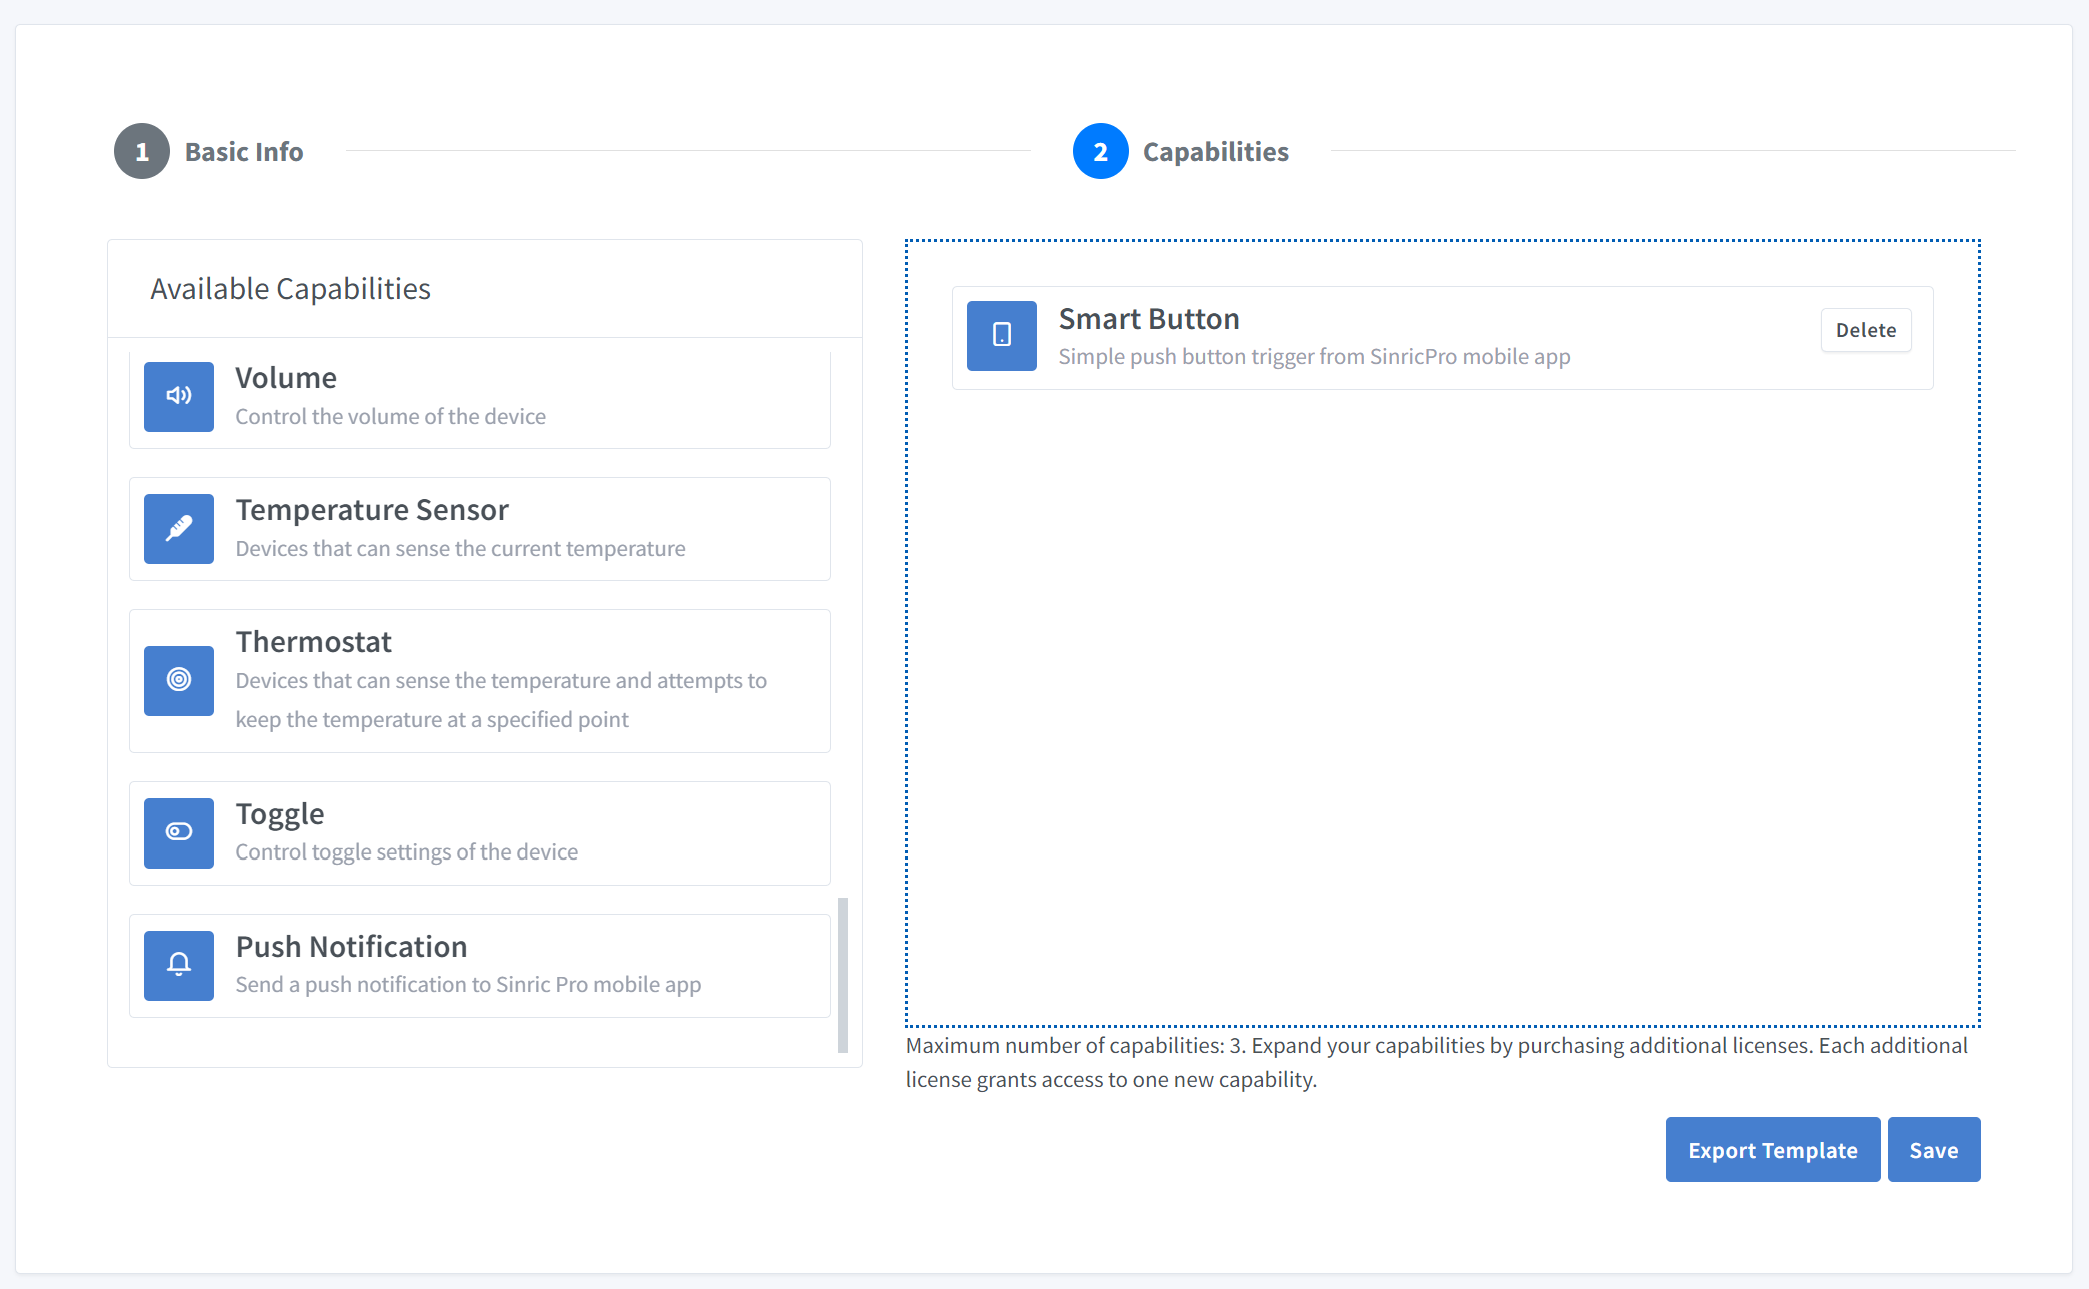
Click on Save to save.

Now you can see the template we just created.
Import an existing template?
If you are feeling lazy setup all the Modes and Range values, you can use the import feature.

Paste this Template:
{
  "name": "SmartButton",
  "description": "SmartButton",
  "deviceTypeId": "672a3b2c96ec80395518f2fe",
  "capabilities": [
    {
      "id": "672a3fbd96ec8039551901eb"
    }
  ]
}
-
Login to your Sinric Pro account, go to Devices menu on your left and click Add Device button (On top left).
-
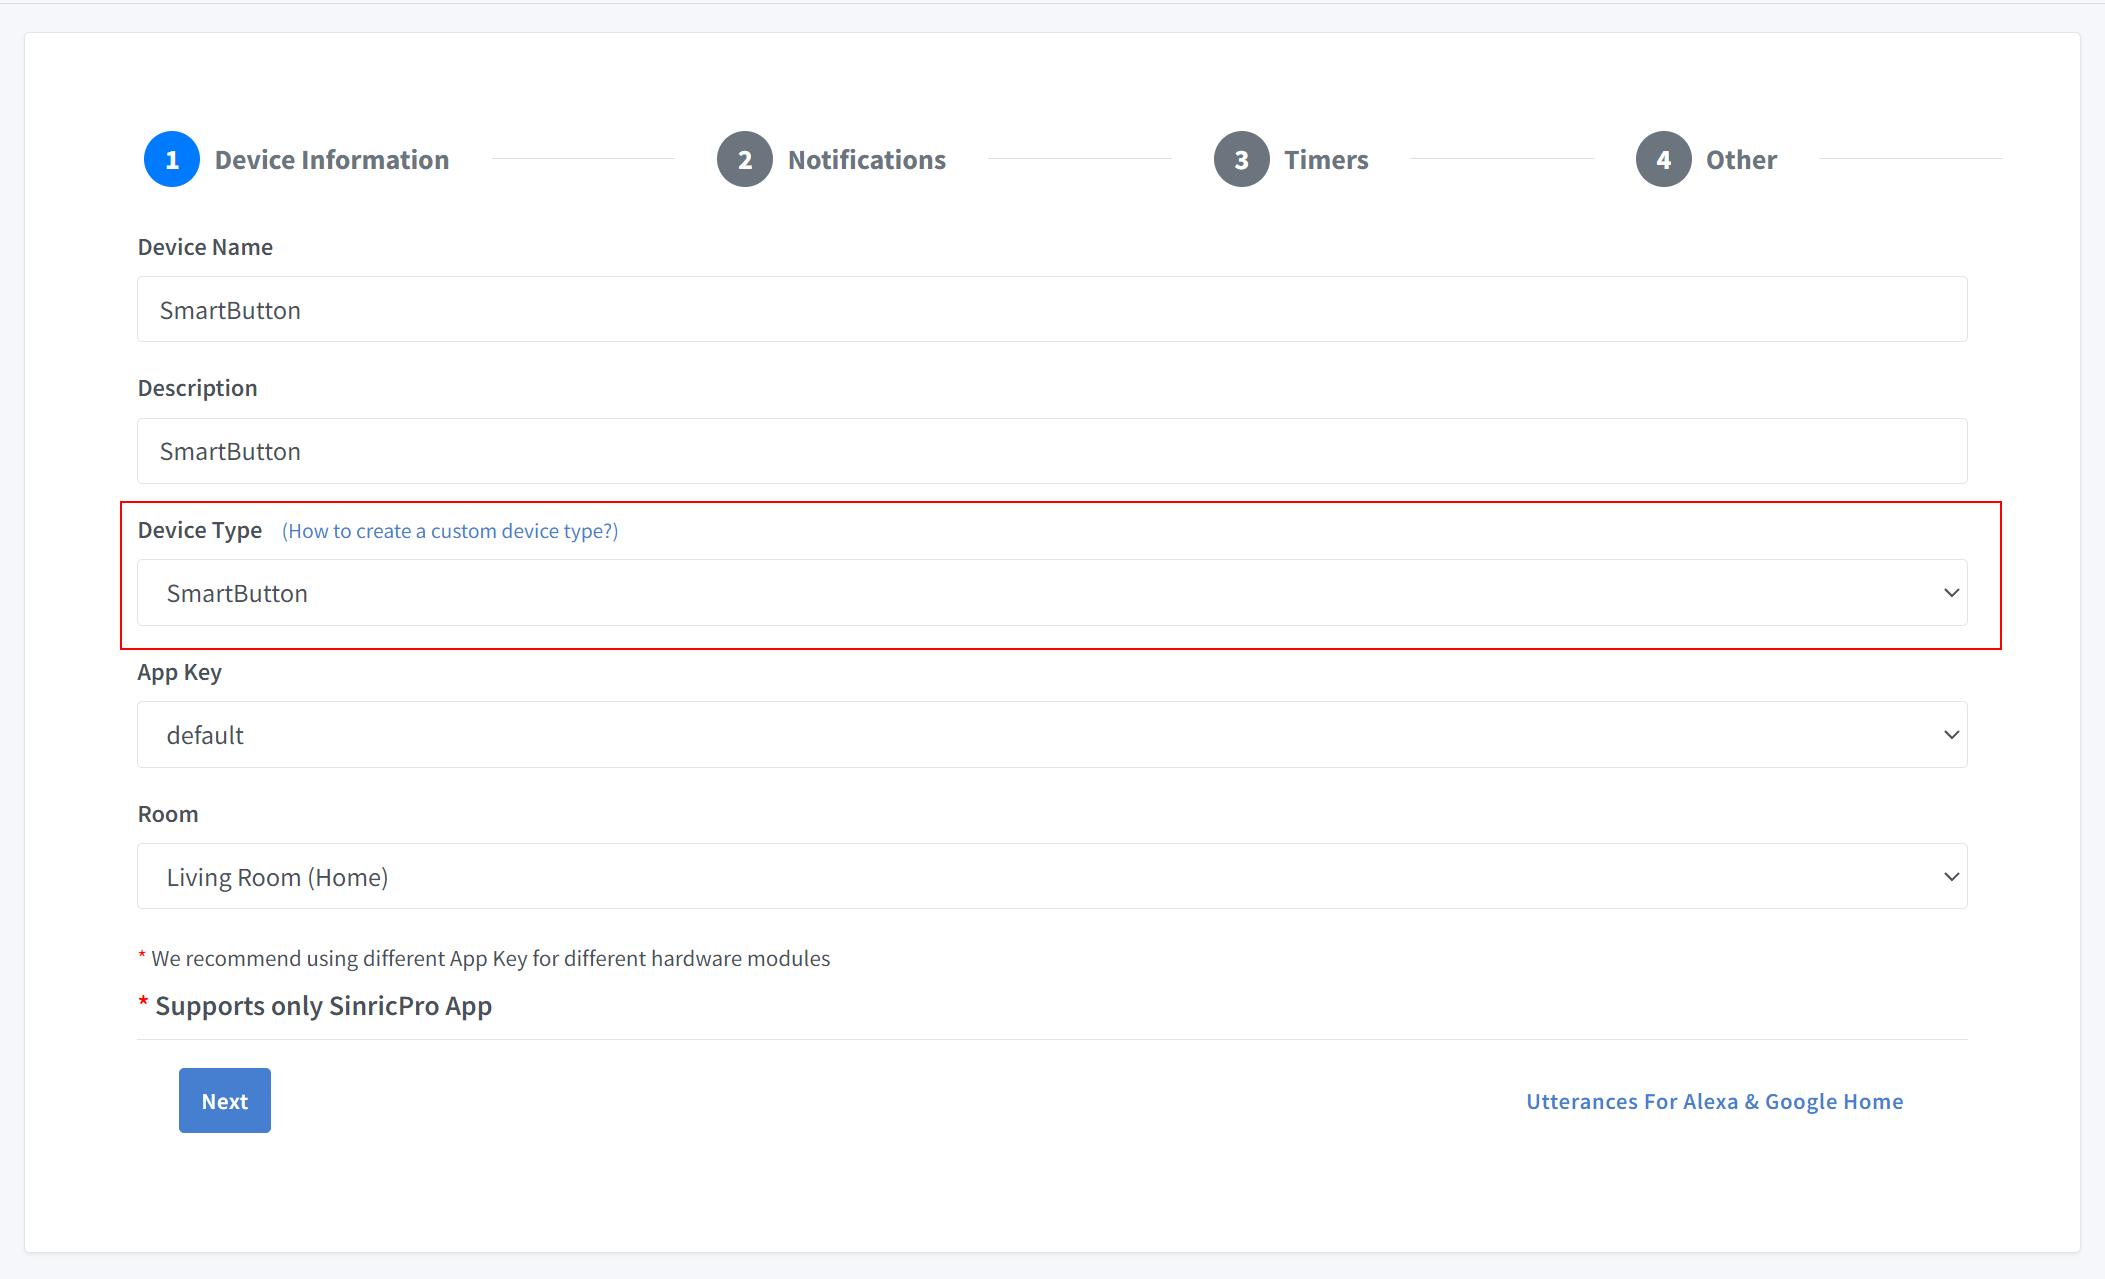
Enter the device name SmartButton, description SmartButton and select the device type as SmartButton.
-
Click Others tab and Click Save
-
Next screen will show the credentials required to connect the device you just created.

-
Copy the Device Id, App Key and App Secret Keep these values secure. DO NOT SHARE THEM ON PUBLIC FORUMS !
-
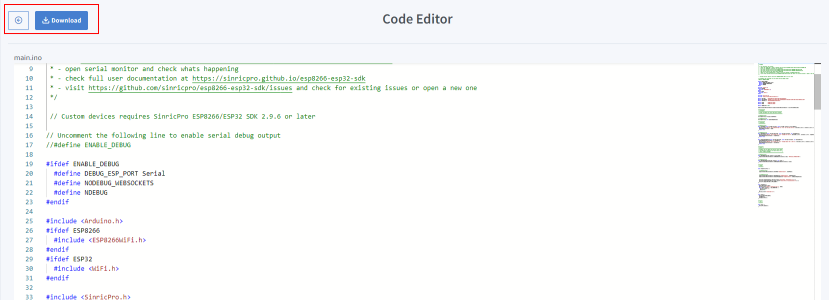
Click on Code Generator to Generate the code. Click on Download to download the code.
Step 2 : Connect to Sinric Pro
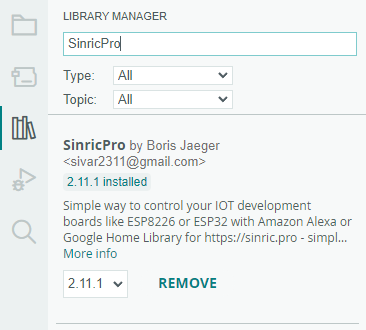
Step 2.1 Install Sinric Pro Library
2.2 Complete Code

Troubleshooting
-
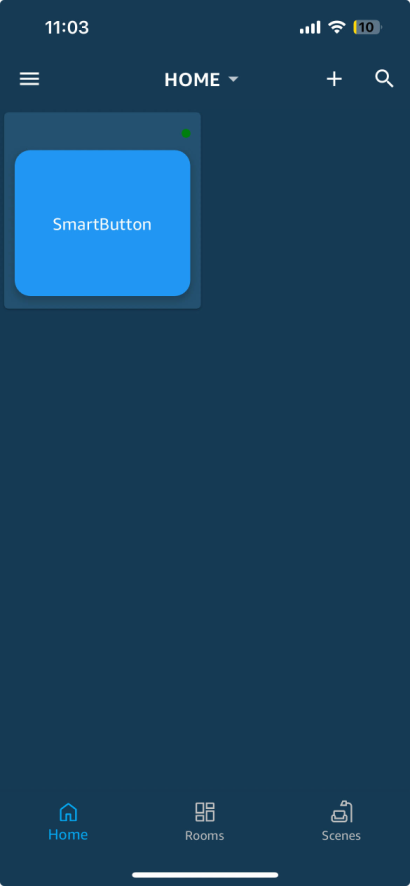
Smart Buttons are only supported in SinricPro app. Alexa, Google Home or SmartThings are not Supported.
-
Please refer to our Troubleshooting page for more details.
This document is open source. See a typo? Please create an issue


