Water Level Indicator (Water Tank) using Ultrasonic Sensor (HC-SR04) for ESP8266, ESP32, Raspberry Pi Pico W for Alexa
In this part, we’ll guide you on building a Water Level Indicator (also known as Water Tank Indicator) using a Ultrasonic Sensor that can be connected to either an ESP32, ESP8266, or Raspberry Pi Pico W. Once it’s set up, you’ll be able to measure water levels using Amazon Alexa, ask Alexa for information about it, and also monitor it through the Sinric Pro app and receive a push notification when water level is low.
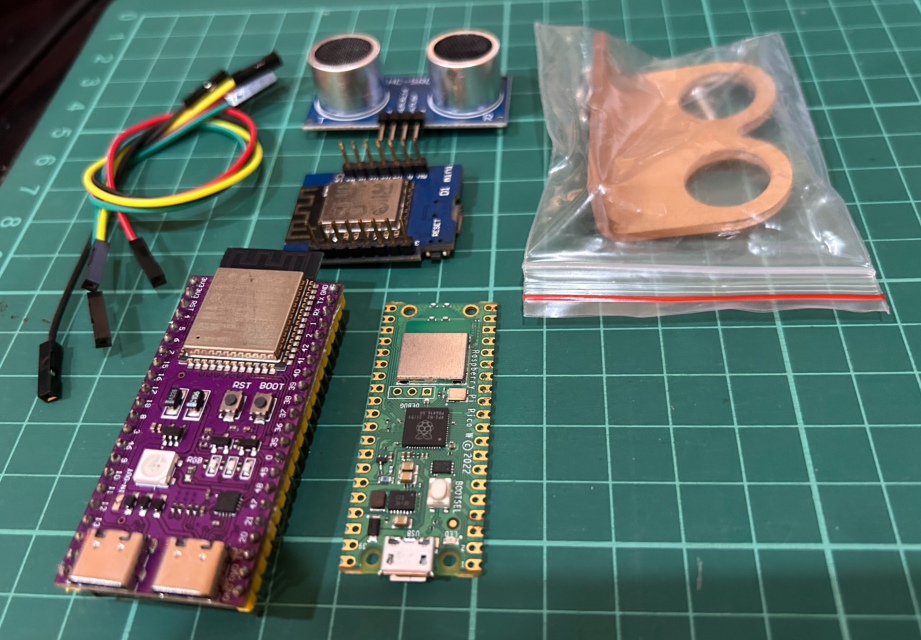
Prerequisites :
- ESP32, ESP8266 or Raspberry Pi Pico W x 1.
- Ultrasonic Sensor (HC-SR04) x 1.
- Plant with a pot x 1.
- Jumper Wires.
Quick introduction to Ultrasonic Sensor
The ultrasonic sensors are low-cost, easy-to-use sensor that can measure distance. It works by sending out a burst of ultrasonic sound and then measuring the time it takes for the echo to return. The distance to the object is then calculated based on the speed of sound.
It is powered by a 5V DC power supply and has four pins: VCC, GND, TRIG, and ECHO. Once the sensor is connected, you can use it to measure distance by sending a pulse to the TRIG pin and then measuring the time it takes for the ECHO pin to go high. The distance to the object can then be calculated using the following formula:
distance = (time * speed of sound) / 2
where:
distanceis in centimeters.timeis in microseconds.speed of soundis 343 meters per second.
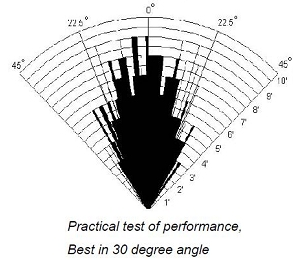
According to the manufacturer notes, the HC-SR04 sensor works best between 2cm – 400 cm (1” - 13ft) within a 30 degree cone.
Wiring Ultrasonic Sensor
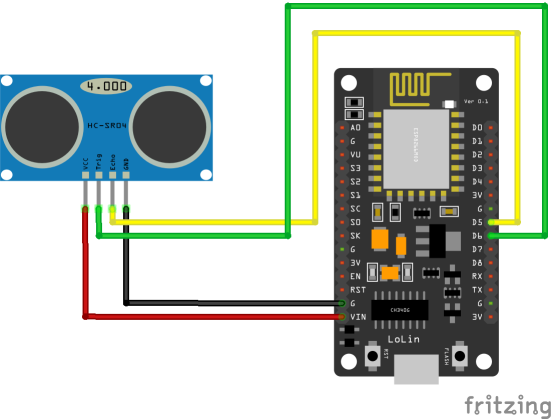
| HC-SR04 Pin | ESP8266 | ESP32 | Pico W |
|---|---|---|---|
| VCC | 5V | 5V | 5V |
| GND | GND | GND | GND |
| TRIG | 12 (D6) | GPIO 5 | 15 |
| ECHO | 14 (D5) | GPIO 18 | 14 |
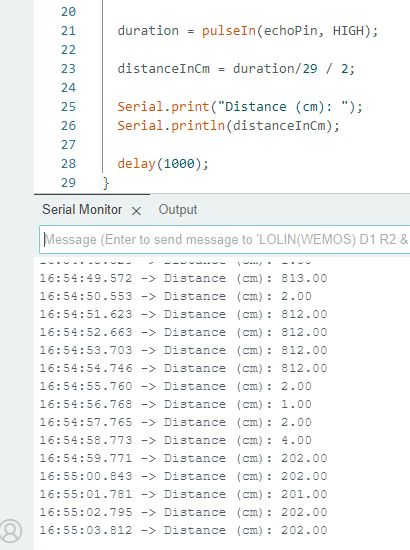
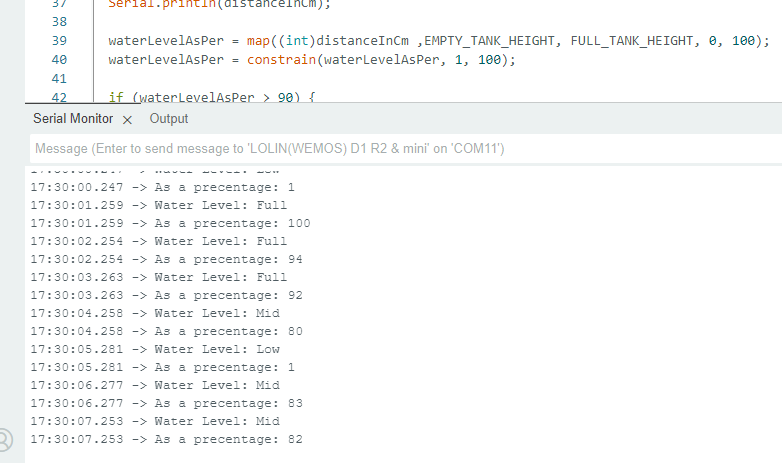
Let’s verify that sensor is wired correctly and working.
Let’s try measuring the water level as a precentage.
Step 1 : Connect to Sinric Pro
Step 1.1 : Creating a custom device type for Water Level Indicator.
Sinric Pro does not have a built-in device type for Water Level Indicator so we are going to create a custom device type to support showing Water Level Indicator using Device Template feature.
Note: You can use the device template import feature mentioned below to skip creating the full template.
-
Login to your Sinric Pro account and goto Device Templates
-
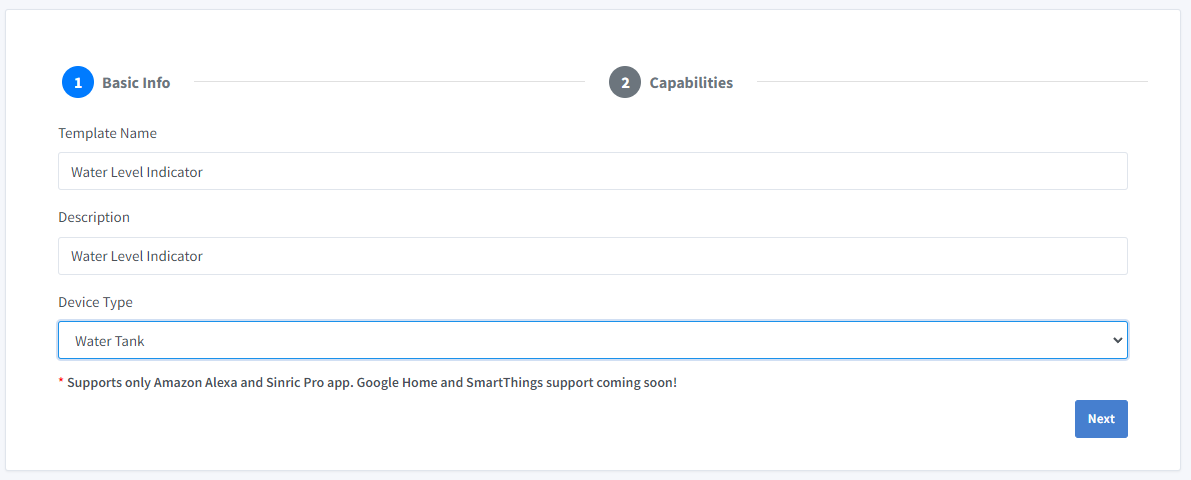
Click Add Device Template. Enter name and description as Water Level Indicator and select Water Tank as device type
- Click Capabilities.
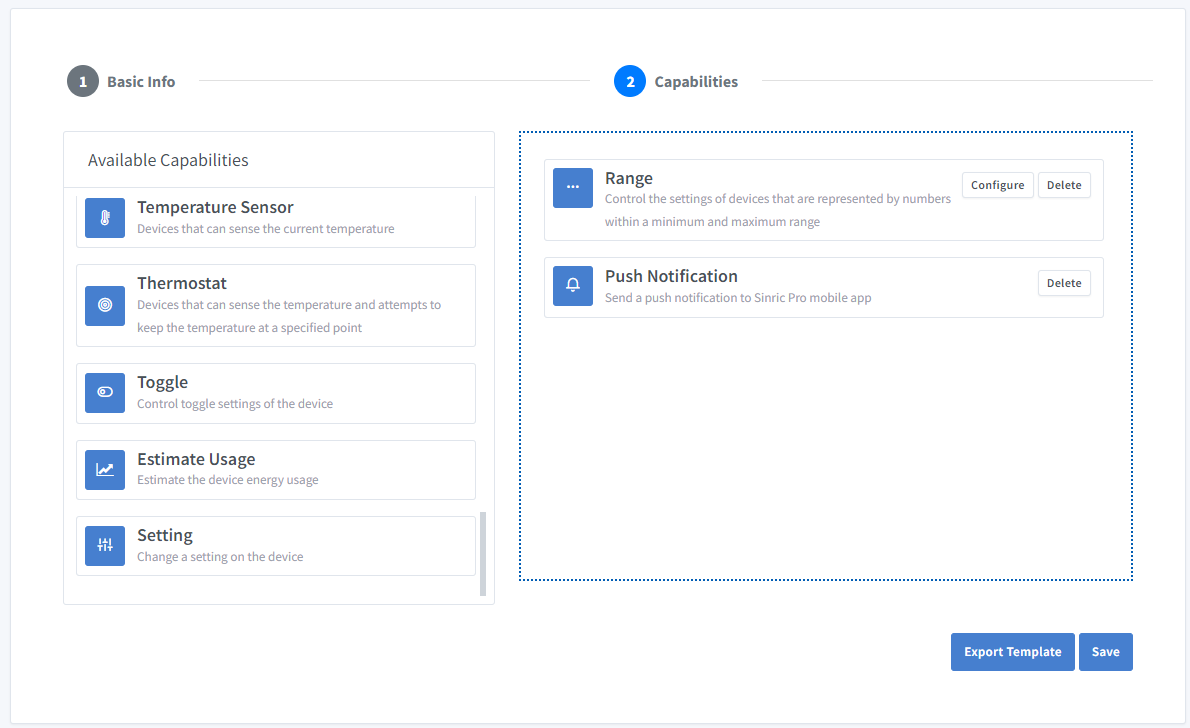
Here we must select the features of our Sensor. We want to know the Water level as a precentage. So let’s drag a Range and Push Notification capability.
-
What’s Range capability?
Range capability can be use to represents a number. eg: current speed of a blender.
-
What’s Push Notification capability?
Notification capability provides the ability to send a push notification message from the code.
Click on Configure button and setup the two capabilities like below.
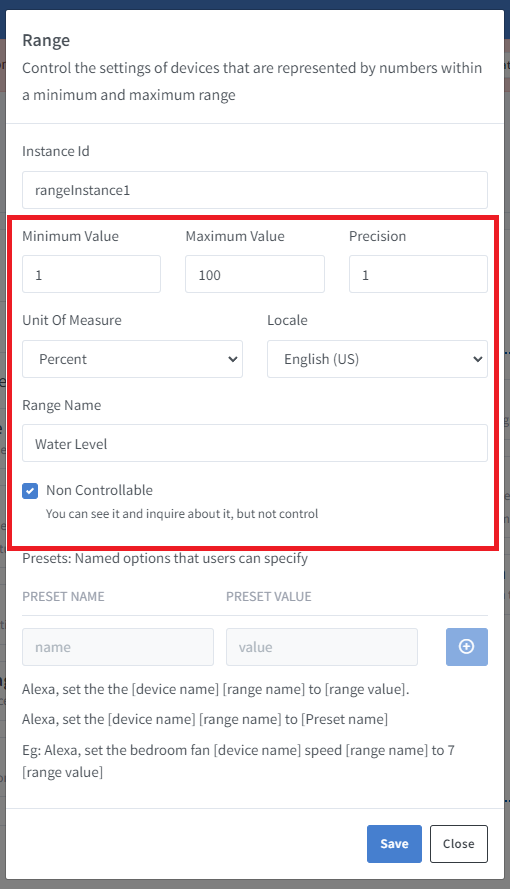
Click on Save to save.
Click on Save to save the template.
Now you can see the template we just created.
Import an existing template?
If you are feeling lazy, you can use the import feature.

Paste this Template:
-
Go to Devices menu on your left and click Add Device button (On top left).
-
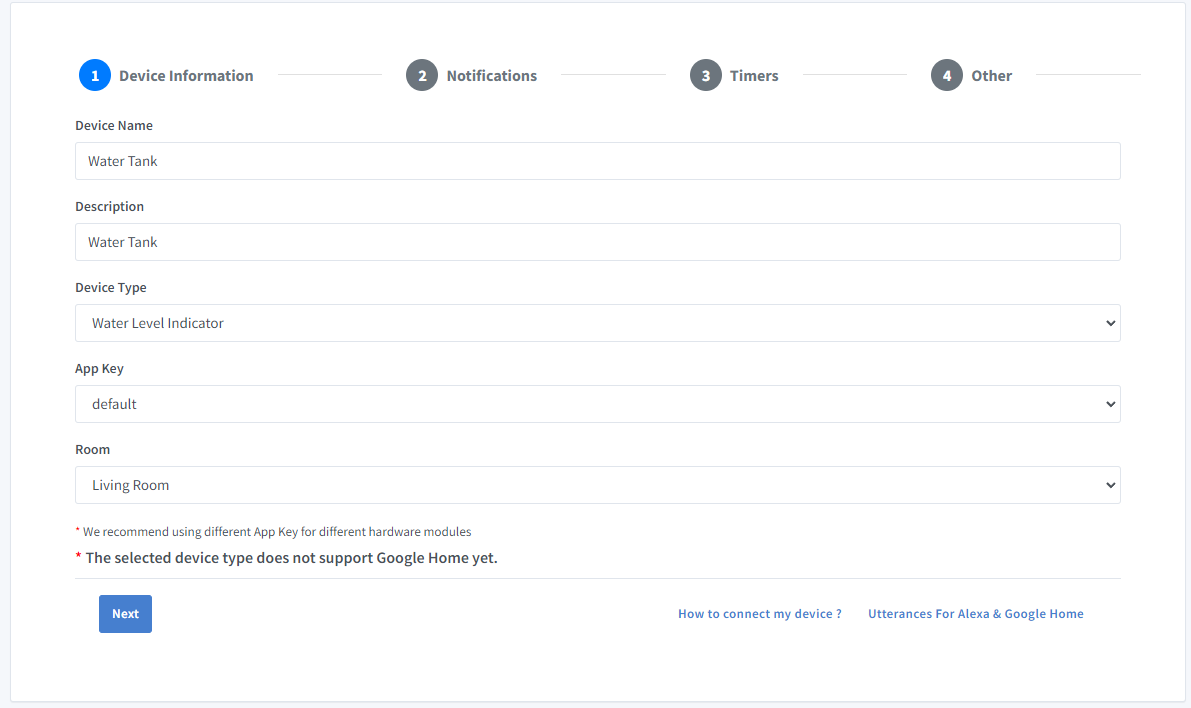
Enter the device name Water Tank, description Water Tank and select the device type as Water Level Indicator.
-
Click Others tab and Click Save
-
Next screen will show the credentials required to connect the device you just created.

-
Copy the Device Id, App Key and App Secret Keep these values secure. DO NOT SHARE THEM ON PUBLIC FORUMS !
-
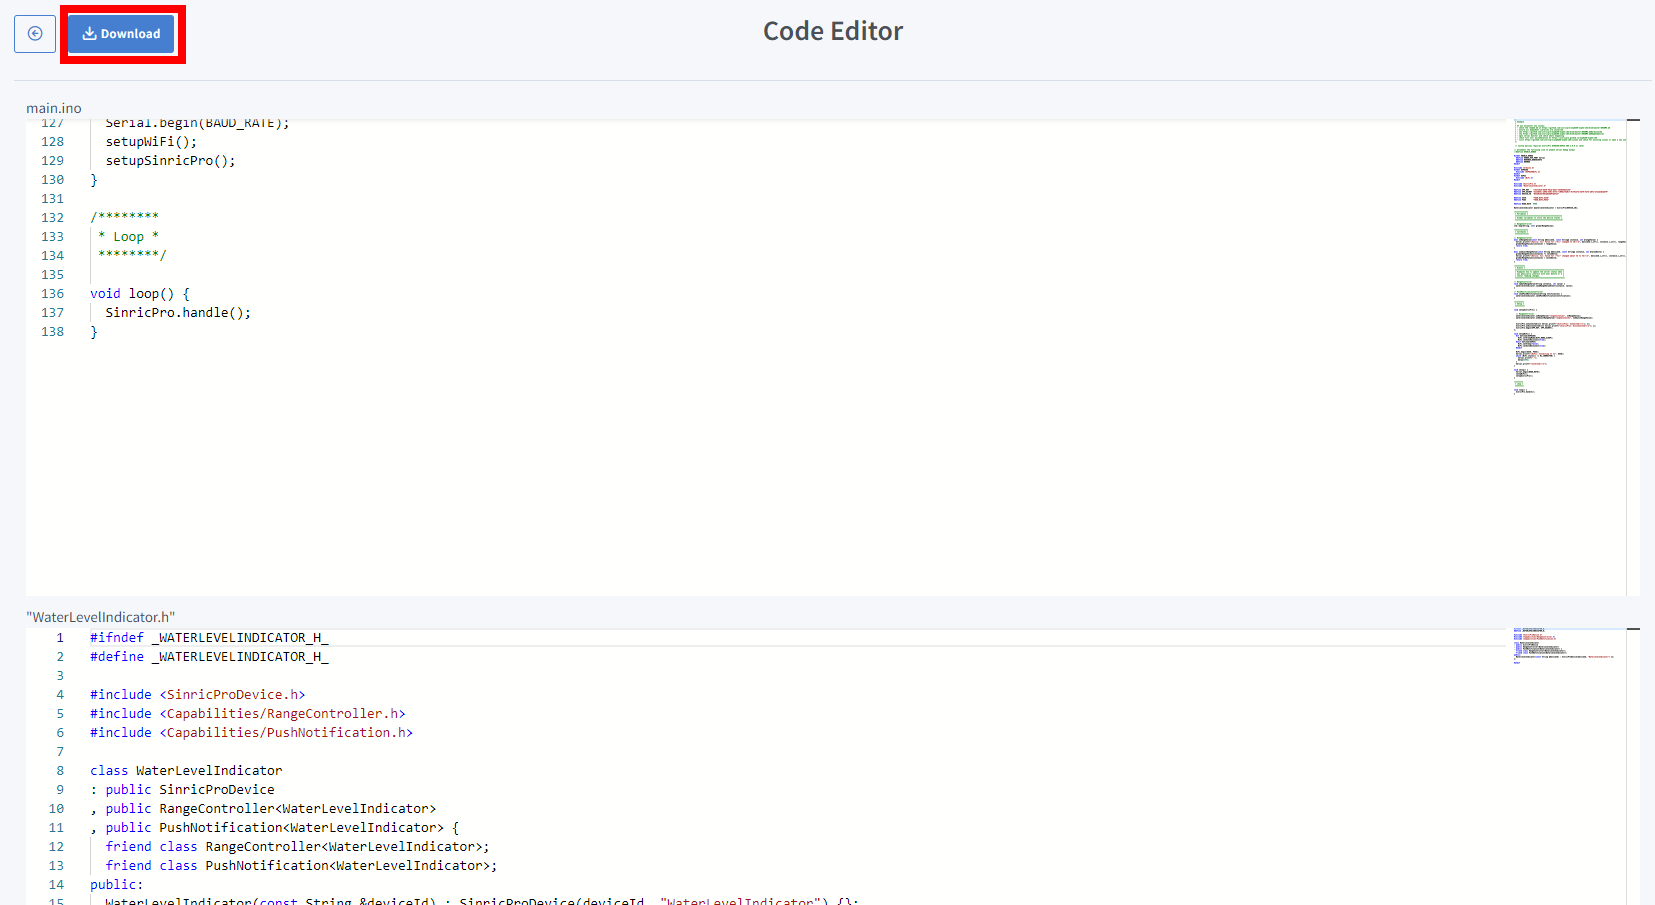
Click on Code Generator to Generate the code. Click on Download to download the code.
Step 2 : Connect to Sinric Pro
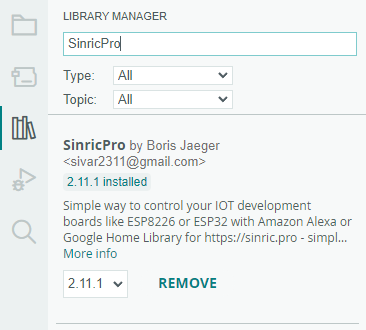
Step 2.1 Install Sinric Pro Library
2.2 Complete Code
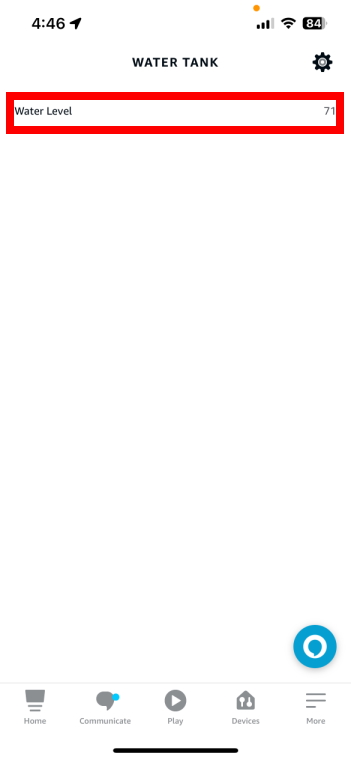
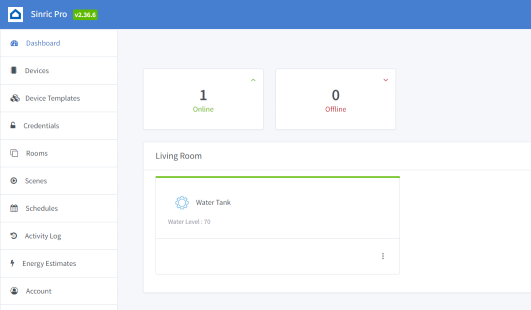
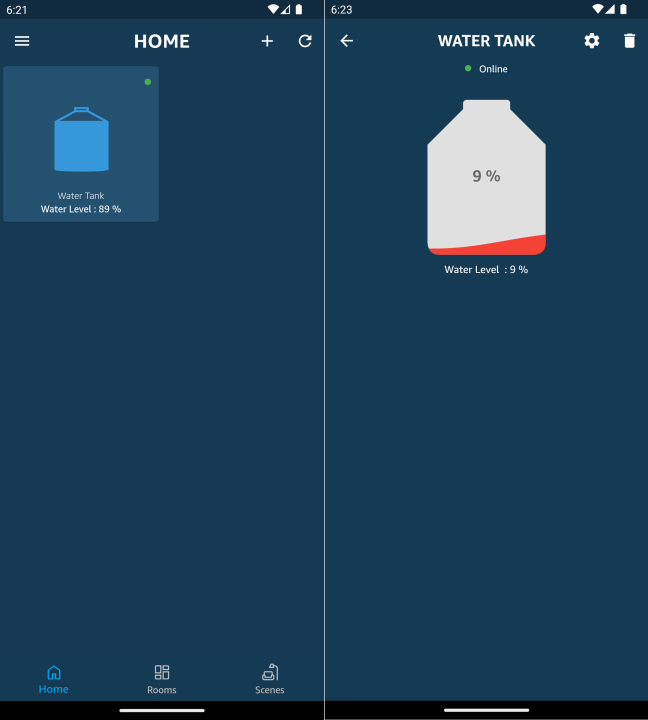
Now you should be able to see the tank water level via Alexa, Sinric Pro App
Alexa, What’s the water level(range name) in water tank(device name)
Step 3 : Making the Full and Empty Tank heights configurable via UI
3.1 Update device template
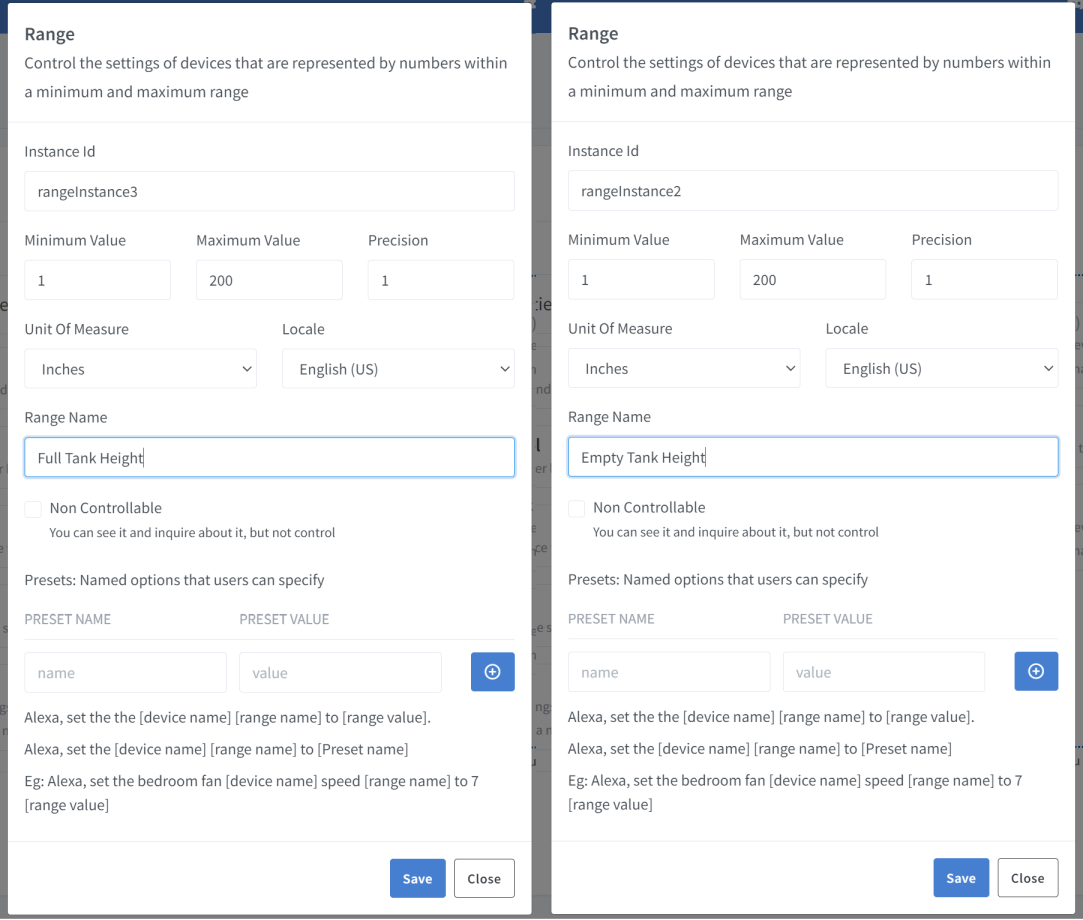
In order to set the tank full and empty height configurable via UI, we need to go back to the custom device template and add two more Range Controllers for Full Tank Height and Empty Tank Height like below.
Full device template would look like this
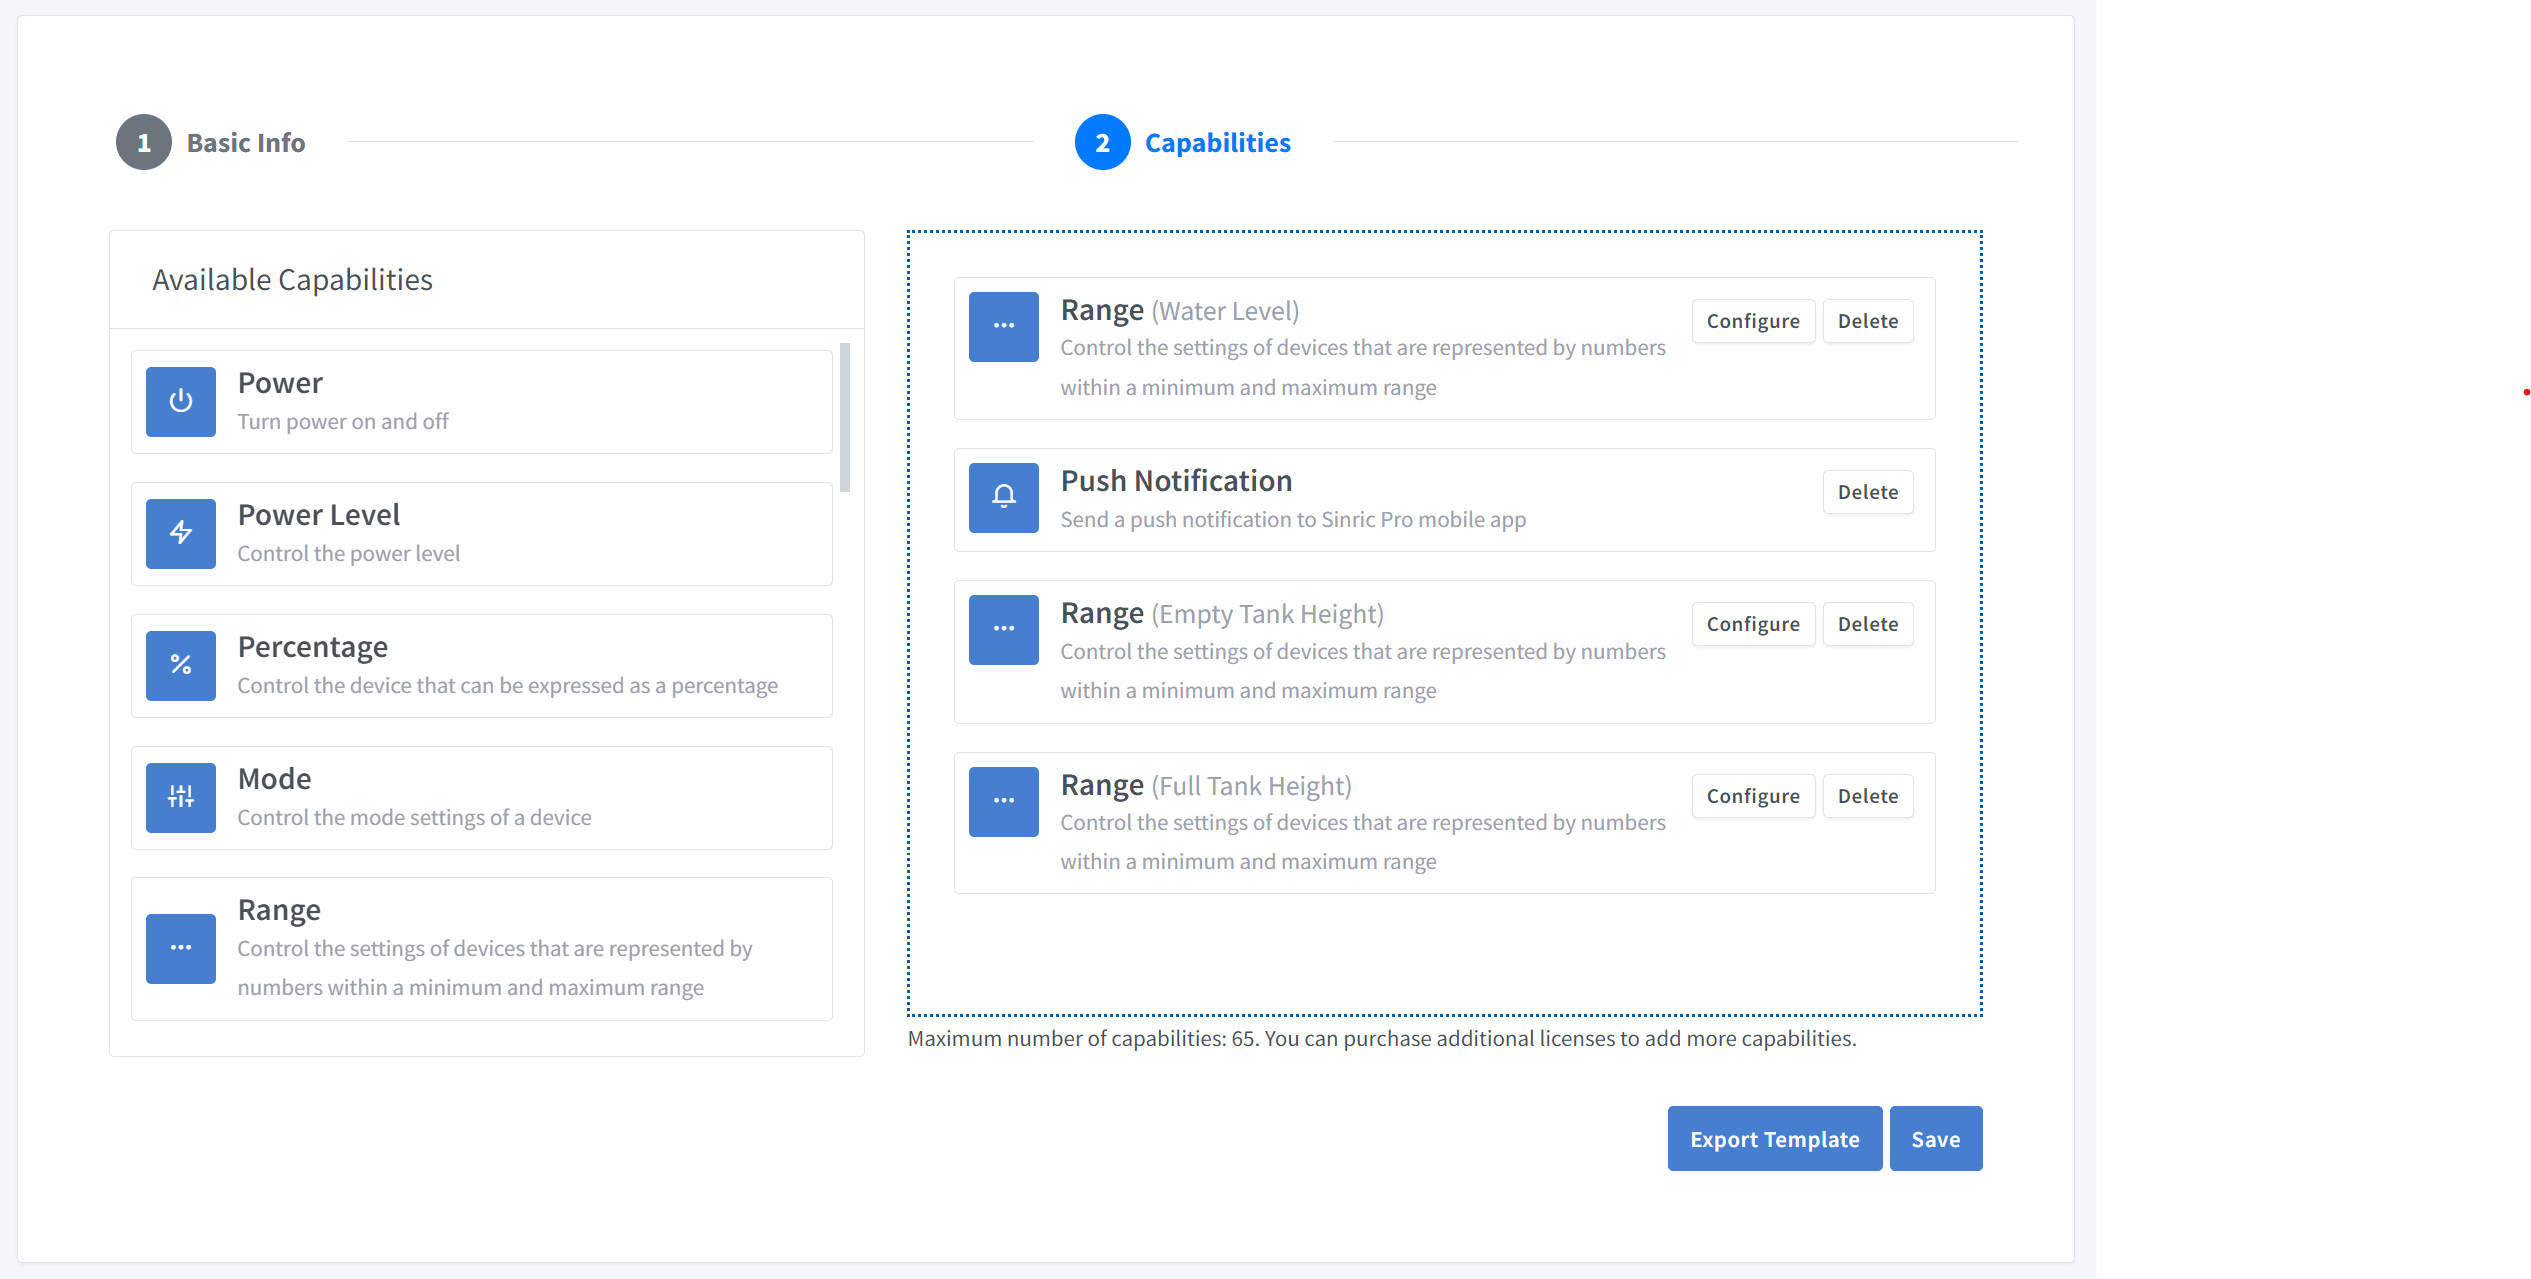
Here’s the template with full and empty heights. You can import this in the Device Template section.
3.2 Complete Code
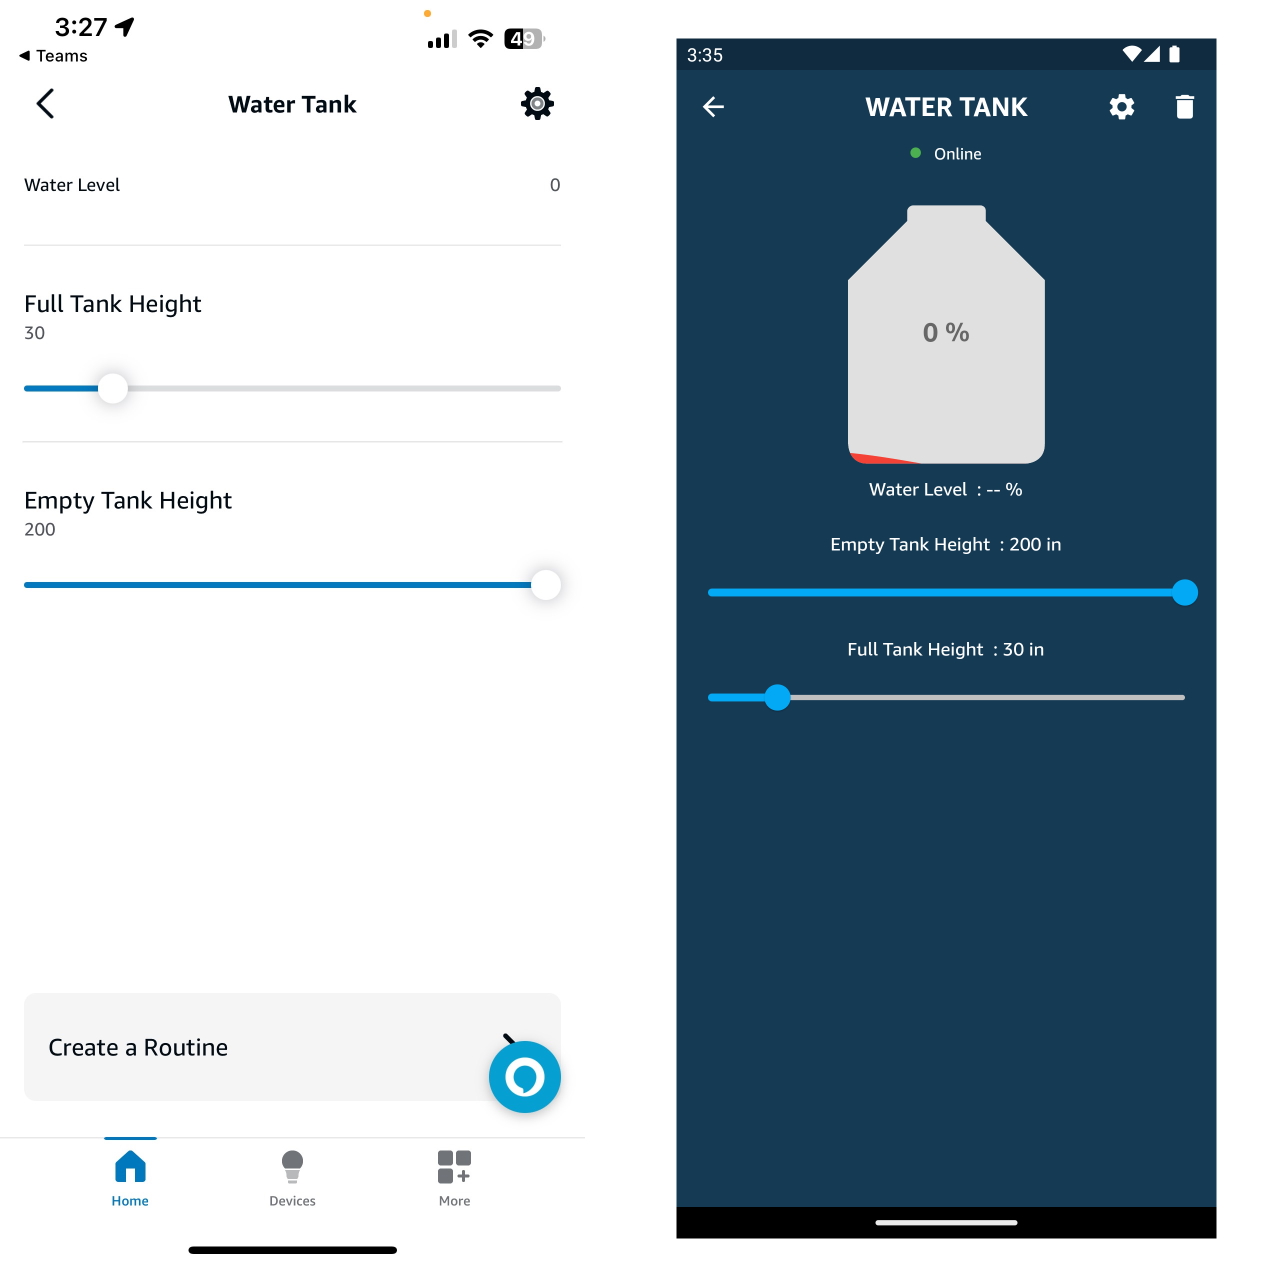
That’s It.
Troubleshooting
-
Google Home or SmartThings are not Supported.
-
Please refer to our Troubleshooting page for more details.
This document is open source. See a typo? Please create an issue


