Smart Doorbell using ESP32, ESP8266 or Raspberry Pi Pico W for Alexa, Google Home
In this section we’ll walk through creating a Doorbell using a push (tactile) button connected to a ESP32, ESP8266 or Raspberry Pi Pico W and then get a notification in Alexa, Google Home, or the Sinric Pro app.
Prerequisites :
- ESP32, ESP8266 or Raspberry Pi Pico W x 1.
- Push button x 1.
- 1K ~ 10K resistor x 1
- Jumper Wires.
Wiring Doorbell button
We are going to use Pull-Down approach to wire our button. When the button is pressed, digitalRead reads HIGH (1) signal.
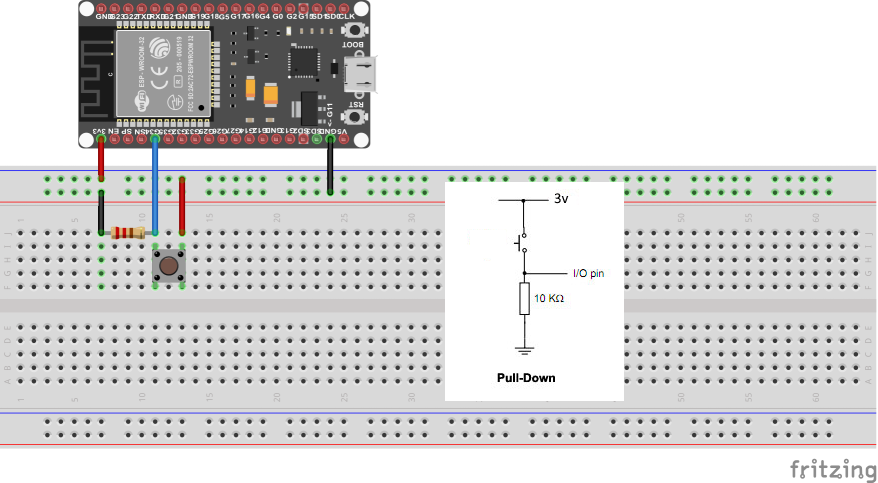
| MCU | GPIO Pin |
|---|---|
| ESP32 | 34 |
| ESP8266 | 4 (D2) |
| Pico W | 7 |
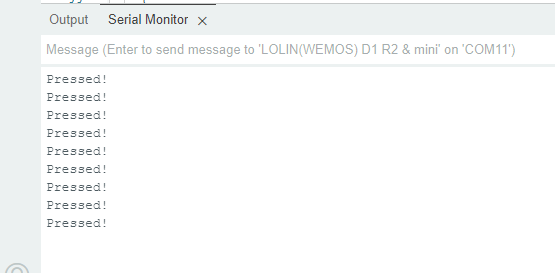
Reading button state
Let’s verify that sensor is wired correctly and working.
Step 1 : Connect to Sinric Pro
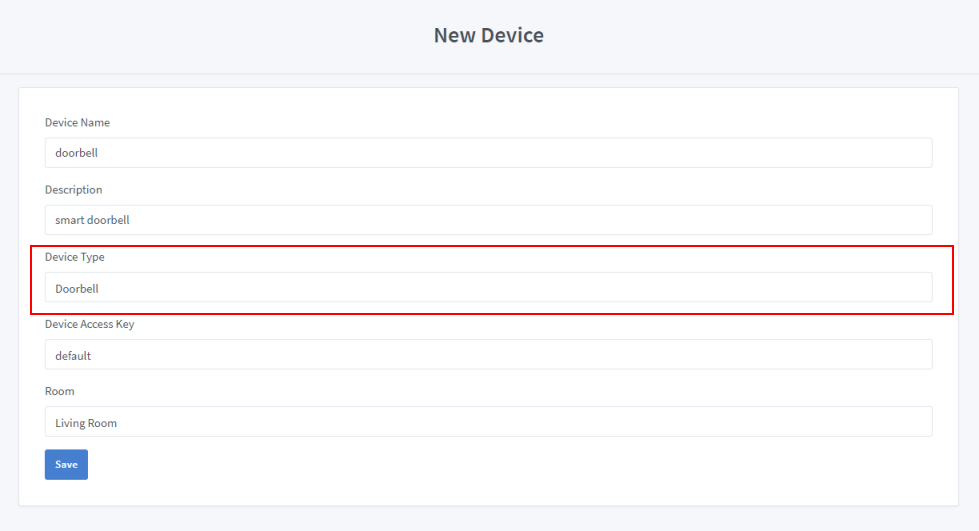
Create a new device: doorbell
-
Login to your Sinric Pro account and go to Devices menu on your left.
-
Click Add Device button (On top left).
-
Enter the device name doorbell, description smart doorbell and select the type as Doorbell.
-
Click Save to create the device
Once you click on the save button Amazon Alexa will automatically detect the device we just created (If you have linked our Alexa skill before).

If you did not get the push notification, just ask Alexa to device devices
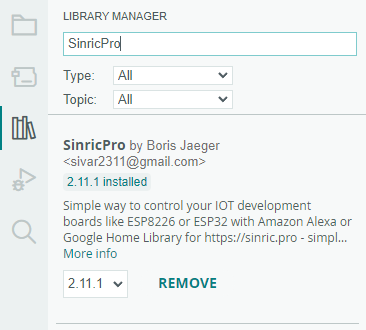
Step 1.1 Install Sinric Pro Library
2.2 Complete Code
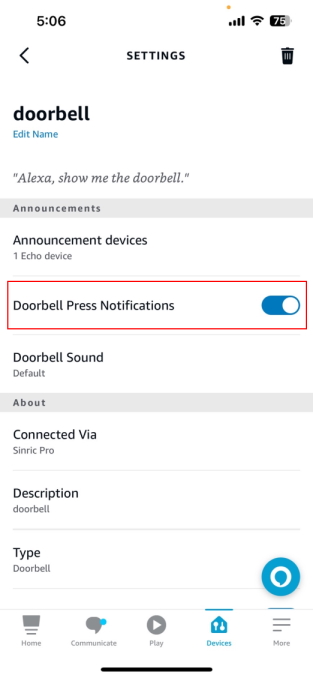
Note: Alexa doorbell notifications are turned off by default. You must enable it by openning the app to recevice the DingDong notification in Alexa.
Troubleshooting
-
Push button is too sensitive? You can adjust
debounce_delayor try the perprosed solution in issues/346 -
Please refer to our Troubleshooting page for possible solutions to your issue.
This document is open source. See a typo? Please create an issue


