

TV Tutorial - IR Transceiver
In this section we’ll walk through controlling your TV using an IR transceiver and then use voice to control the TV via Alexa, Google Home or SmartThings.
Prerequisites :
- ESP8285 ESP-01M IR Transceiver x1.
In this tutorial, we’ll be using the ESP8285 ESP-01M IR Transceiver, a popular option readily available online. While we’ll be focusing on this specific module, the concepts can be applied to other 38KHz infrared transmitters as well.
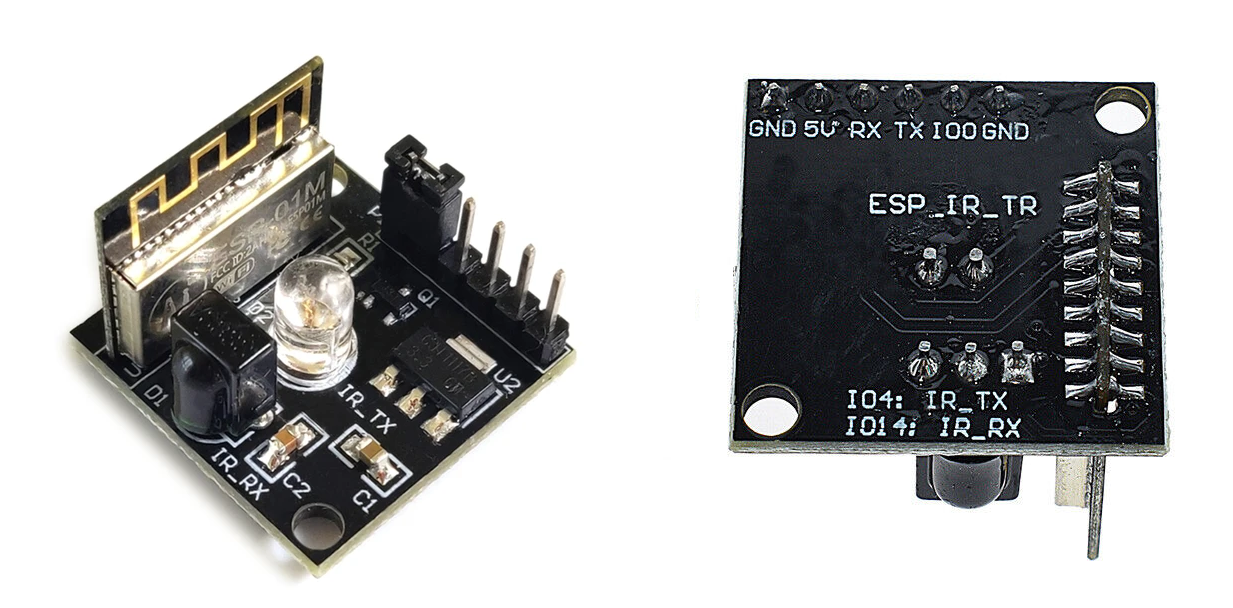
Quick introduction to ESP8285 ESP-01M IR Transceiver
An Infrared ESP8285 Wireless WIFI Transceiver Module is a circuit board that combines two functionalities:
Infrared (IR) Transceiver: This part allows the module to transmit and receive infrared signals. IR transmitter is connected to GPIO4 and IR receiver is connected to GPIO14
ESP8285 Wi-Fi Module: This is a separate chip on the board that enables the module to connect to a Wi-Fi network. ESP8285 is a ESP8266 with 1M Flash, which can withstand high temperatures up to 125 degrees Celsius.
To Upload Firmware : Connect the Jumper GPIO01 and GND.
To Run Firmware : Remove the Jumper and replug the USB programmer
Wiring
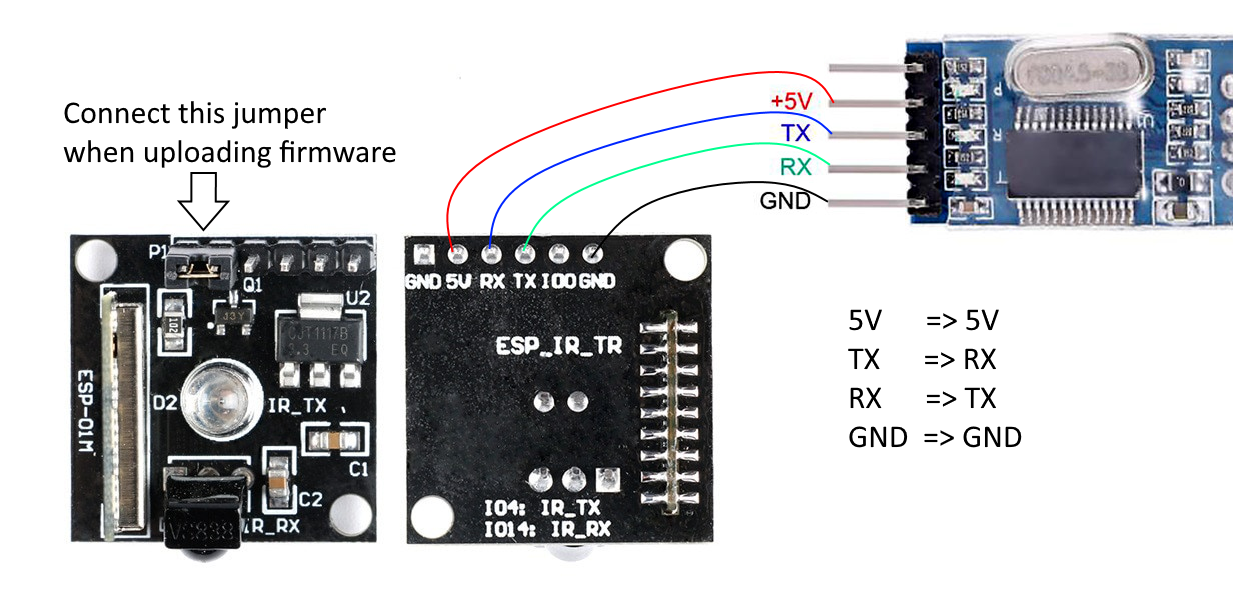
| ESP8285 | TTL |
|---|---|
| 5V | 5V |
| GND | GND |
| TX | RX |
| RX | TX |
Before we integrate with Sinric Pro, it is important to verify that the relay is wired correctly and you can record IR signals.
Step 1: Recording IR
-
Install IRremoteESP8266
-
Click the “Sketch” -> “Include Library” -> “Manage Libraries…” Menu items.
-
Enter
IRremoteESP8266into the “Filter your search…” top right search box. -
Click on the
IRremoteESP8266result of the search. -
Select the version you wish to install and click
Install.
-
-
Connect the Jumper
GPIO0toGNDto upload the firmware. -
Flash the IRrecvDumpV3 No need to change the sketch. It’s already using correct GPIO pins.
-
Remove the Jumper connecting
GPIO0toGNDand replug the USB programmer. Now ESP chip will run theIRrecvDumpV3sketch. Set the Arduino Serial BaudRate to115200see the logs. -
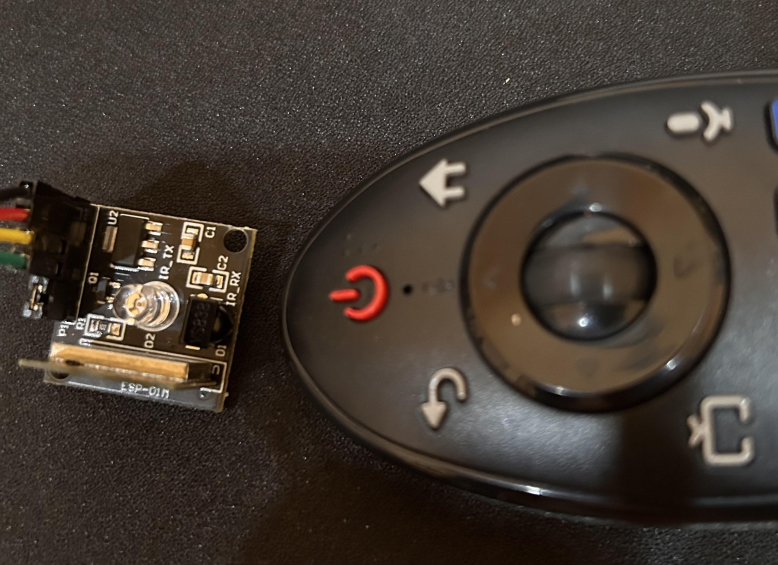
Time to record the power on button of your TV remote control.
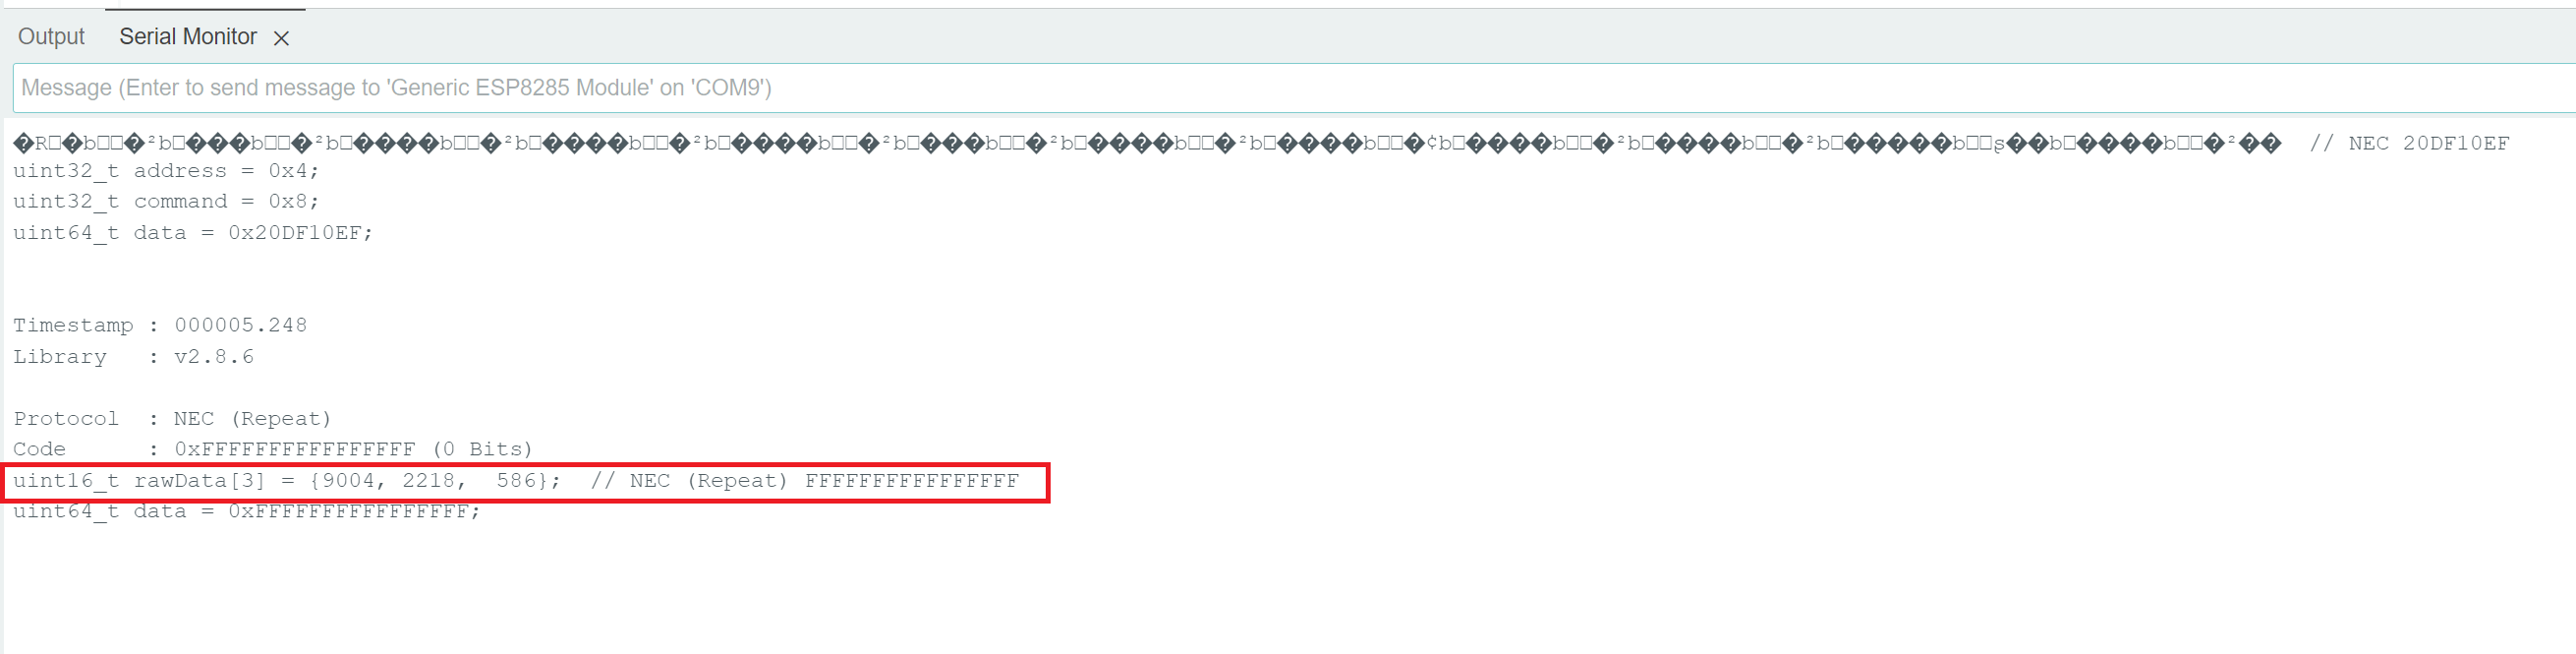
Would output the IR codes like this below in the Arduino Serial Monitor.
Copy rawData array
Step 2: Sending IR
#include <Arduino.h>
#include <IRremoteESP8266.h>
#include <IRsend.h>

const uint16_t kIrLed = 4;

IRsend irsend(kIrLed);

uint16_t rawData[3] = {9004, 2218,  586};  // TODO: Change this to your remote control power button

void setup() {
  irsend.begin();
  Serial.begin(115200);
}

void loop() {
  Serial.println("a rawData capture from dump");
  irsend.sendRaw(rawData, 3 /* IR len */, 38 /* kHz */);  // TODO: adjust IR len according to rawData length.
  delay(2000);
}
Flash the above sketch and remove the the Jumper to run the the firmware.
When the sketch sends the signal, TV should either turn on or off. Now you can repeate the process to record other buttons such as volume up, down, mute ect..
Step 3 : Create a new TV device in Sinric Pro
-
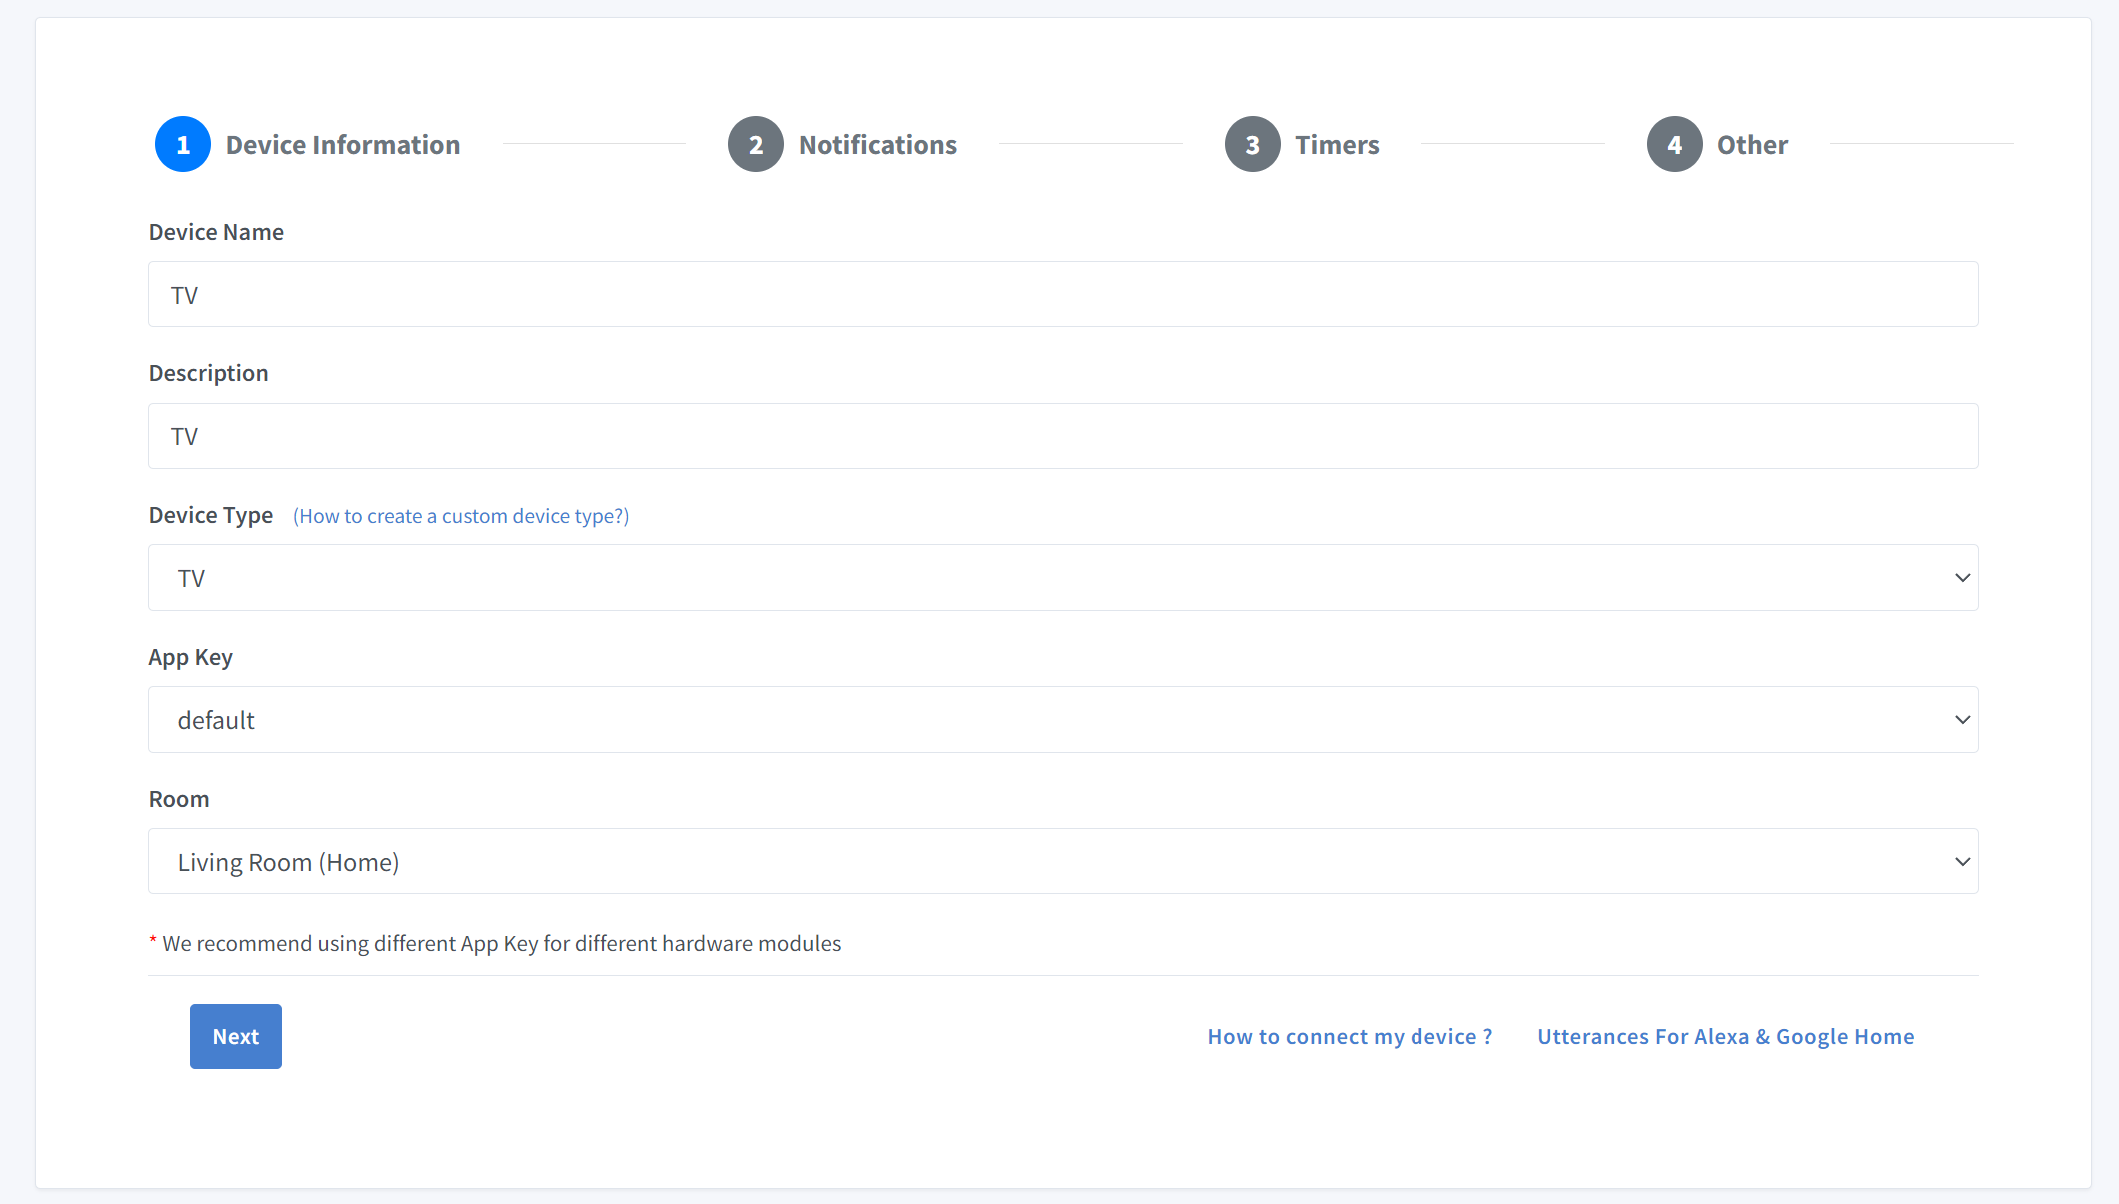
Login to your Sinric Pro account, go to Devices menu on your left and click Add Device button (On top left).
-
Enter the device name TV, description TV and select the device type as TV.
-
Click Others and Click Save
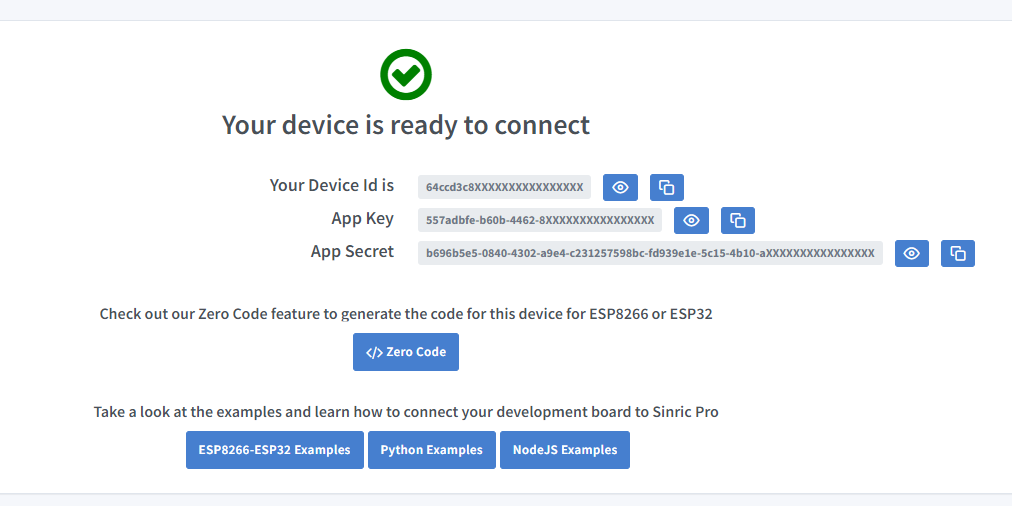
- Copy the Device Id, App Key and App Secret Keep these values secure. DO NOT SHARE THEM ON PUBLIC FORUMS !
Step 2 : Coding
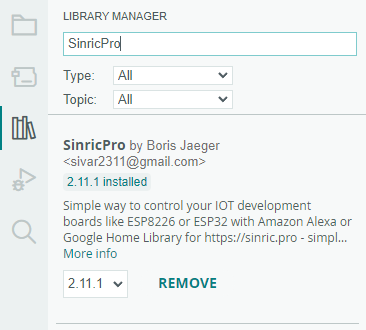
2.1 Install Sinric Pro Library
2.2 Complete Code
Now we can complete the SinricPro TV sketch with the IR codes.
Now you should be able to control the TV via Sinric Pro App, Google Home, Alexa as well.
Troubleshooting
Please refer to our Troubleshooting page for possible solutions to your issue.
This document is open source. See a typo? Please create an issue