Motion Sensor Tutorial for HC-SR501, HC-SR505, Mini AM312, HC-SR312
In this section we’ll walk through creating a PIR Motion Sensor using ESP32, ESP8266 or Raspberry Pi Pico W and then view the motion changes via Alexa or SmartThings.
Prerequisites :
- ESP32, ESP8266 or Raspberry Pi Pico W x 1.
- HC-SR501, HC-SR505, Mini AM312, HC-SR312 x 1.
- Jumper Wires.
| PIR | Working voltage | Delay time | Blocking time | Trigger | Distance |
|---|---|---|---|---|---|
| HC-SR312 | 2.7-12V | 2 seconds | 2 seconds | Repeatable | 3-5 meters |
| HC-SR505 | 4.5-20V | 2 seconds | 2 seconds | Repeatable | 3 meters |
| HC-SR501 | 4.5-20V | Adjustable | Adjustable | Adjustable | 3 meters to 7 meters |
Quick introduction to PIR Motion Sensors
Passive infrared (PIR) motion sensors detect the presence of people or animals by measuring changes in infrared radiation. PIR sensors work by detecting the infrared radiation emitted by all objects that have a temperature above absolute zero. When a person or animal moves into the field of view of a PIR sensor, the sensor detects a change in the amount of infrared radiation and triggers an alarm or other output. PIR sensors are a versatile and cost-effective way to detect motion. They are easy to use and can be installed in a variety of locations.
The output of the PIR Motion Sensor is:
HIGHwhen a movement is detected.LOWwhen no movement is detected.
To get accurate measurements, wait for the PIR sensor to calibrate properly, this will normally take from 10 to 60 seconds after turning it on.
The HC-SR501 has adjustable configurations:
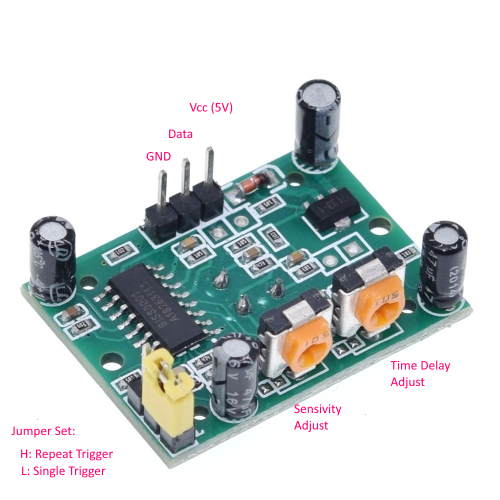
Sensitivity Adjustment
-
Measuring distance is between 3 and 7 meters.
-
Turning clockwise or right - Decreases the sensivity. Fully right upto 3 meters.
-
Counter Turning clockwise or left - Decreases the sensivity. Fully left about 7 meters.
Time-Delay Adjustment
-
Delay time that defines how long the output of the HC-SR501 stays
HIGHafter a motion is detected. It can be adjusted from 1 second to about 5 minutes. -
Turning clockwise or right - Increase the delay. Fully right upto 5 mins.
-
Counter Turning clockwise or left - Decreases the delay. Fully left about 3 seconds.
Jumper Set
- Single Trigger Mode (L): Triggers a single motion. The time delay potentiometer determines how long the pin will stay
HIGH. Any further motion detection is blocked until turns toLOW.
Example: The motion detector’s time delay is set to 3 seconds, but it cannot detect motion for about 6 seconds after detecting motion.

- Multiple Trigger Mode (H): Triggers series of motions. The time delay potentiometer determines how long the pin will stay
HIGH. In multiple trigger mode, the time delay is reset each time motion is detected, so there is no blocking of further detection.
Example: The time delay is 3 seconds. After motion is detected, the time delay period restarts. However, detection is still blocked for 3 seconds after the time delay expires. This 3-second delay allows the sensor to rest before starting to detect motion again..

Wiring
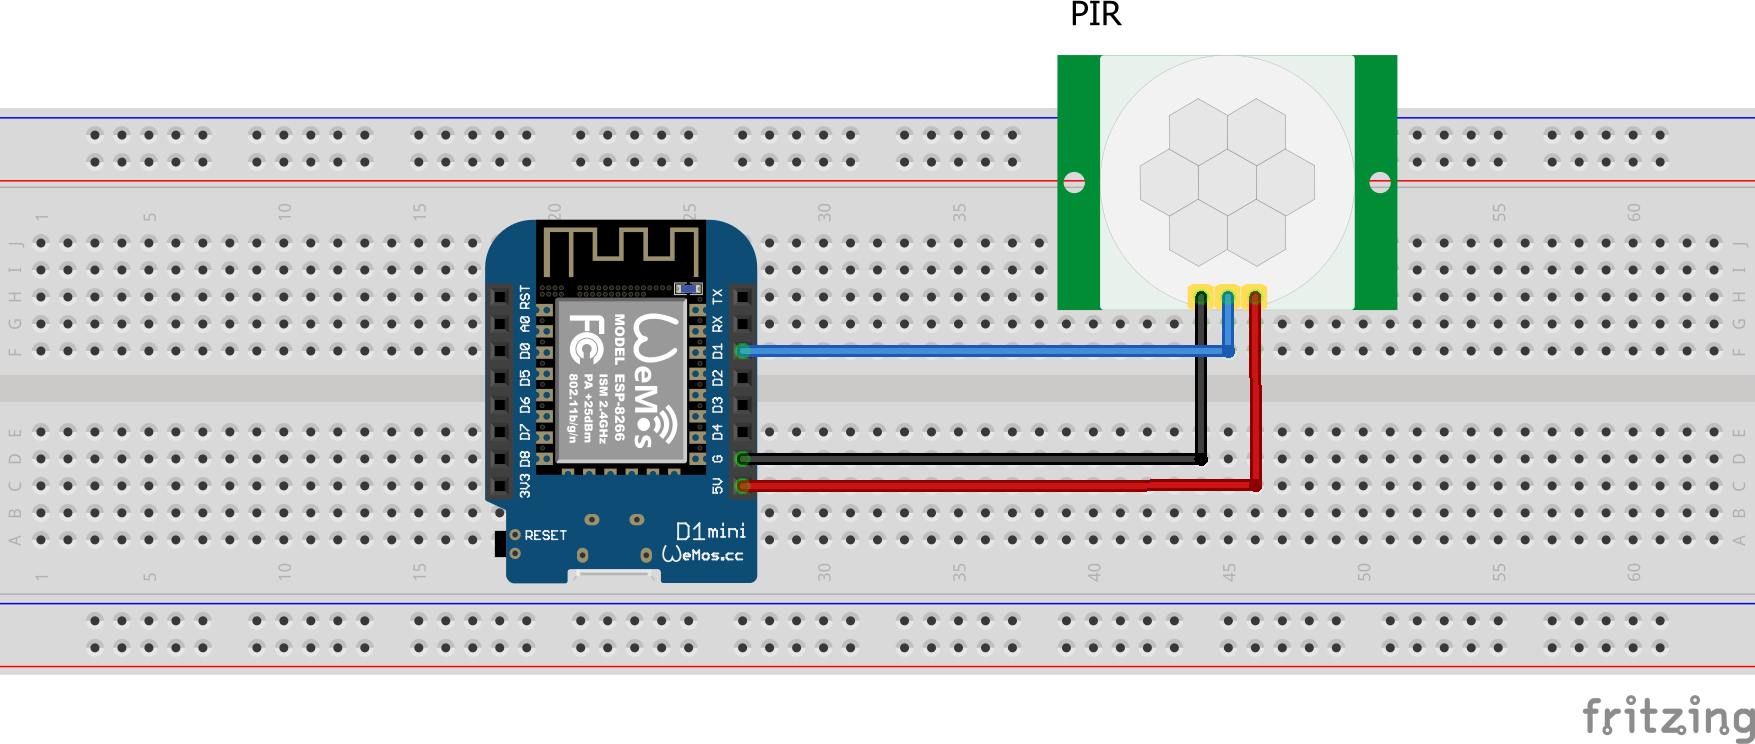
| MCU | PIR Pin |
|---|---|
| ESP32 | 16 |
| ESP8266 | 5 (D1) |
| Pico W | GP5 |
Let’s verify that motion sensor is wired correctly and working.
Arduino IDE Serial Monitor will show the motion detections like this:
Step 1 : Create a new device in Sinric Pro
- Login to your Sinric Pro account, go to Devices menu on your left and click Add Device button (On top left).
- Enter the device name Motion Sensor, description My Motion Sensor and select the device type as Motion Sensor.
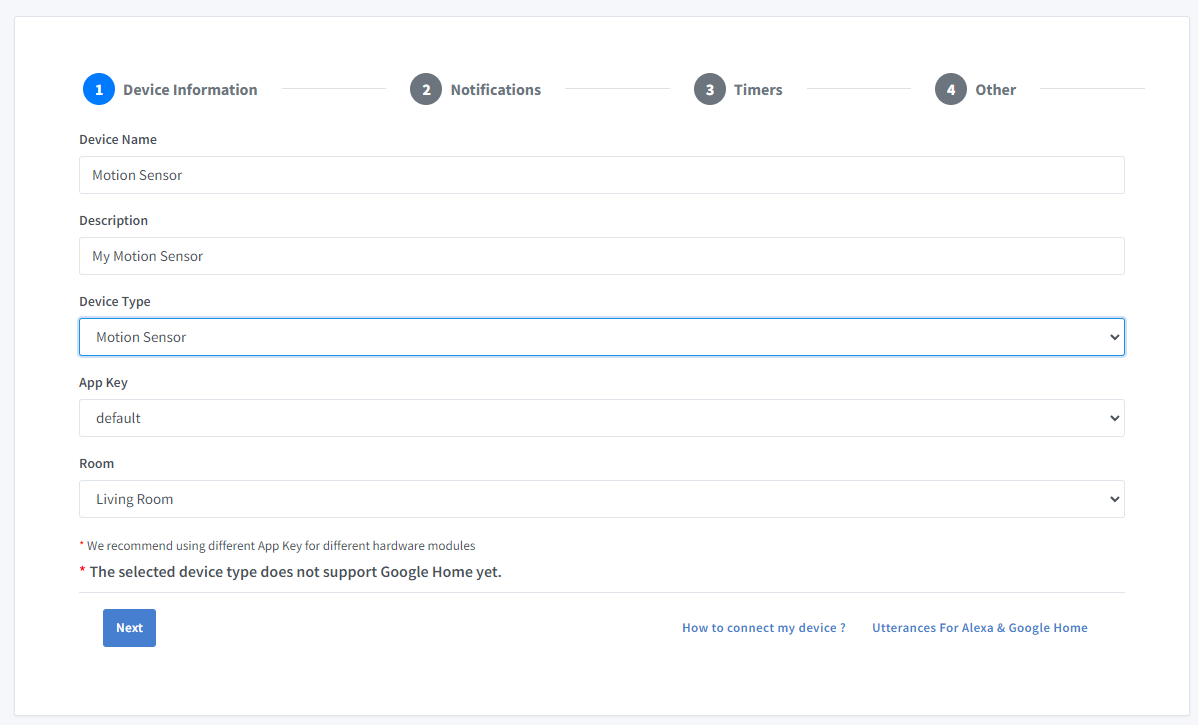
- Click Next the in the Notifications tab
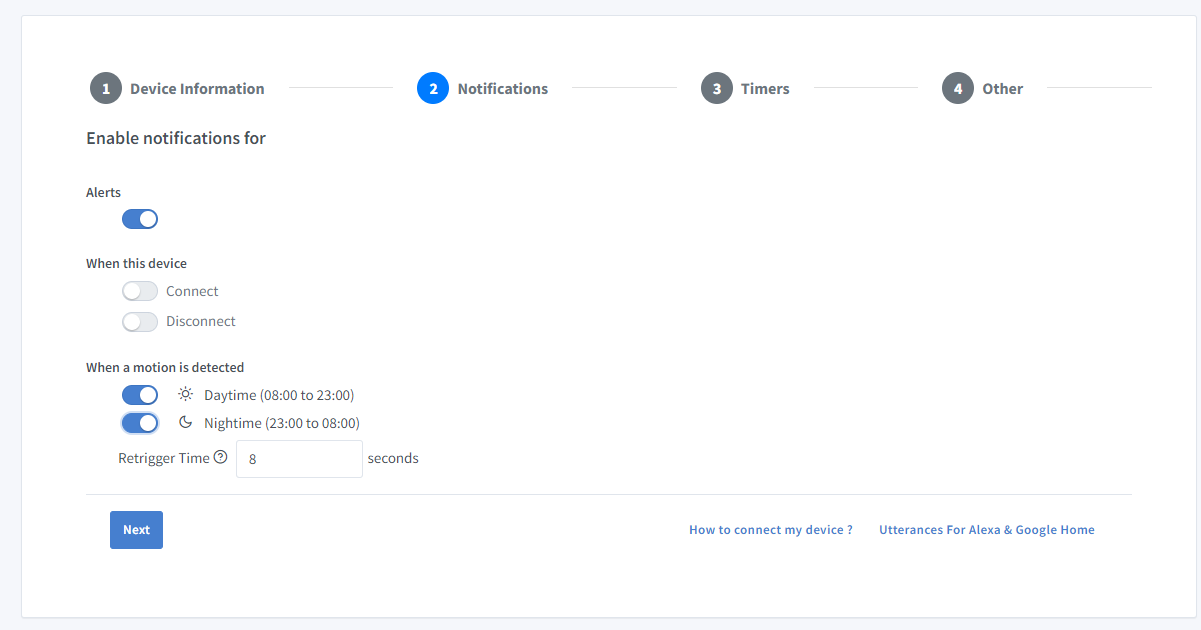
You can set the threshold here to receive a push notification via the Sinric Pro app when the motion is detected at Daytime or Nighttime. Use the Retrigger Time to set the delay between push notifications.
-
Click Others tab and Click Save
-
Next screen will show the credentials required to connect the device you just created.
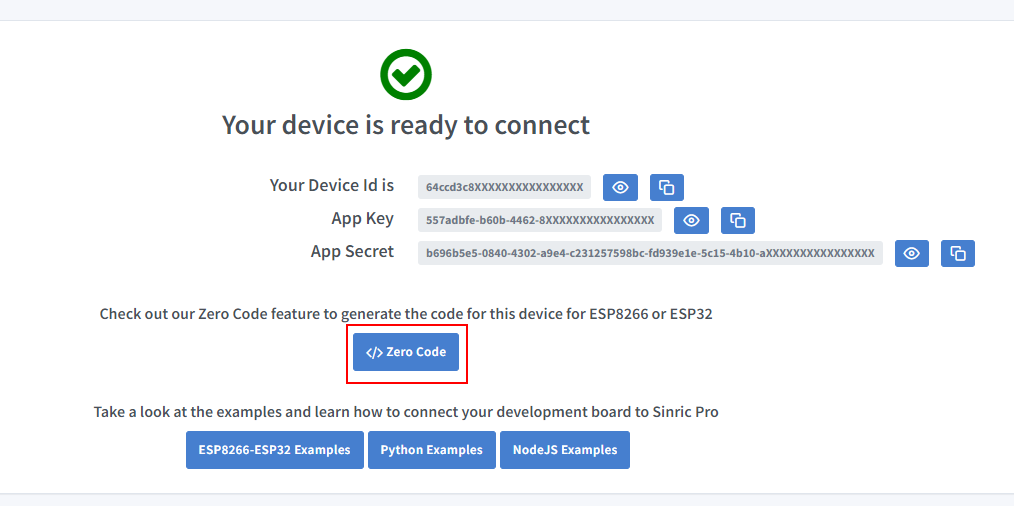
- Copy the Device Id, App Key and App Secret Keep these values secure. DO NOT SHARE THEM ON PUBLIC FORUMS !
Step 2 : Connect to Sinric Pro
Step 2.1 Install Sinric Pro Library
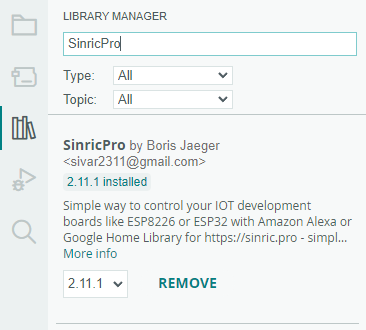
You can generate the code using Zero Code feature or write it by your self. If you do not have programming experice, we recommend to use Zero Code feature in the Portal to generate the code, download and flash.
2.2 Complete Code
Now you should be able to view the motions via Alexa, SmartThings
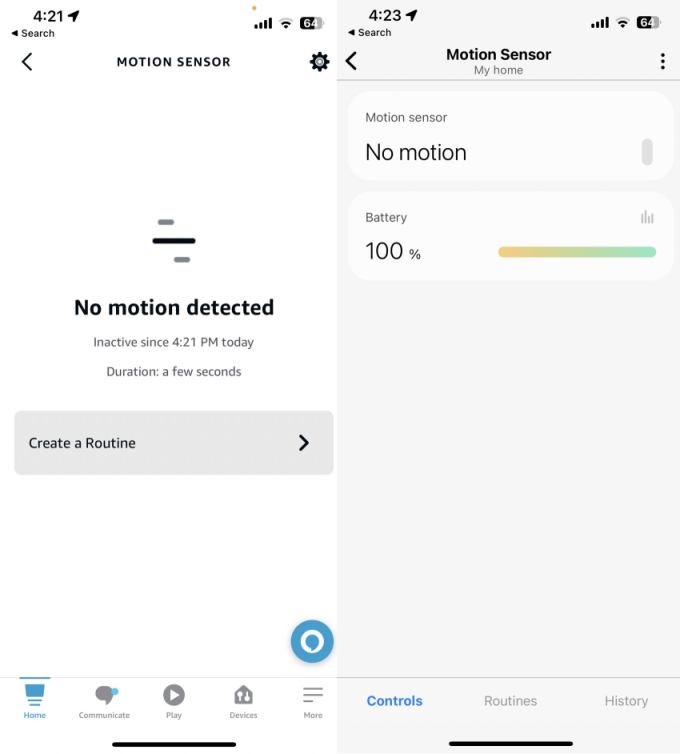
via Portal
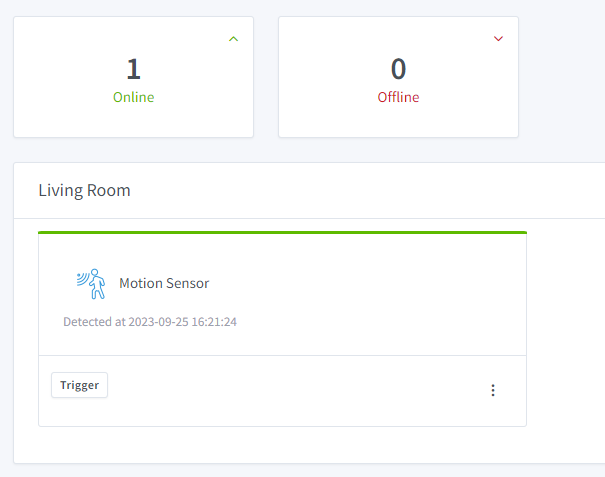
Please note that Google Home not supported.
Troubleshooting
- Please refer to our Troubleshooting page for more details.
This document is open source. See a typo? Please create an issue


